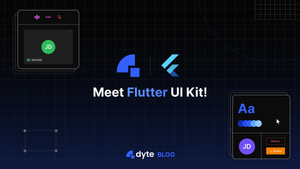
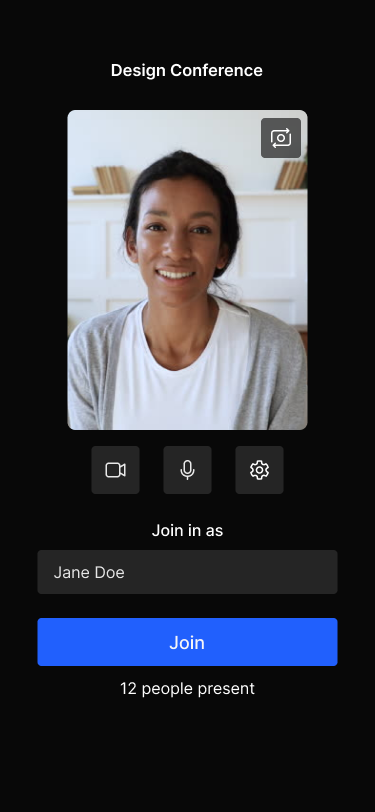
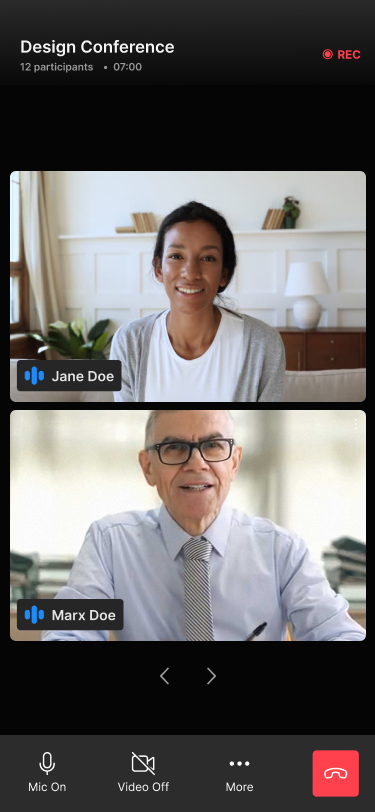
Imagine if you could integrate fully functional audio/video calls along with component styles compatible with your theme with just a few lines of code in your Flutter project.
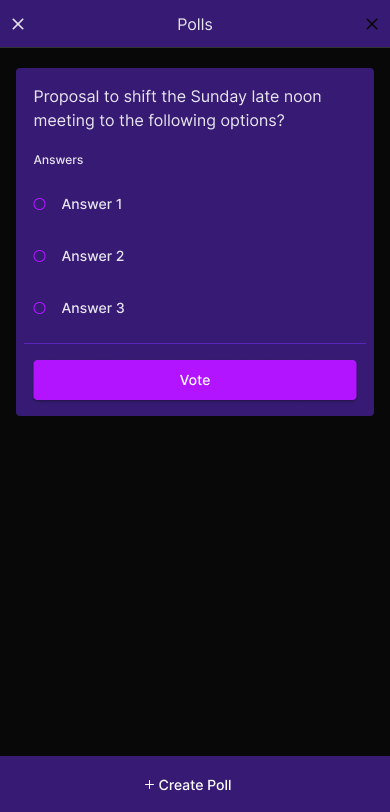
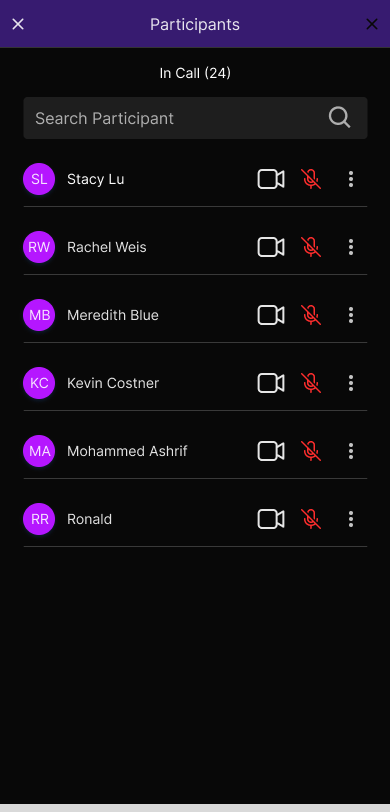
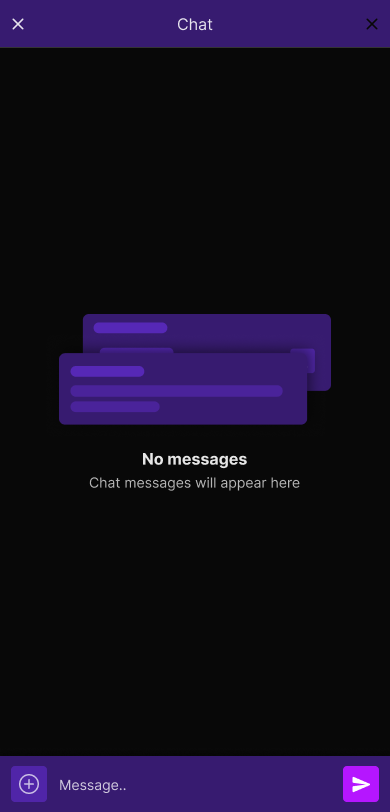
Now, stop imagining because Dyte has actually made it possible. Introducing Flutter UI-Kit that enables you to blend fully powered audio/video calls, along with chats and polls, and a great lot of other features paired with state-of-the-art Dyte infrastructure active at its core, so you don’t have to deal with any of the ugly WebRTC logic or making your own infrastructure.
Here’s what you’ll get:
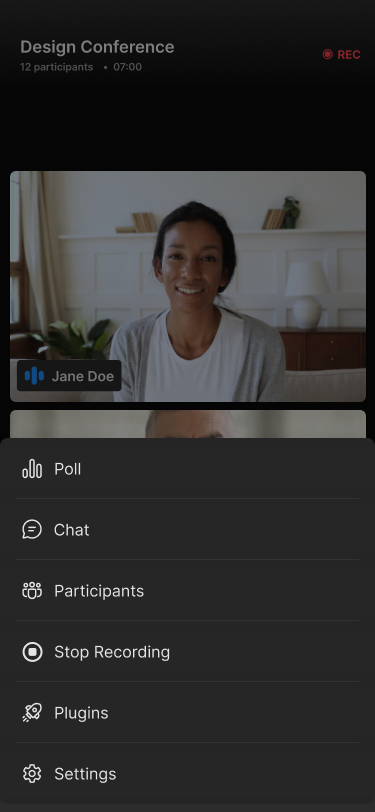
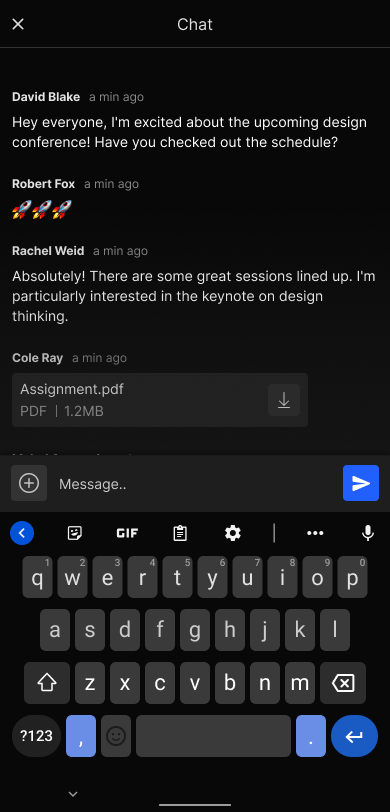
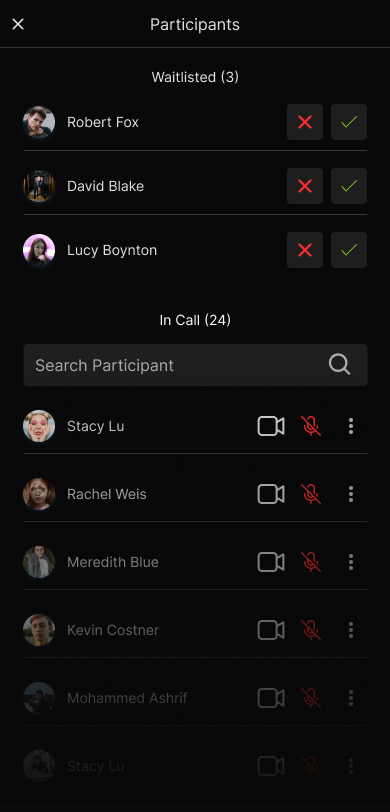
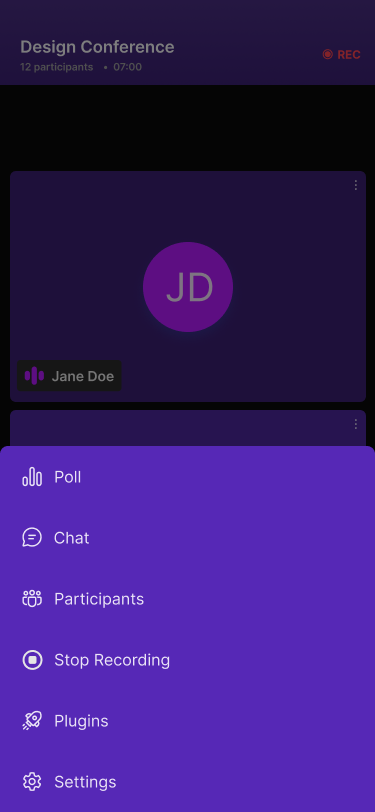
- Add audio/video calls, chat, polls, plugins, and screenshare with minimal development effort so you get more time to refine other features of your product.
- Customize individual components and styles such as color, font, or even border-radius to tone it with your app’s theme.
- Export individual components that you want to use in your application. For example, create an exportable Widget called
AudioToggleand use it anywhere in your app to allow users to mute/unmute audio without requiring you to write any additional code [coming soon].
Each UI element in UI Kit will be at your disposal for you to use as per your needs.
Why Flutter UI kit?
We already released Flutter Core SDK, empowering you to build your own video call UI keeping media complexities away from you, but still, you have to maintain basic complexities like maintaining the lifecycle of all the listeners and covering all edge cases from Flutter Core SDK. With Flutter UI Kit in play, it’ll ease your work of handling complexities in your app and allows you to customize the UI along the way interactively. And that’s why Flutter UI Kit originated!
Quick integration: Flutter UI kit
To install the Flutter UI Kit SDK, run the following command at the base of your Flutter app:
flutter pub get dyte_uikit
To launch the video call UI from the UI Kit SDK, add the following code to your app.
Note: We recommend you to use v2 meetings.
// For v1 meetings
// create a v1 meeting instance.
final meetingInfoV1 = DyteMeetingInfoV1(
                       roomName: roomName,
                       authToken: authToken,
											 displayName: nameController.text.trim(),
                    );
// for v2 meetings we create a V2 meeting info instance
final meetingInfoV2 = DyteMeetingInfoV2(authToken: authToken);

// A page to load Dyte's UIKit
class DyteMeetingPage extends StatelessWidget {
  final DyteMeetingInfo meetingInfo;
  const DyteMeetingPage({
    super.key,
    required this.meetingInfo,
  });

  @override
  Widget build(BuildContext context) {
		// Initializing uikit
    final uiKit = DyteUIKit(
        meetingInfo: meetingInfoV2,
        clientContext: context,
		);
    return uiKit.loadUI();
  }
}
Voila! That’s all you have to do to launch a fully-functional Audio/Video call UI within your Flutter app.
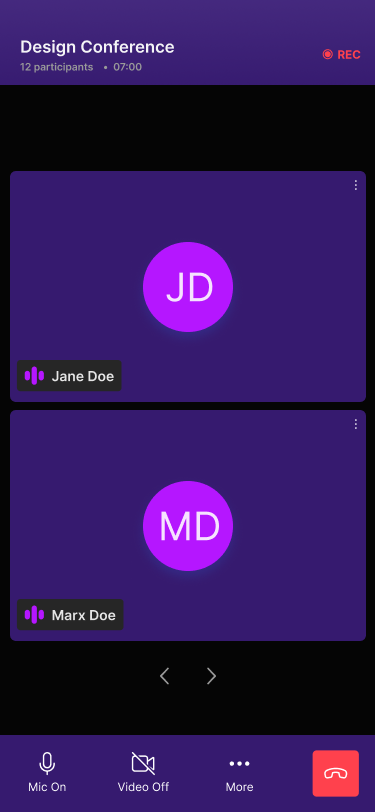
Customising UI kit
You can even customize the theme of the SDK to match your style. This can be achieved by passing a Configurations object to DyteUIKit(configurations: ...).
The Configurations class has three fields:
baseBackground: This represents the base background color. A background color palette will be generated based on the value you provide here.basePrimary: This represents the base primary or brand color. A color palette reflecting your brand style will be generated.textColor: This is used to support text colors throughout the app.
Example:
final uiKit = DyteUIKit(
        meetingInfo: meetingInfoV2,
        configurations: Configurations(
          baseBackground: Colors.black,
          textColor: Colors.white,
          basePrimary: Colors.magenta.shade200,
        ),
        clientContext: context);
    return uiKit.loadUI();
  }
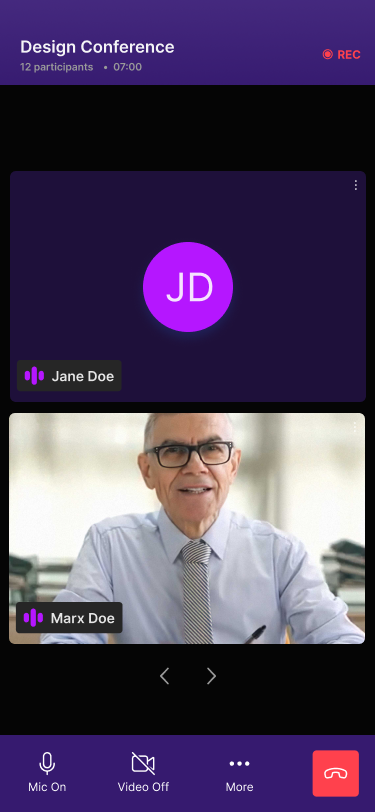
And boom! That’s all you have to do to customize your UI kit.


What’s next?
Start building your real-time communication apps with Dyte’s Flutter UI Kit! Take a look at our docs to get started. We also have our sample app that you can refer to learn using our UI Kit.
We are just at the dawn of Flutter UI Kit, and there’s a lot more to come. Keep an eye on this space for updates and what more you can do with Flutter UI Kit.
Keep building with Dyte!