For a product, integration tests are one of the crucial parts that improve quality & stability. This is true for WebRTC applications as well. However, challenges arise when we try to create integration tests around user media in a browser.
For an end user, sharing a camera & mic is straightforward. For this, browsers expose APIs such as enumerateDevices & getUserMedia on the MediaDevices interface, on which user interfaces can be built easily.
navigator.mediaDevices.getUserMedia({audio: true, video: true})
Try pasting the above line in Developer Console in Chrome & you will see that it asks for permission from you to share the camera & mic. Once you permit the browser to access the camera & mic, you will see your camera LED turning on, indicating that your camera is in use.
Media Device Unavailability in Test Environments
In a virtualised test environment, access to actual media devices is often unavailable. The getUserMedia interface is designed to interact with real hardware connected to a device. Therefore, when these environments try to run tests that invoke such interfaces, they fail to replicate real-world scenarios.
In such a scenario one possible solution a developer can resort to is by using fake media streams interfaces provided by the browser
For example, you could start Chromium with the following command line arguments to add microphone and webcam devices which would use the provided static video & audio files as media source
--use-fake-ui-for-media-stream
--use-fake-device-for-media-stream
--use-file-for-fake-video-capture=ABSOLUTE_PATH_TO_VIDEO_FILE
--use-file-for-fake-audio-capture=ABSOLUTE_PATH_TO_AUDIO_FILE
This is better than having no media, but isn't really useful for testing
Limited Testing Capabilities
Even in the above situation or situations where physical hardware devices are available for testing, automating the test scenarios can be an uphill battle. Let's consider some instances where these challenges come into play:
- Device Plug-in Scenario: Imagine a user plugs in a new microphone while a WebRTC application is running. An ideal application should seamlessly switch the audio input to the new device without requiring a manual switch or causing interruptions. Automating this test is challenging as it necessitates actual hardware manipulations, which are difficult to enact in a software-only test setup.
- Hardware Failure Handling: Another crucial test case is how the application responds to hardware failures. For instance, what happens if a camera is unable to provide media in required constraints
Introducing Device Emulator
To solve all these pain points we are open-sourcing our device emulator - https://github.com/dyte-io/device-emulator that can be used to mimic devices across browsers. By simulating various hardware states and events, the toolkit can provide a nuanced and comprehensive evaluation of a WebRTC application's robustness, reliability, and user experience.
Dyte's device emulator currently supports:
- Adding and removing virtual media devices
- Simulating a failure by silencing a track
- Simulating a faulty device (getUserMedia failure)
How easy is it to integrate the Dyte's device emulator, you might ask? In Playwright, the integration test solution that Dyte uses, all you have to do is add the below 1-liner ( or 3?) code snippet.
await page.addScriptTag({
      url: '<https://cdn.jsdelivr.net/npm/@dytesdk/device-emulator/dist/index.iife.js>',
});
Not using Playwright?
No worries. Just figure out a way to add a script tag to your choice of tool.
<script src="<https://cdn.jsdelivr.net/npm/@dytesdk/device-emulator/dist/index.iife.js>"></script>
How does this work?
The script tag loads the device emulator library into your page which patches the navigator.MediaDevices interface with the toolkit's modified version providing the same API signatures. Internally it uses Web Audio API for generating virtual AudioTracks and Canvas API for generating VideoTracks and simulates different media behaviour and states
Adding a virtual device
Once the device emulator is loaded, Use the below code snippet. addEmulatedDevice is the extra method exposed by Dyte's device emulator to help you with the addition of devices.
window.addEventListener('dyte.deviceEmulatorLoaded', () => {
	navigator.mediaDevices.addEmulatedDevice('videoinput');
	navigator.mediaDevices.addEmulatedDevice('audioinput');
});
Removing a virtual device
It is a two-step process. Figure out the emulated device id using the code snippet below:
navigator.mediaDevices.enumerateDevices()
Filter the device that you want to use and retrieve the device Id. Once you have the device id, remove the device using the code snippet below.
navigator.mediaDevices.removeEmulatedDevice('PUT_EMULATED_DEVICE_ID_HERE');
That's it. Now, you can add as many devices as you want and play around with the addition/removal of devices.
Writing a Test
Using the above example, writing automated tests because straightforward
// Simulate a new camera plugging in
await this.page.evaluate(() => {
            navigator.mediaDevices.addEmulatedDevice('videoinput');
        });

// Verify your application's expected behaviour
await expect(..)
Quick Demo
Go to any web based video conferencing app like Google Meet or go to https://demo.dyte.io and create a meeting
Once inside the meeting, Open the developer console by right clicking on the webpage and then inspect.
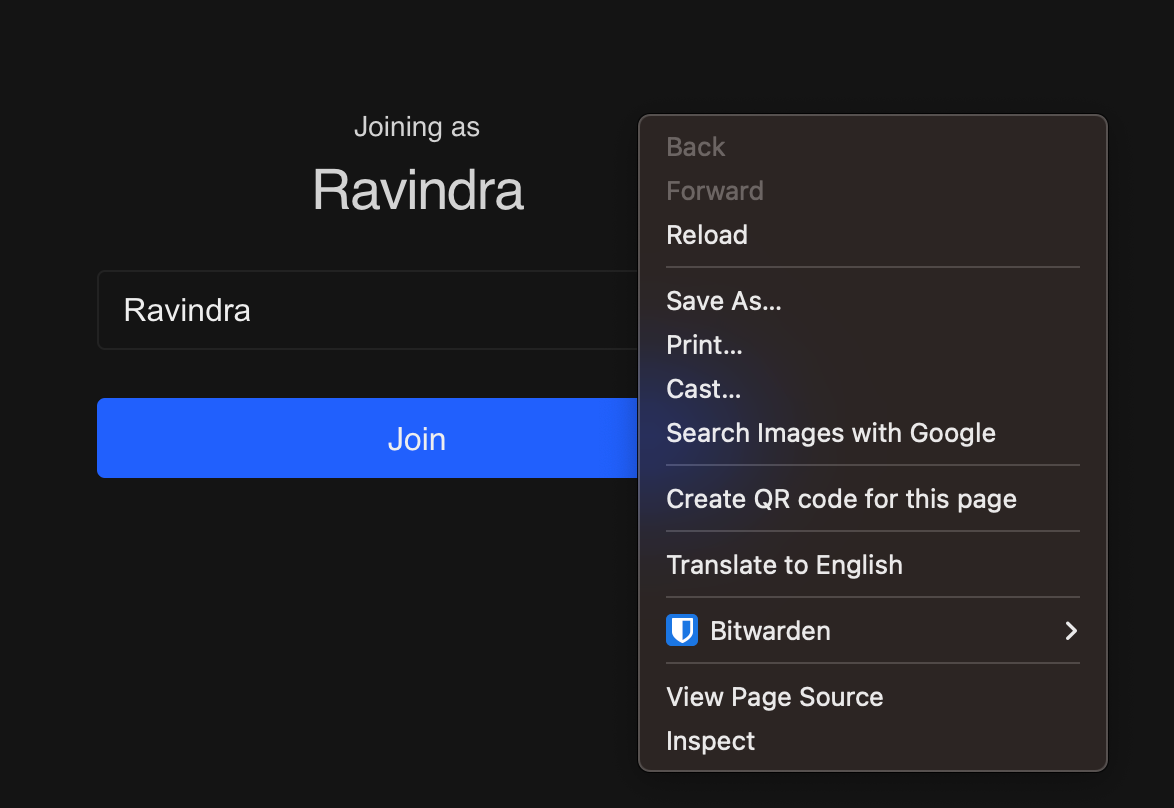
Dev tools would open. Go to the Console tab and, paste the code below, and hit the enter/return key.
window.addEventListener('dyte.deviceEmulatorLoaded', () => {
     navigator.mediaDevices.addEmulatedDevice('videoinput');
});

var script = document.createElement('script');
script.type = 'text/javascript';
script.src = '<https://cdn.jsdelivr.net/npm/@dytesdk/device-emulator/dist/index.iife.js>';
document.head.appendChild(script);
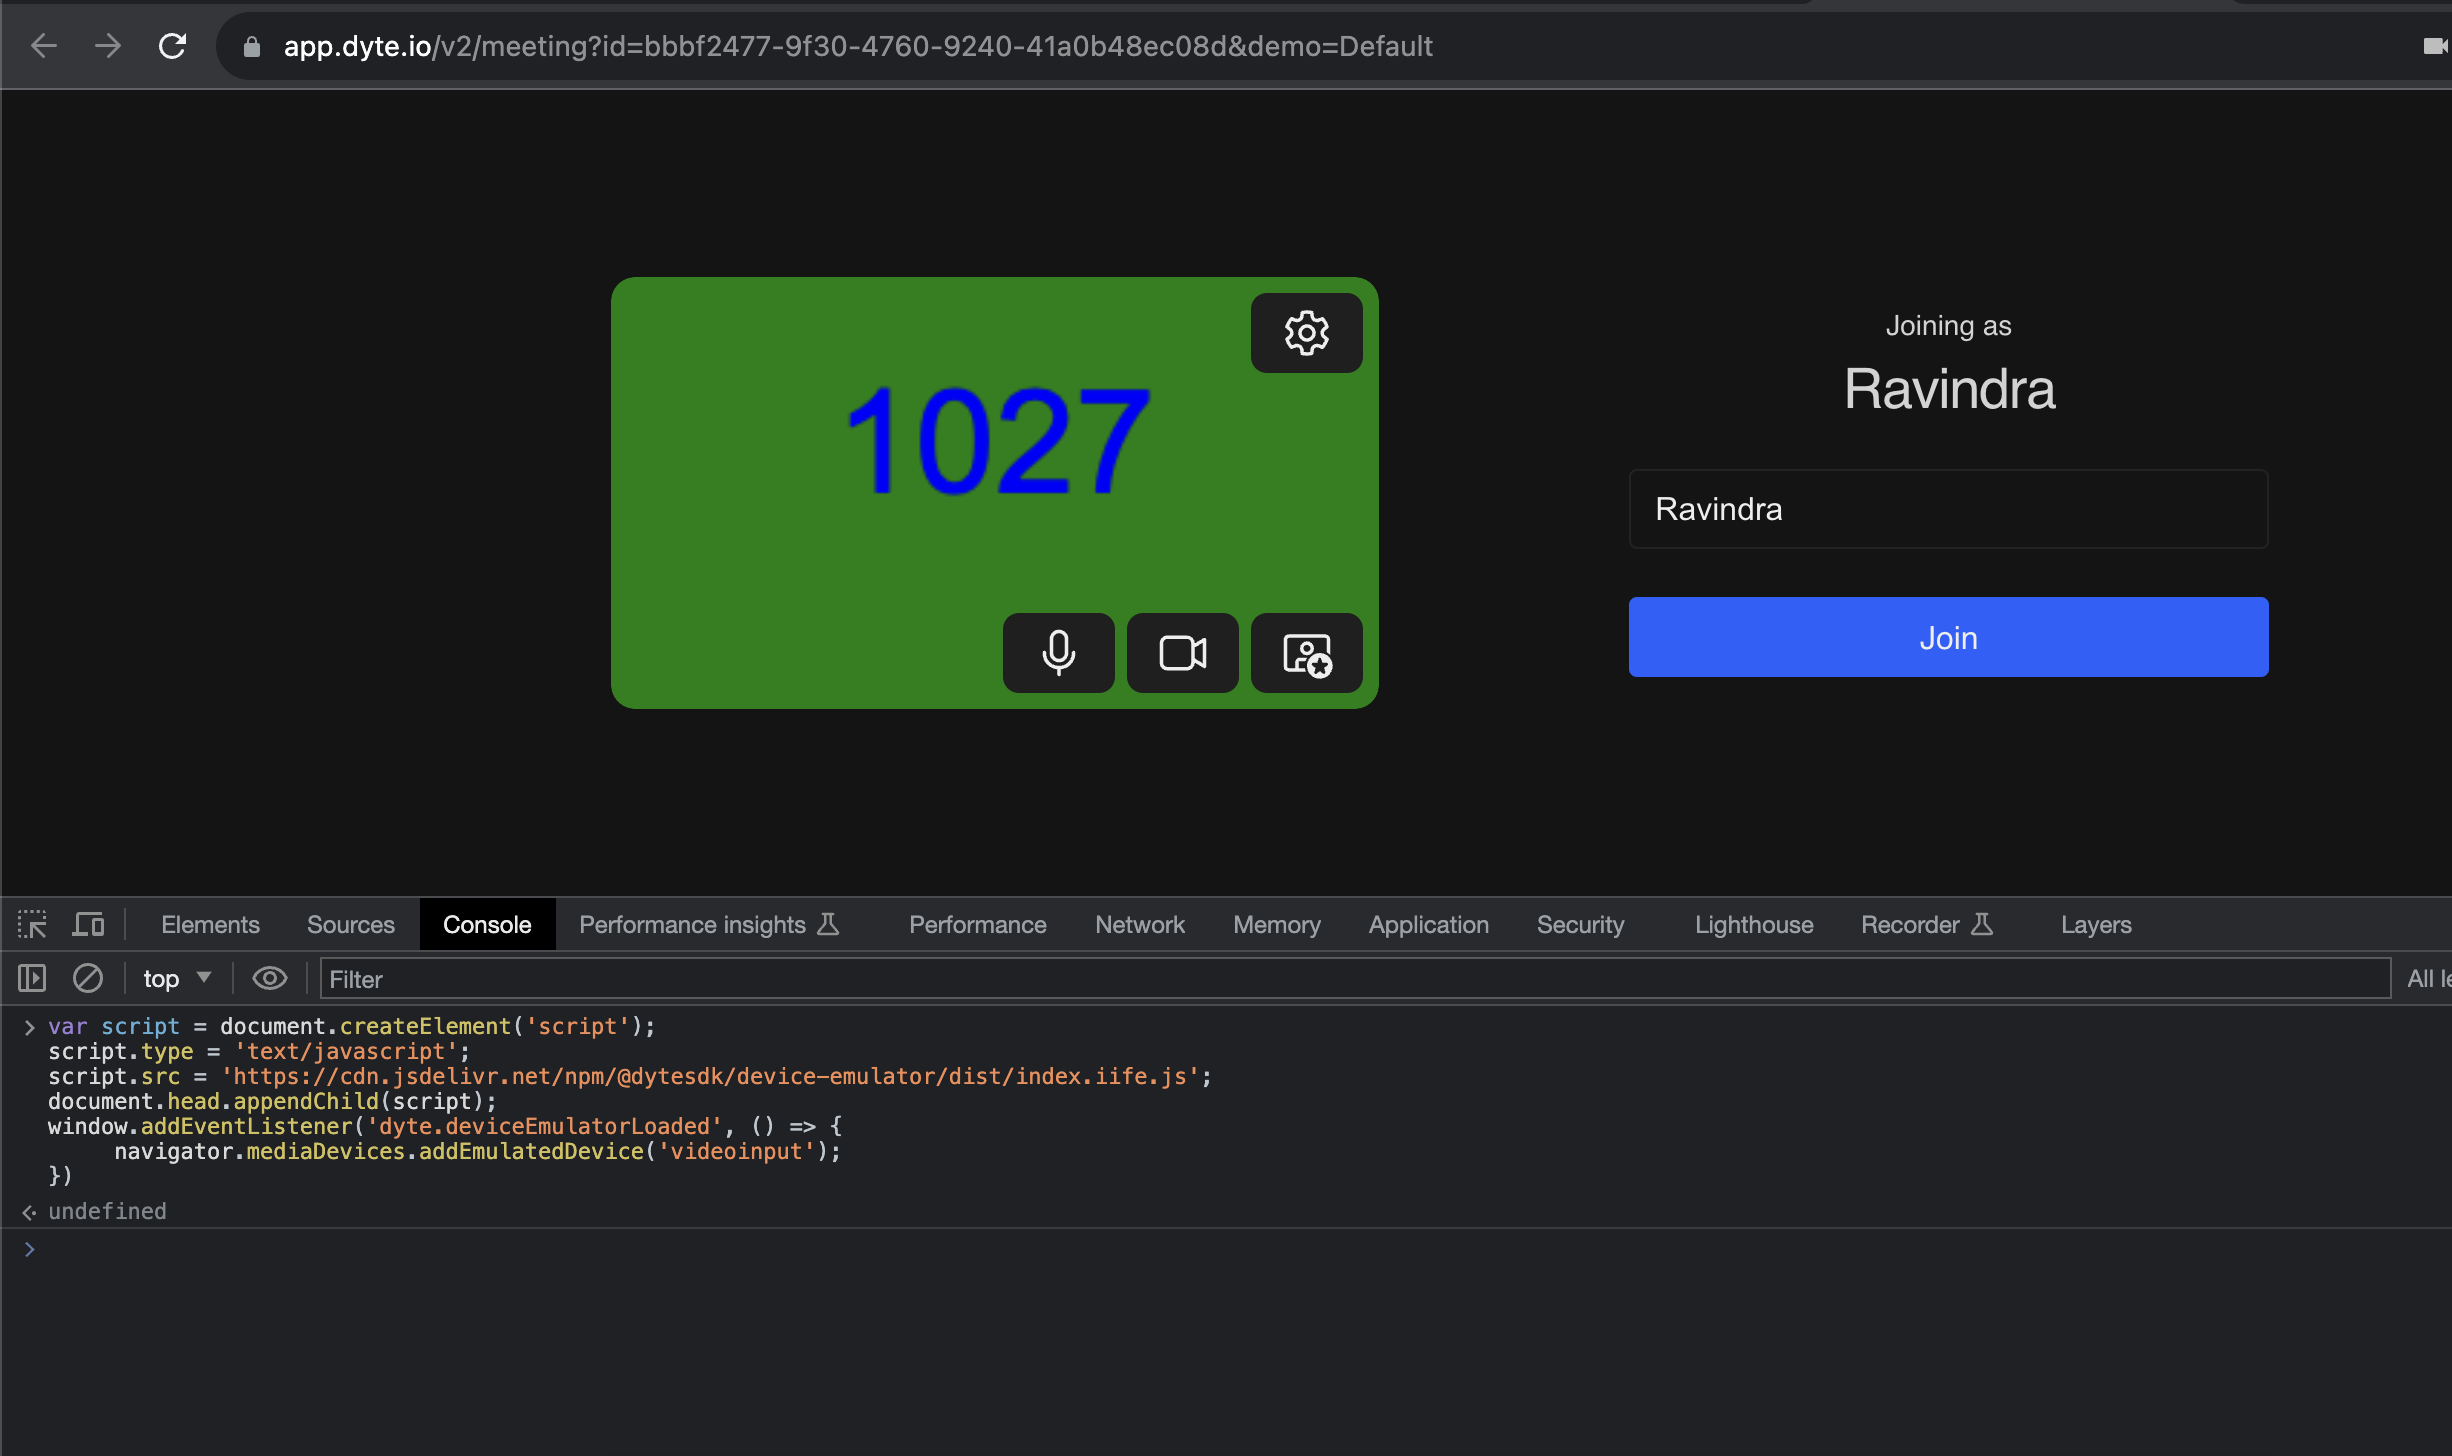
It is that easy. Now, you can join a meeting with a fake video
Conclusion
Checkout the complete guide and examples at https://docs.dyte.io/community-packages/device-emulator
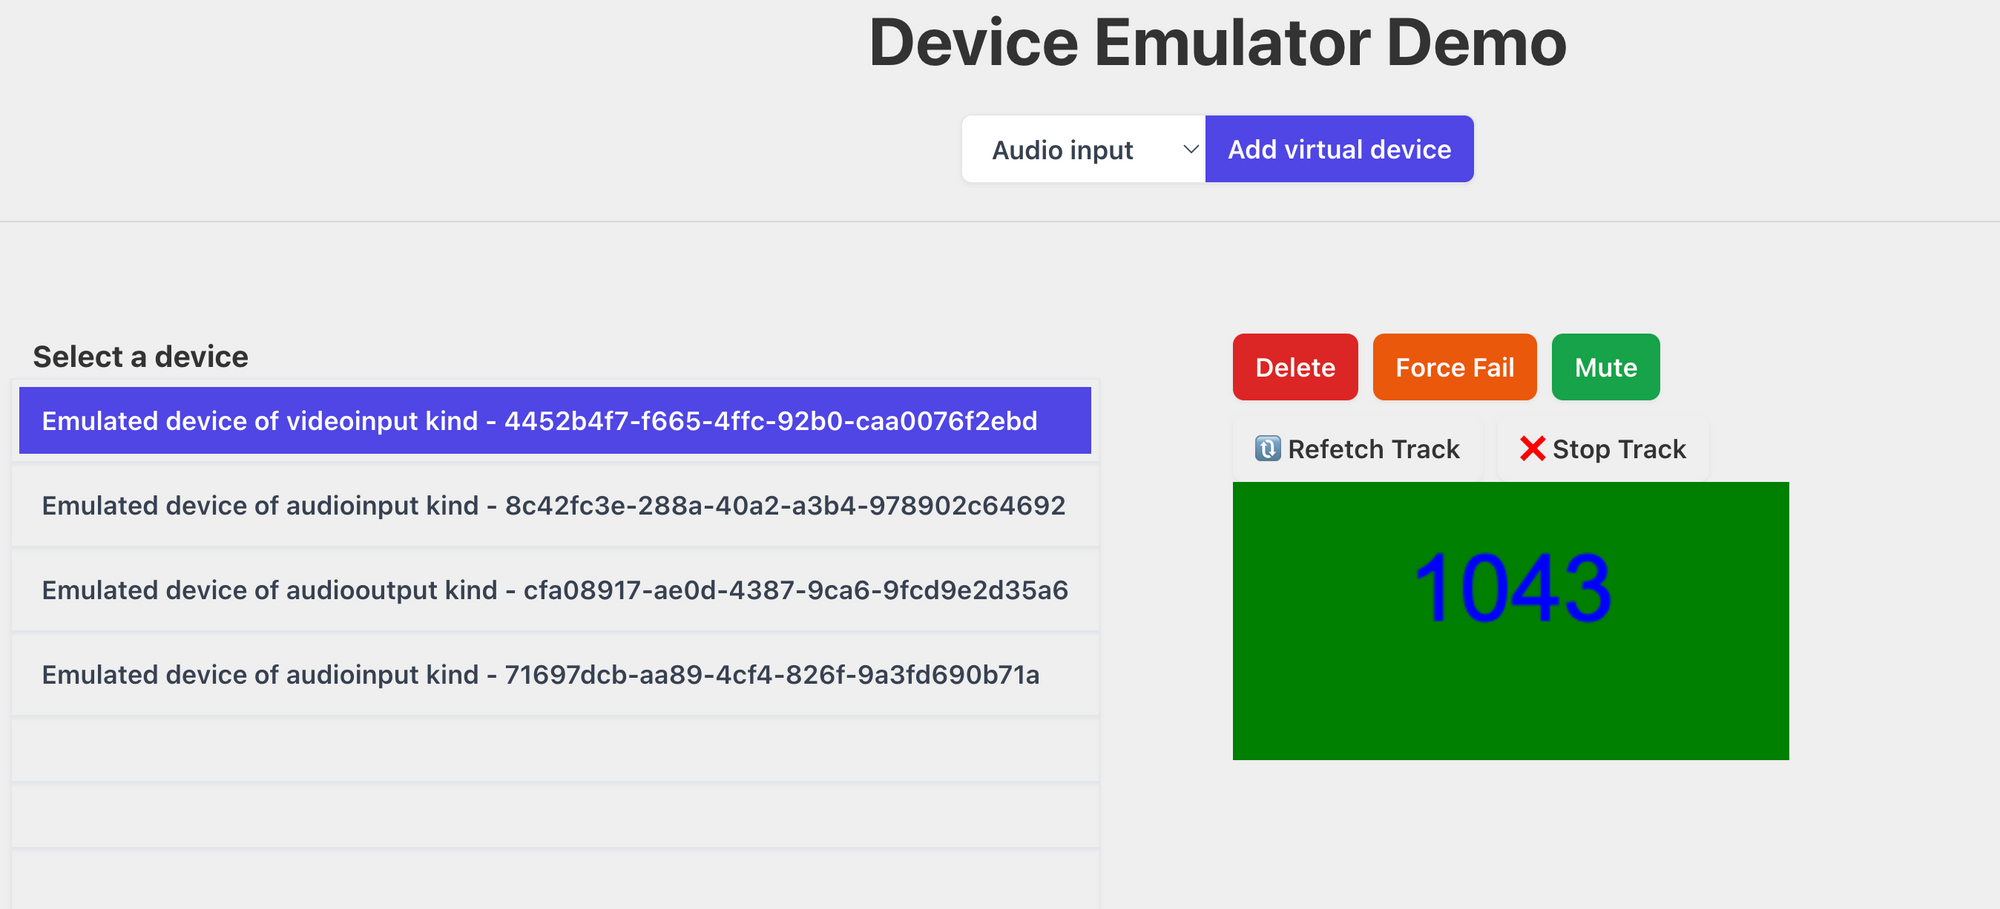
Or try an full demo at https://device-emulator.vercel.app/
Shipping a product with proper testing is paramount for any company, and what's better than writing integration tests to test end-user scenarios?
We know how tricky writing media-related integration tests could be! We hope this toolkit will ease some pain while writing media-related integration tests for you, as it did for us.
Feel free to raise feature requests, pull requests, or fork the repo (https://github.com/dyte-io/device-emulator) and customize it to your liking.
I hope you found this post informative and engaging. If you have any thoughts or feedback, please get in touch with me on Twitter or LinkedIn. Stay tuned for more related blog posts in the future!
If you haven't heard about Dyte yet, head over to dyte.io to learn how we are revolutionizing communication through our SDKs and libraries and how you can get started quickly on your 10,000 free minutes, which renew every month. If you have any questions, you can reach us at support@dyte.io or ask our developer community.