In addition to our core SDKs, Dyte offers a UI Kit, which allows you to fully customise or create an entirely new user interface for your applications.
We just released our core SDKs and are now releasing a UI Kit for React Native apps. Individual Dyte components (atoms) in the UI Kit can be easily grouped to create a new UI.
Modules in React Native UI-Kit
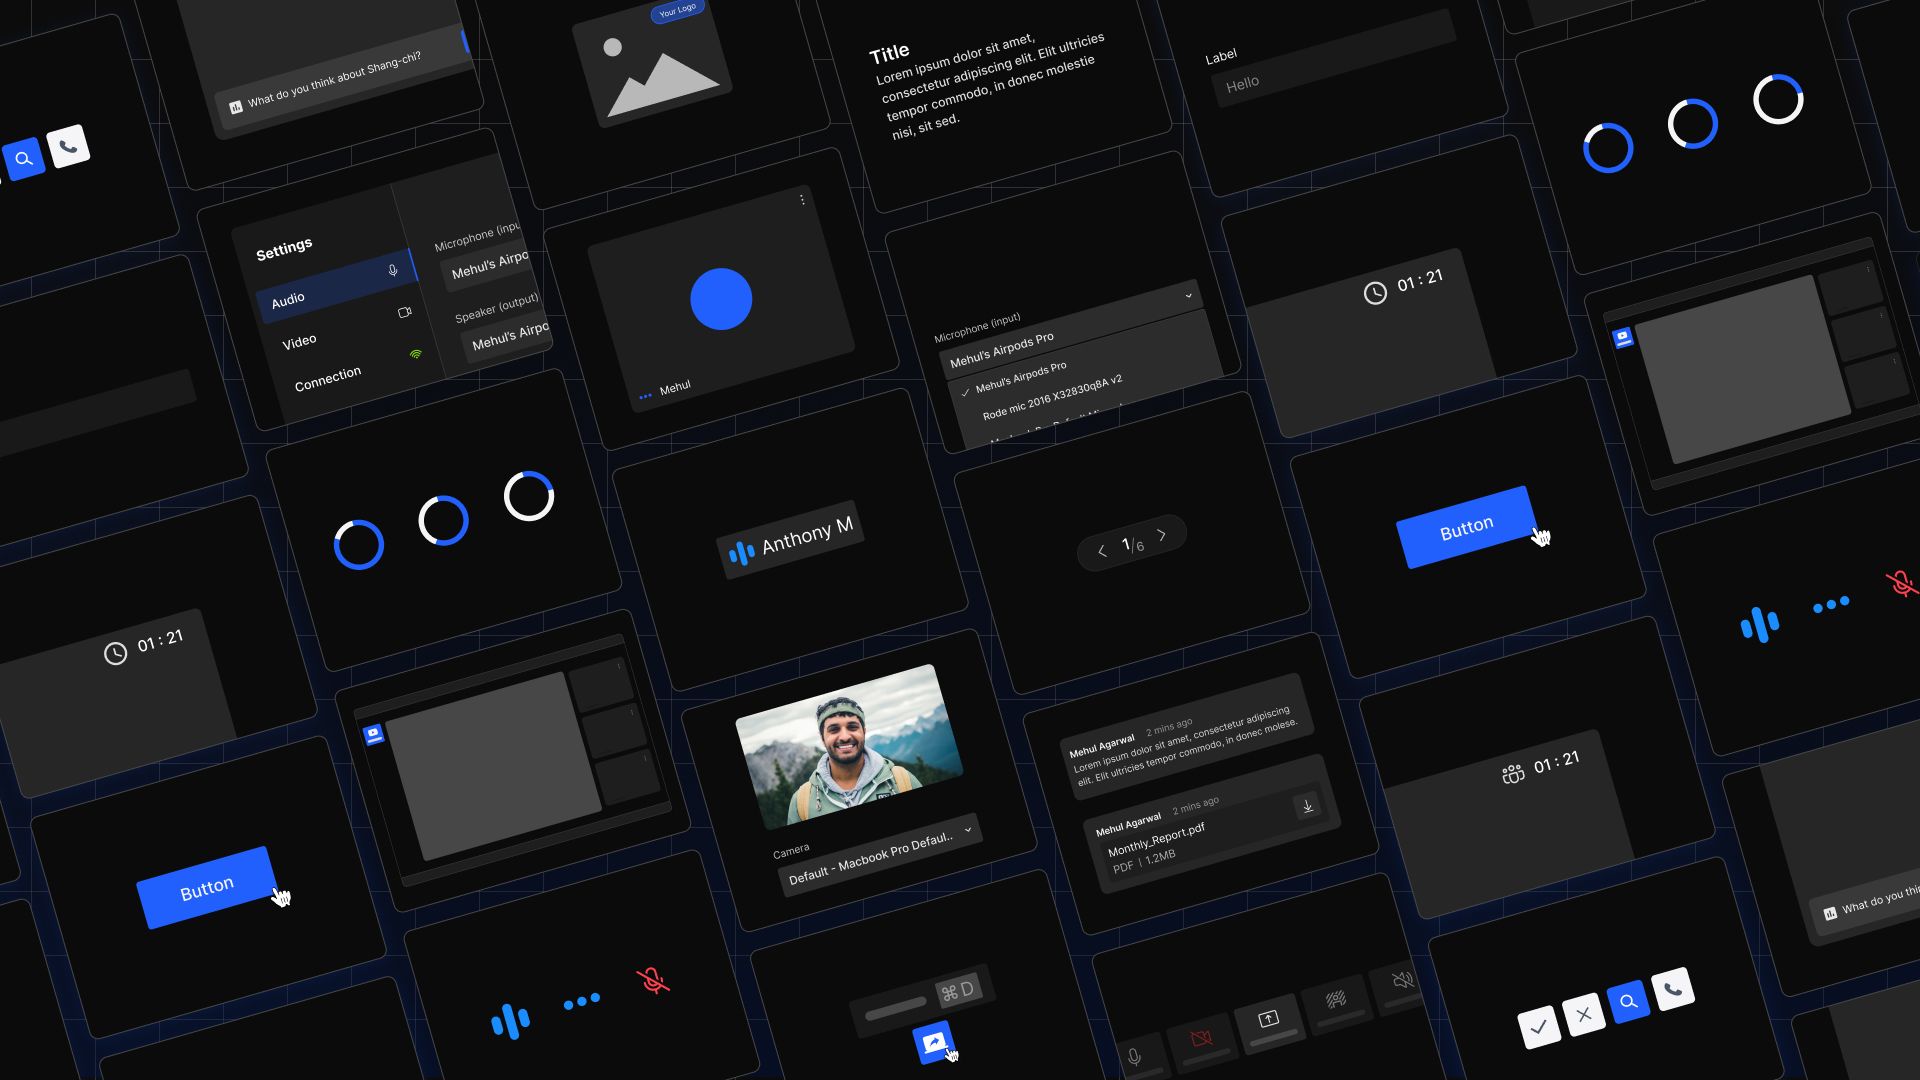
Inspired by Atomic Design Principles, our UI Kit is built in layers. You can get started quickly with just one component and gradually add more components to create an entire prebuilt UI. However, as your need for customization grows, you can go down layers.
Atoms
| Audio Visualiser | Avatar | Button |
| Logo | Meeting Title | Recording Indicator |
| Switch | Tooltip |
Molecules
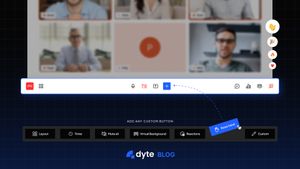
| Clock | Control Bar Button | Dialog | Menu |
| Emoji Picker | Grid Pagination | Notification | Participant Count |
| Name Tag | Participant Tile | Plugin - Main View |
Organisms
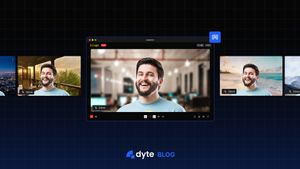
| Chat | Grid | Image Viewer | Participants |
| Leave Meeting | Mixed Grid | Remote Access Manager | Participants Audio |
| Screenshare View | Simple Grid | Plugins | Settings |
| Sidebar | Spotlight Grid |
Pages
| Ended Screen | Idle Screen |
| Meeting Screen | Setup Screen |
Why should you use React Native UI Kit?
Previously, one could only implement DyteMeeting with configuration options to make minor changes to the User Interface.
Then came the new core SDKs, which provided access to core meeting components without UI, allowing users to customize their UI completely.
Wait, we hope you're not thinking about creating DyteMeeting UI components from scratch :) We've got your back!
The solution is React Native UI Kit. An SDK allows you to simply import UI components as React Native components and pass the DyteMeeting object along with the 'customizable props' to get the Dyte UI component up and running.
Now let’s explore more on how to initialize and implement different components in your React Native app.
Integrating React Native UI Kit
To add UI Kit component to your meeting, simply import react-native-ui-kit in your code and use the component as a React Native component directly
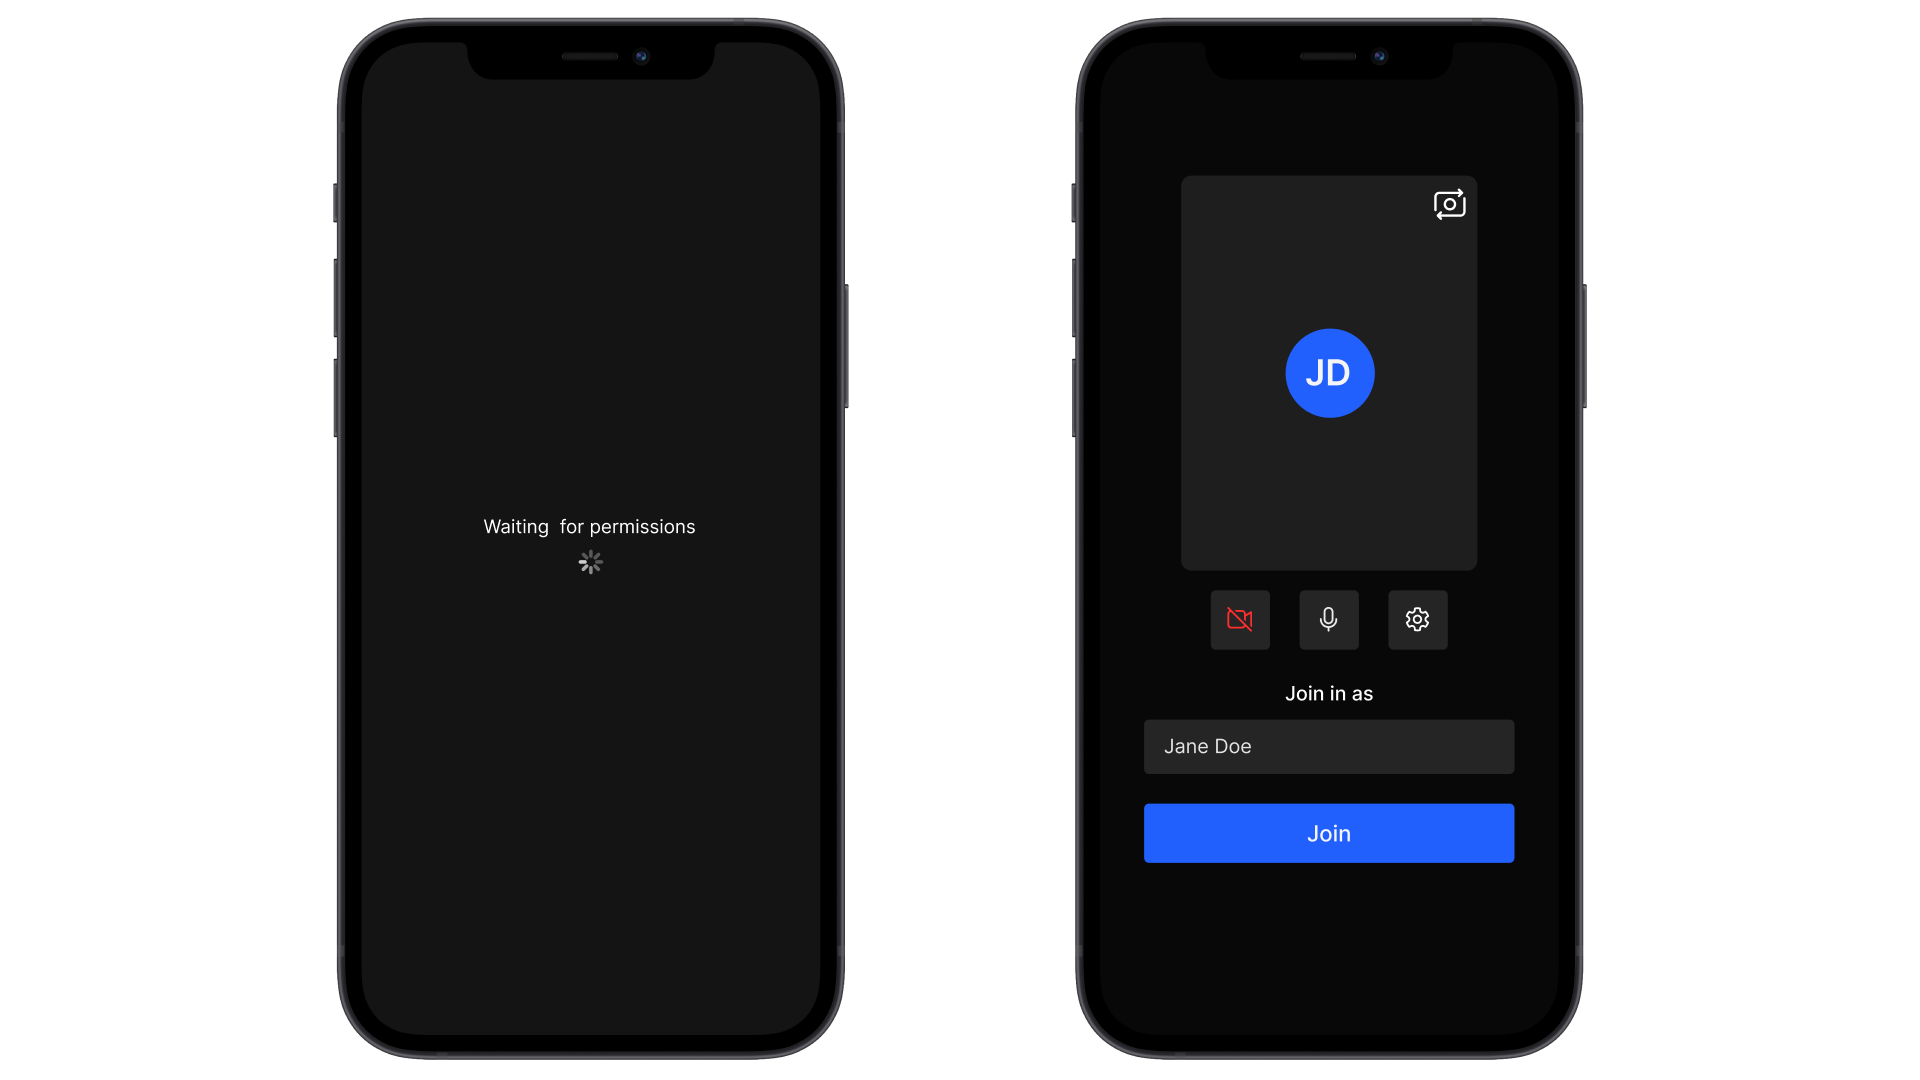
Example: SetupScreen and PermissionScreen
import * as React from 'react';
import { SafeAreaView } from 'react-native';
import { useDyteClient, DyteProvider } from '@dytesdk/react-native-core';

// Import DyteSetupScreen and DytePermissionScreen from React Native UI-Kit
import { DyteSetupScreen, DytePermissionScreen } from '@dytesdk/react-native-ui-kit';

export default function App() {
  const [client, initClient] = useDyteClient();

	//Initialising Dyte Meeting
  React.useEffect(() => {
    const load = async () => {
      initClient({
        roomName: '<your-room-name>',
        authToken: '<your-auth-token>',
        defaults: {
          audio: false,
          video: false,
        },
      });
    };
    load();
  }, []);

  if (!client)
		// Permission Screen Before Meeting Object initialises
    return (
      <DytePermissionScreen />
    );

	// Using DyteSetupScreen Here.
  return (
    <SafeAreaView style={{ flex: 1, backgroundColor: '#000' }}>
      <DyteProvider value={client}>
        <DyteSetupScreen />
      </DyteProvider>
    </SafeAreaView>
  );
}
Let's look at some more examples…
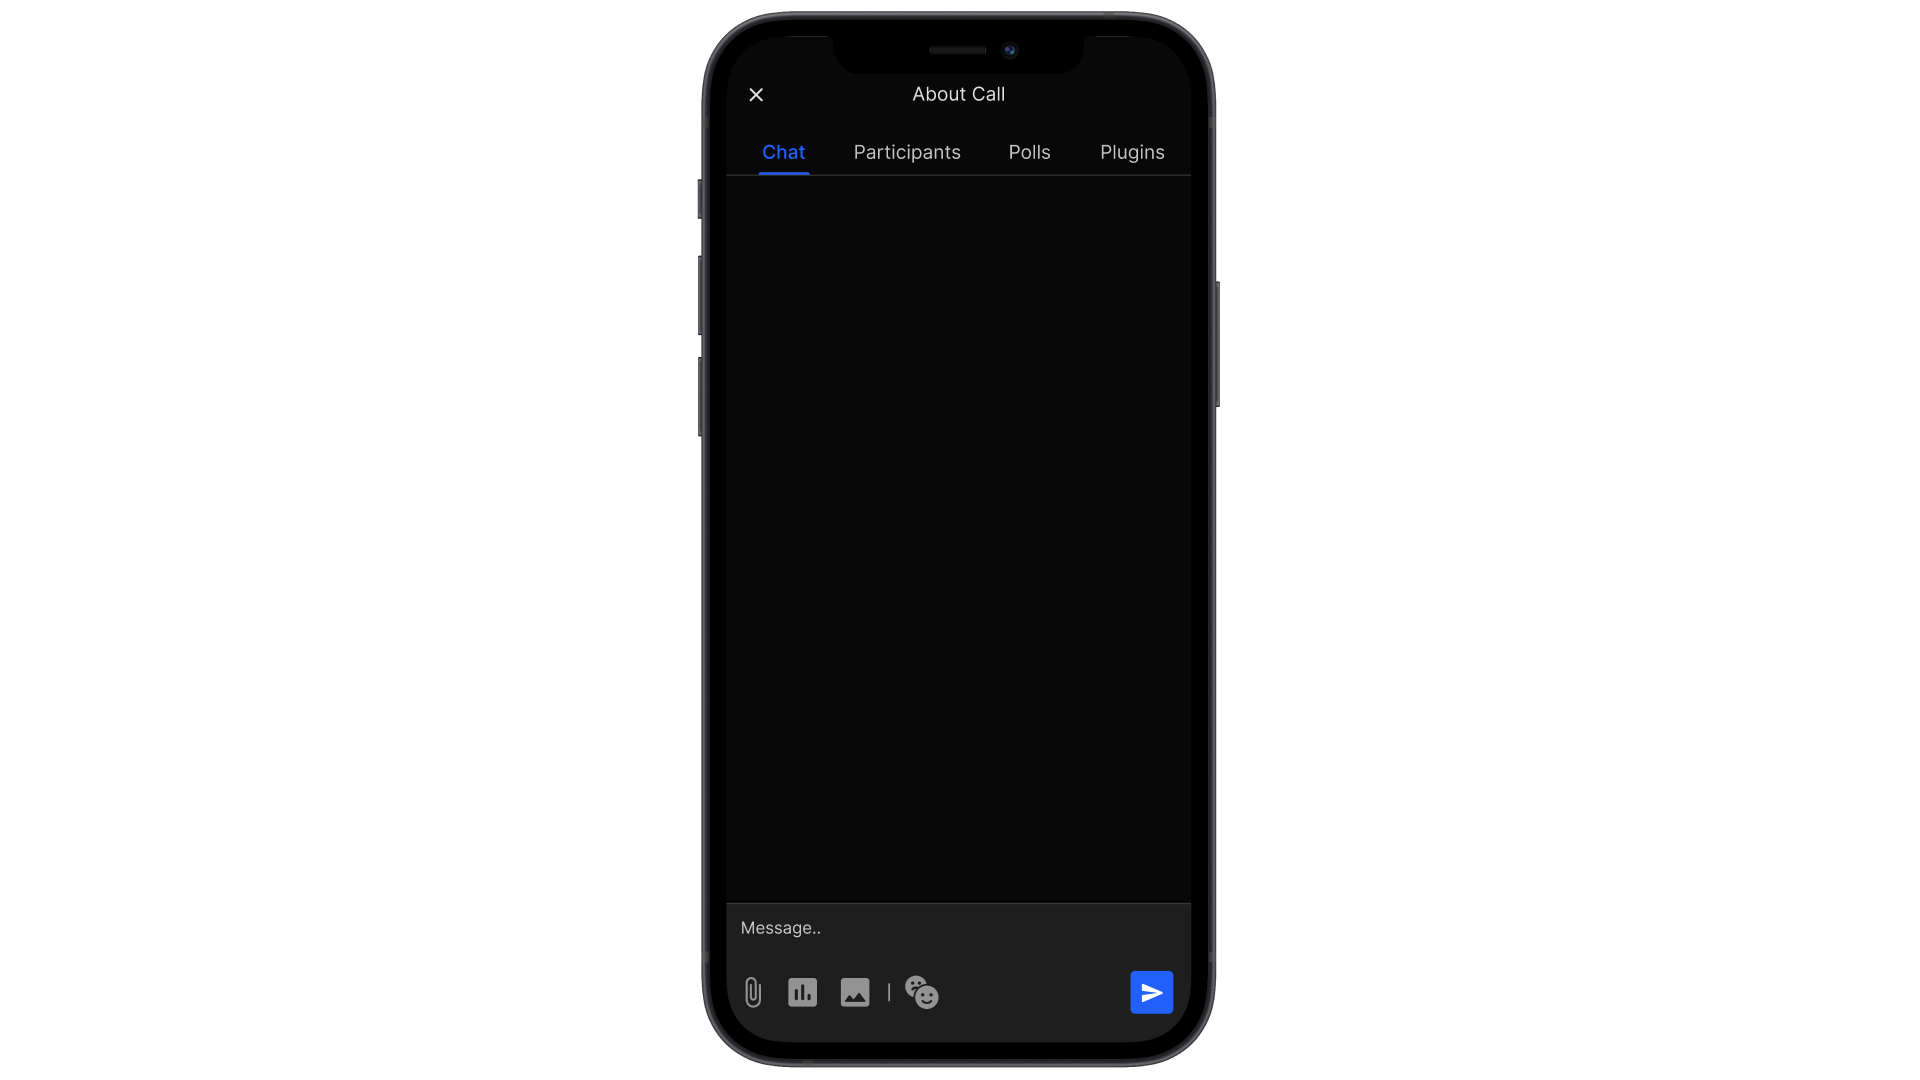
To use DyteChat UI, simply import DyteChat from react-native-ui-kit and pass the required props.
import { useDyteMeeting } from '@dytesdk/react-native-core';
import { DyteChat } from '@dytesdk/react-native-ui-kit';

export default function ChatScreen() {
	const { meeting } = useDyteMeeting();
	return (
		<DyteChat
			meeting = {meeting}
			style={{ height: '100%', maxWidth: '100%', backgroundColor: '#000' }}
		/> );
}
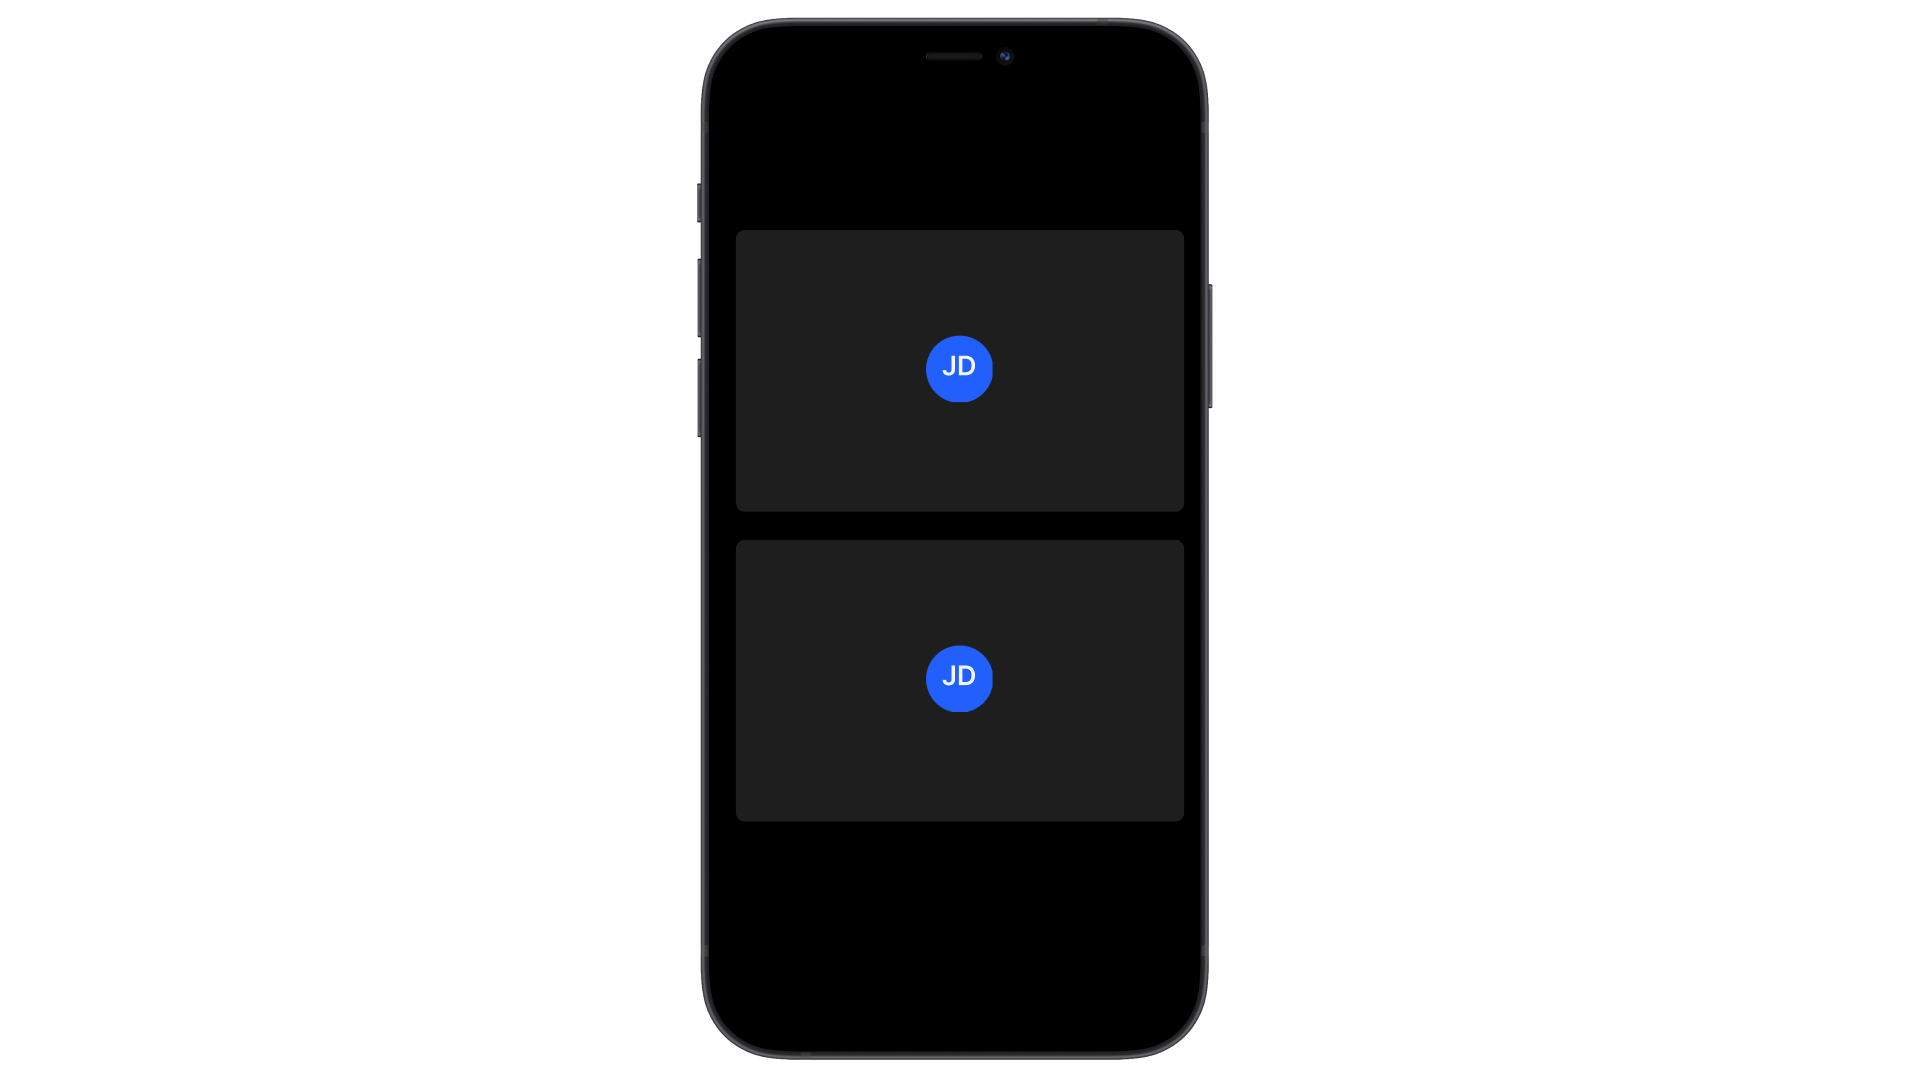
Similarly, for other components, just pass the meeting object with needed props and your screen is ready!
// Add Dyte Grid UI
<DyteSimpleGrid
participants={[meeting.self]}
style={{ height: '360px', width: '100%' }}
/>
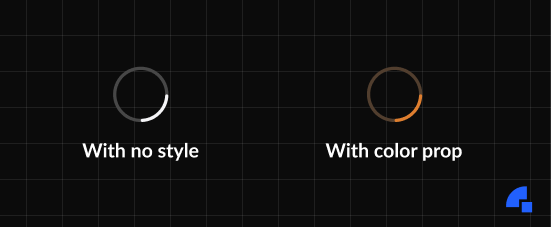
// Using DyteSpinner is as simple as directly using the component or specifying the color
<DyteSpinner />
<DyteSpinner style={{ color: '#ed7800' }} />
// To use Dyte's button UI
<DyteControlbarButton
label="Test Button"
icon={SVG_Component}
onClick={() => alert('Test button pressed')}
size="sm"
/>
That’s it for now about React Native UI Kit!
If you've made it this far, you've probably got a glimpse of Dyte's React Native UI Kit. Visit the docs page to learn about our SDKs' capabilities and possibilities.
The React Native UI Kit is still in beta development. Please contact us for beta access to the SDK. Try out our latest SDK development and get in touch with us on our community Discord server. Looking forward to hearing from you soon!