Virtual meetings have become a part of everyone's lives, enabling the world to collaborate and innovate faster than ever before.
When you receive a Google meet or a Zoom meeting link with a calendar invite, do you think how was the meeting created and scheduled, how a unique URL was generated just for you to join the meeting? Everything appears surreal and intriguing.
If you've ever wanted to create your own meeting system that allows you to create meetings, schedule meetings, send meeting invites, and so on from your application or a website, you've come to the right place. You can simply use Dyte SDKs to accomplish this in a few simple steps.
Dive in this blog for step-by-step guidance on how to build such a system. Essentially, the blog will help you do the following tasks:
- Schedule meetings with Dyte SDK
- Build meeting URLs that anyone can join using any browser
- Create private meetings that is restricted for the specific members, or make the meeting public so that anyone with a link can join the meeting
- Send out meeting invitations via calendar or email
Part I: Schedule a Meeting
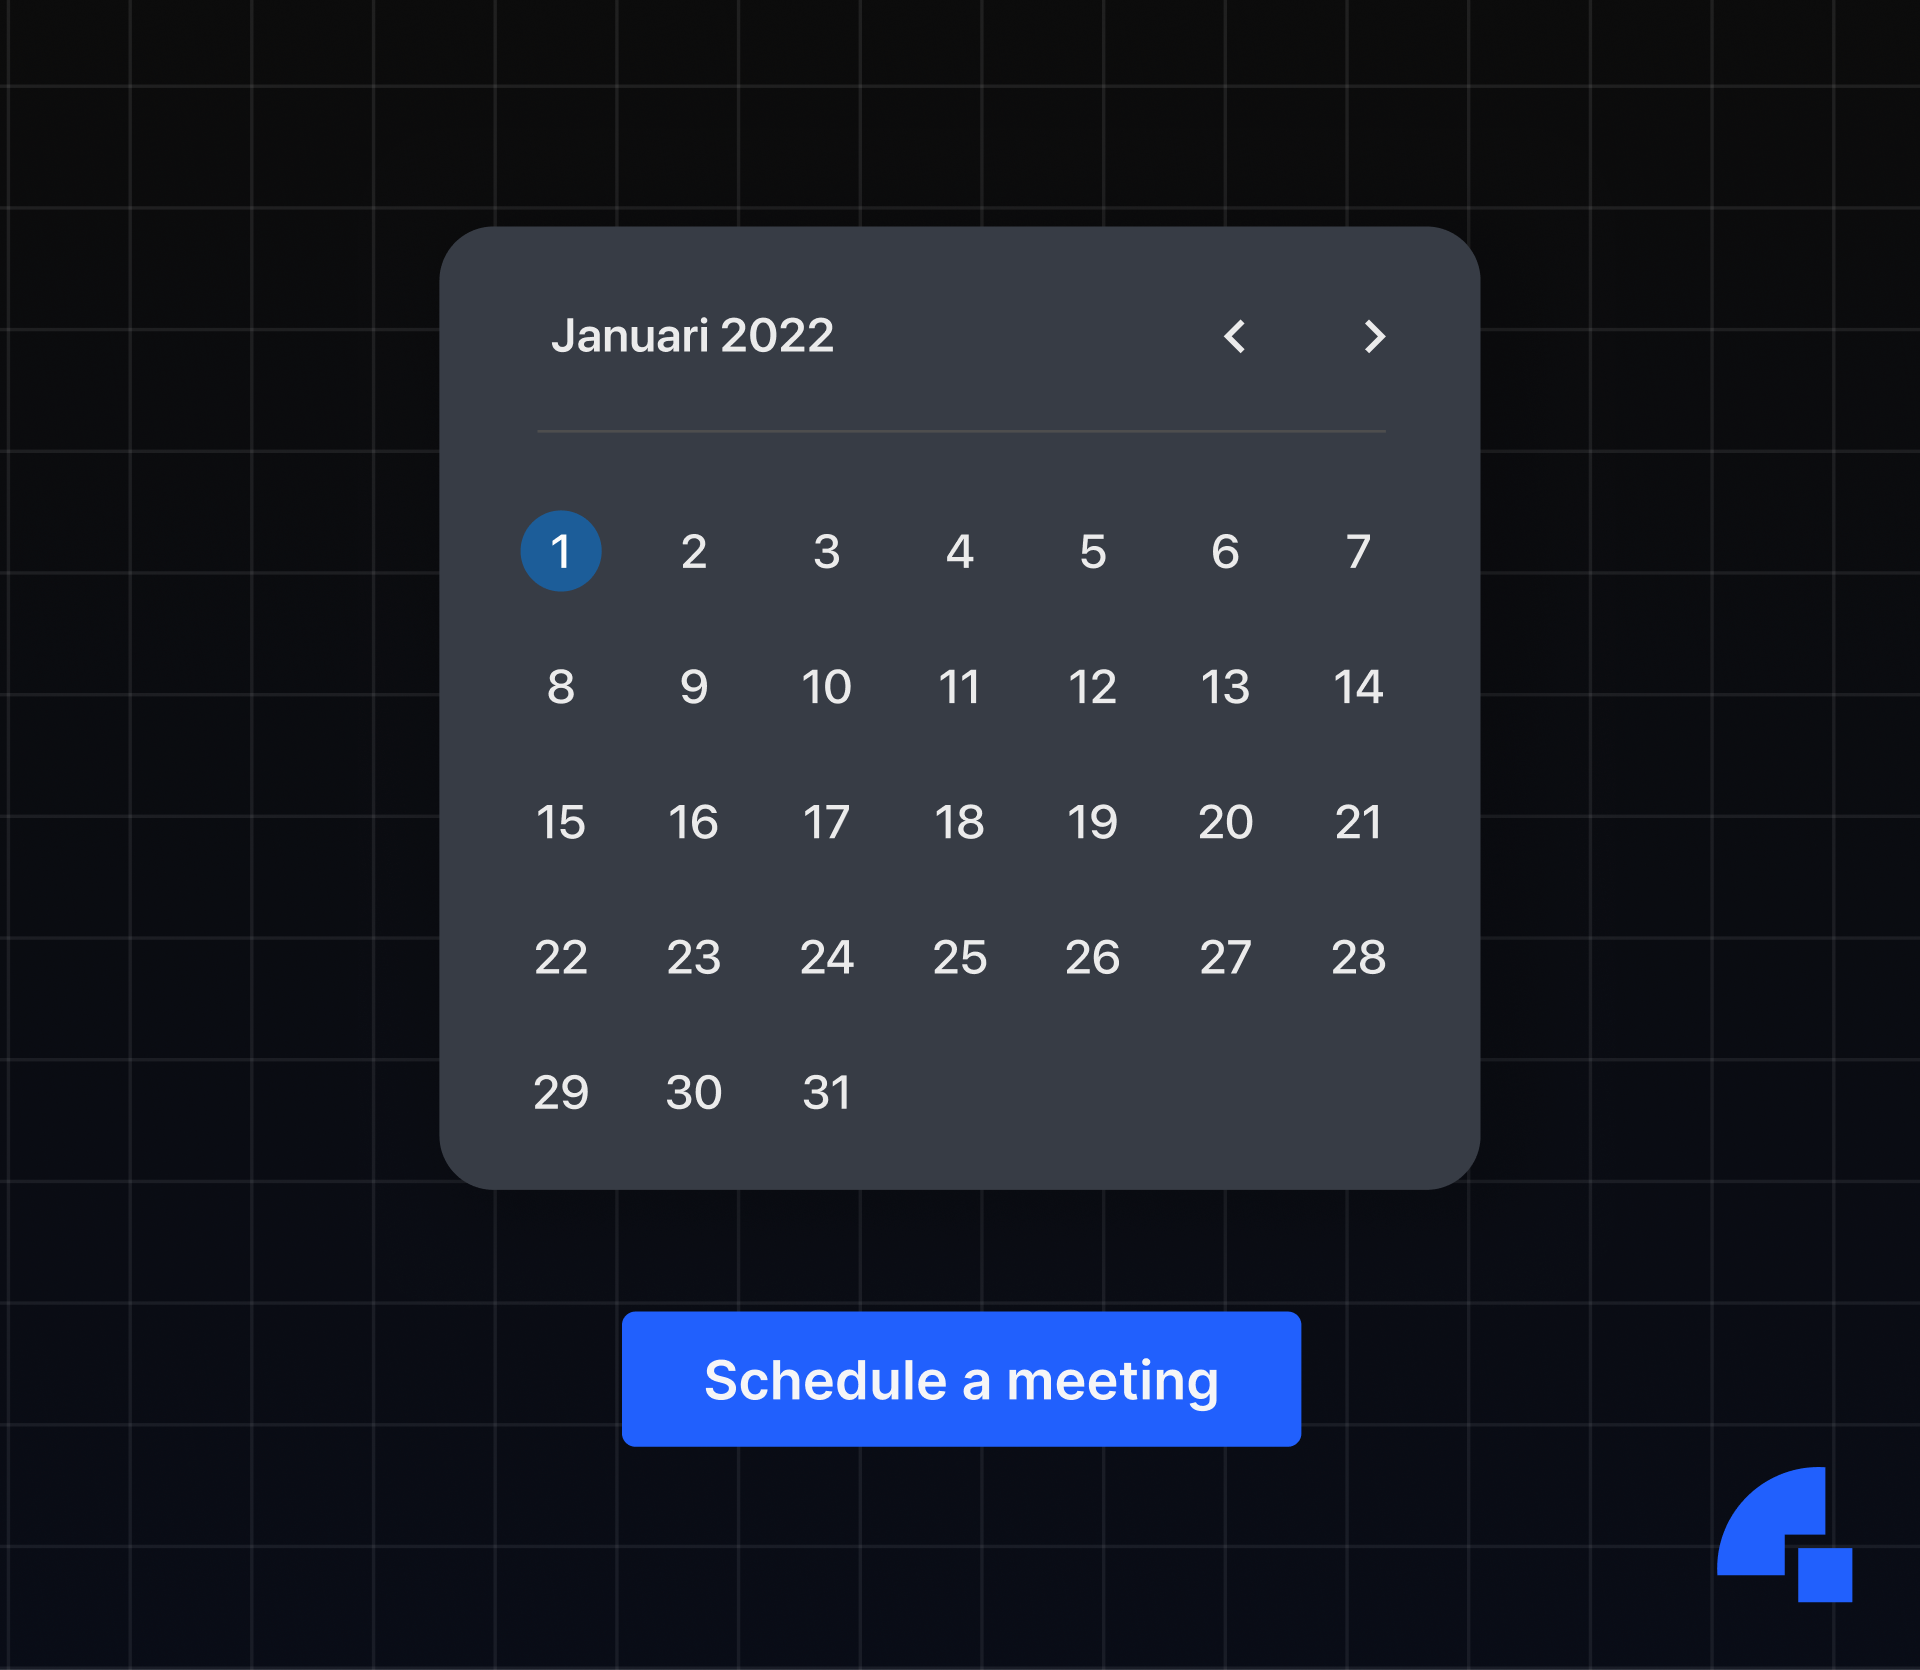
Before you can schedule the meeting, you must first determine the time slots. This could be provided directly by the user or generated automatically based on business logic.
The important thing to note here is that Dyte meetings do not have a date or time associated with them, so you can create the meeting ahead of time in advance. You can join the meeting at any time after it is created. (Don't worry, billing doesn't begin until the user joins the call :))
Once you’ve selected the time and the title for the meeting:
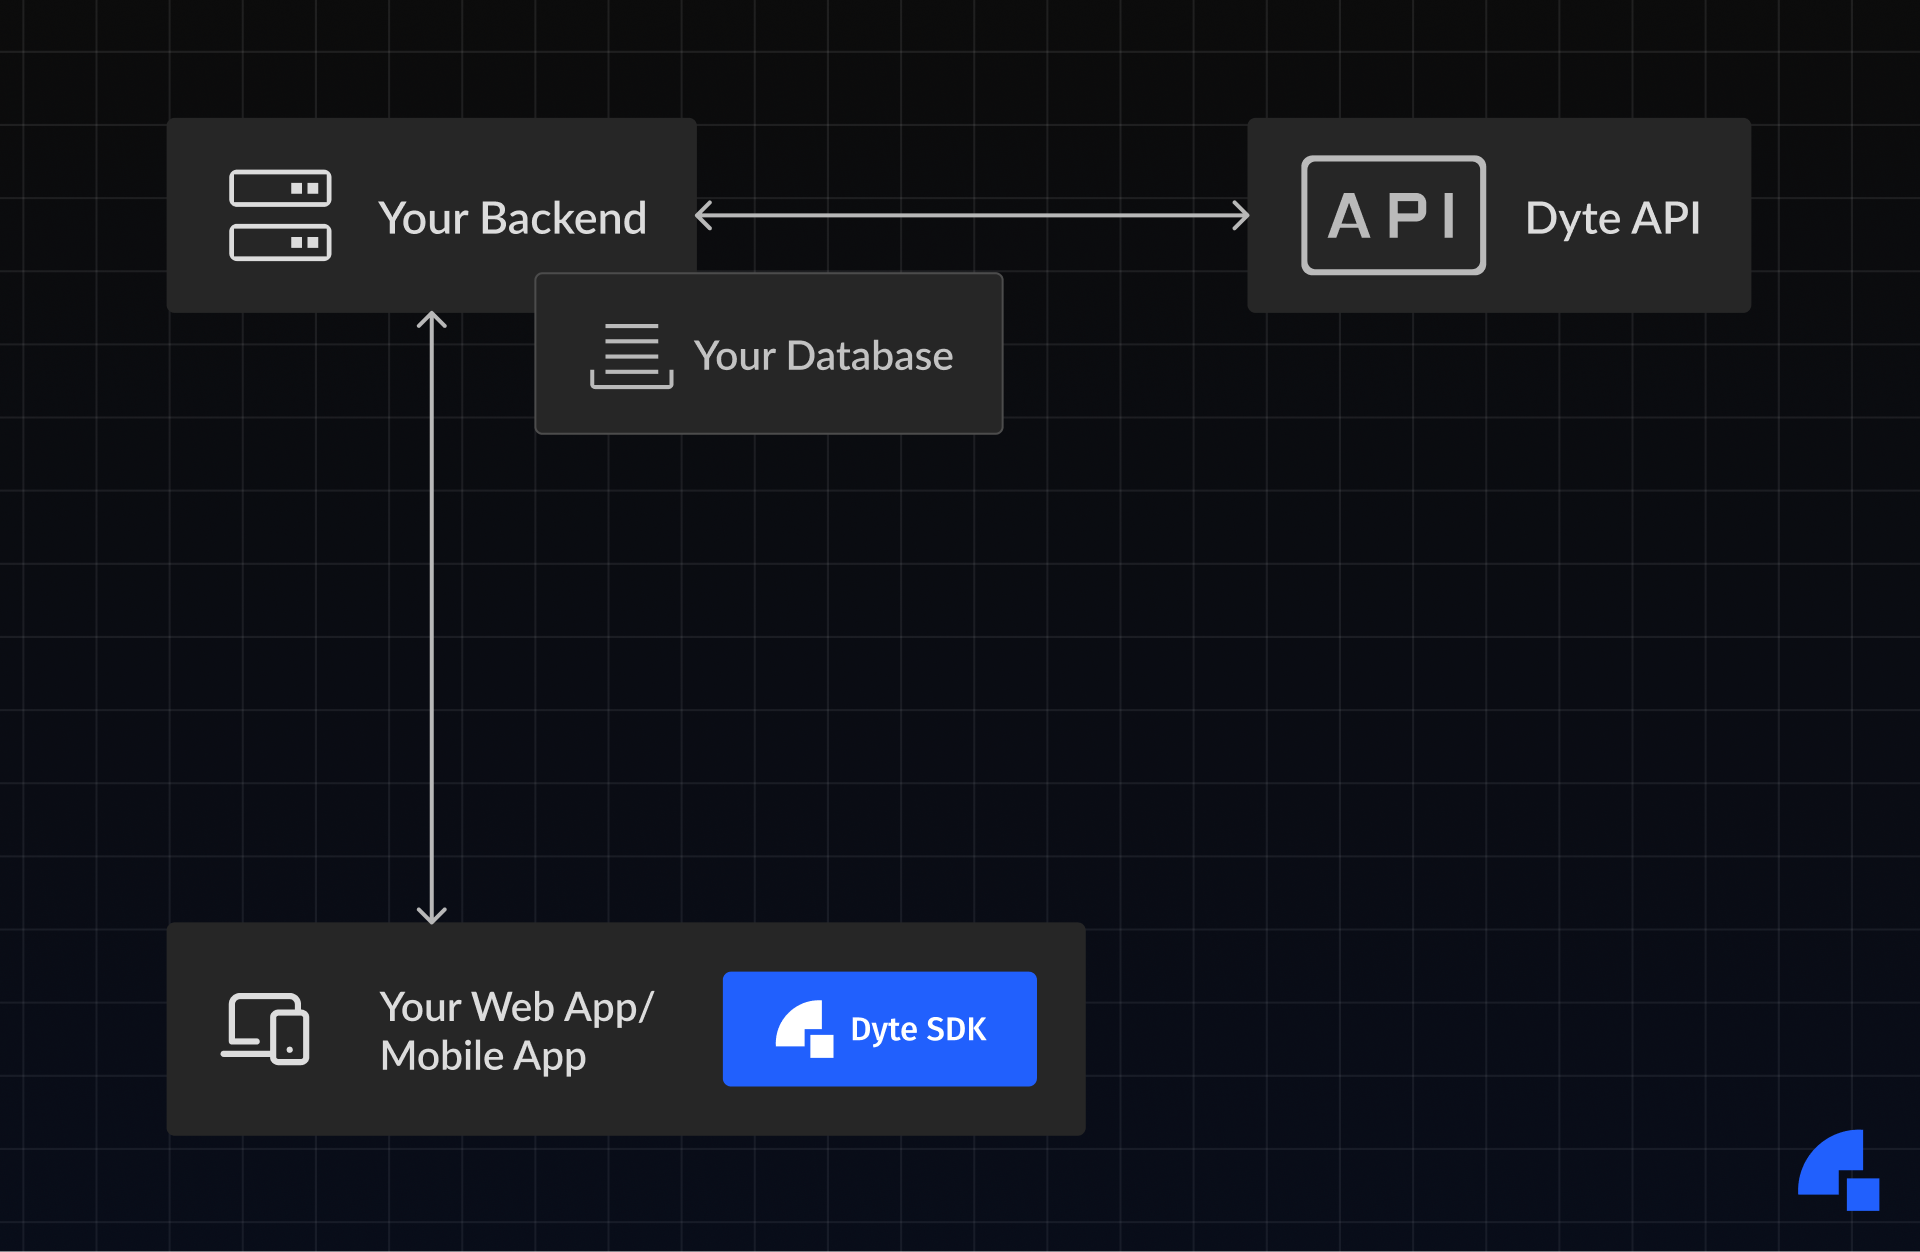
- Your frontend makes an API call to your backend to schedule a meeting with a timestamp.
- After that your backend calls Dyte’s REST API to create a meeting. This API returns you an unique identifier for your meeting
roomName.
Your backend now has a Dyte meeting identifier (roomName), start and end time, and meeting title. All of this data is saved in your database in the tableYourMeetings. An example of aYourMeetingstable is shown below:
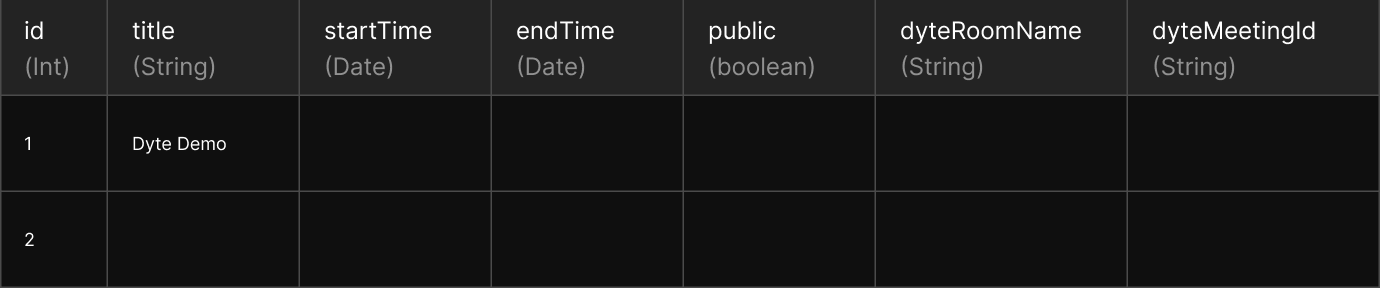
If you want only the selected users to join the meeting, create a new table in your database called YourMeetingUsers and store the user meeting entry there.
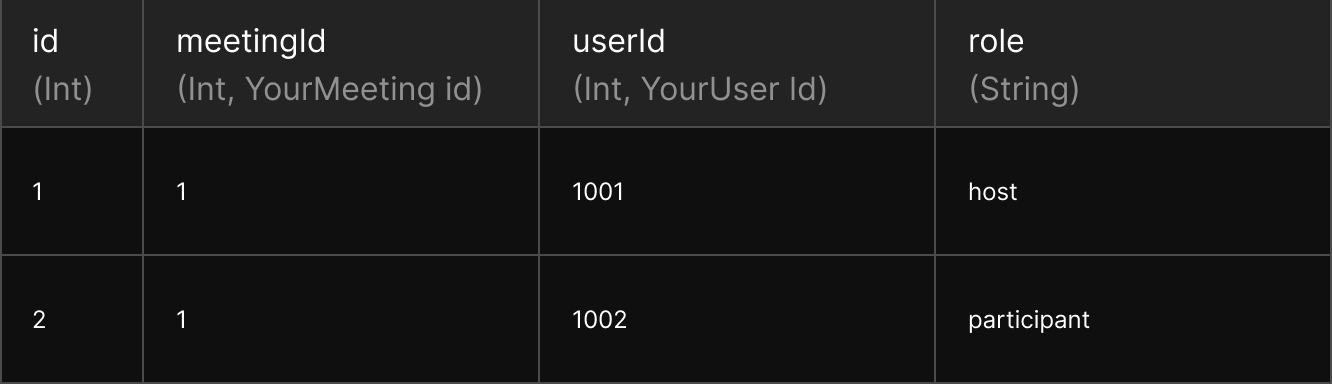
The example database structures show that all the metadata associated with a Dyte meeting, such as start and stop times, who is allowed to enter, and so on, is maintained in your database, and not stored in Dyte.
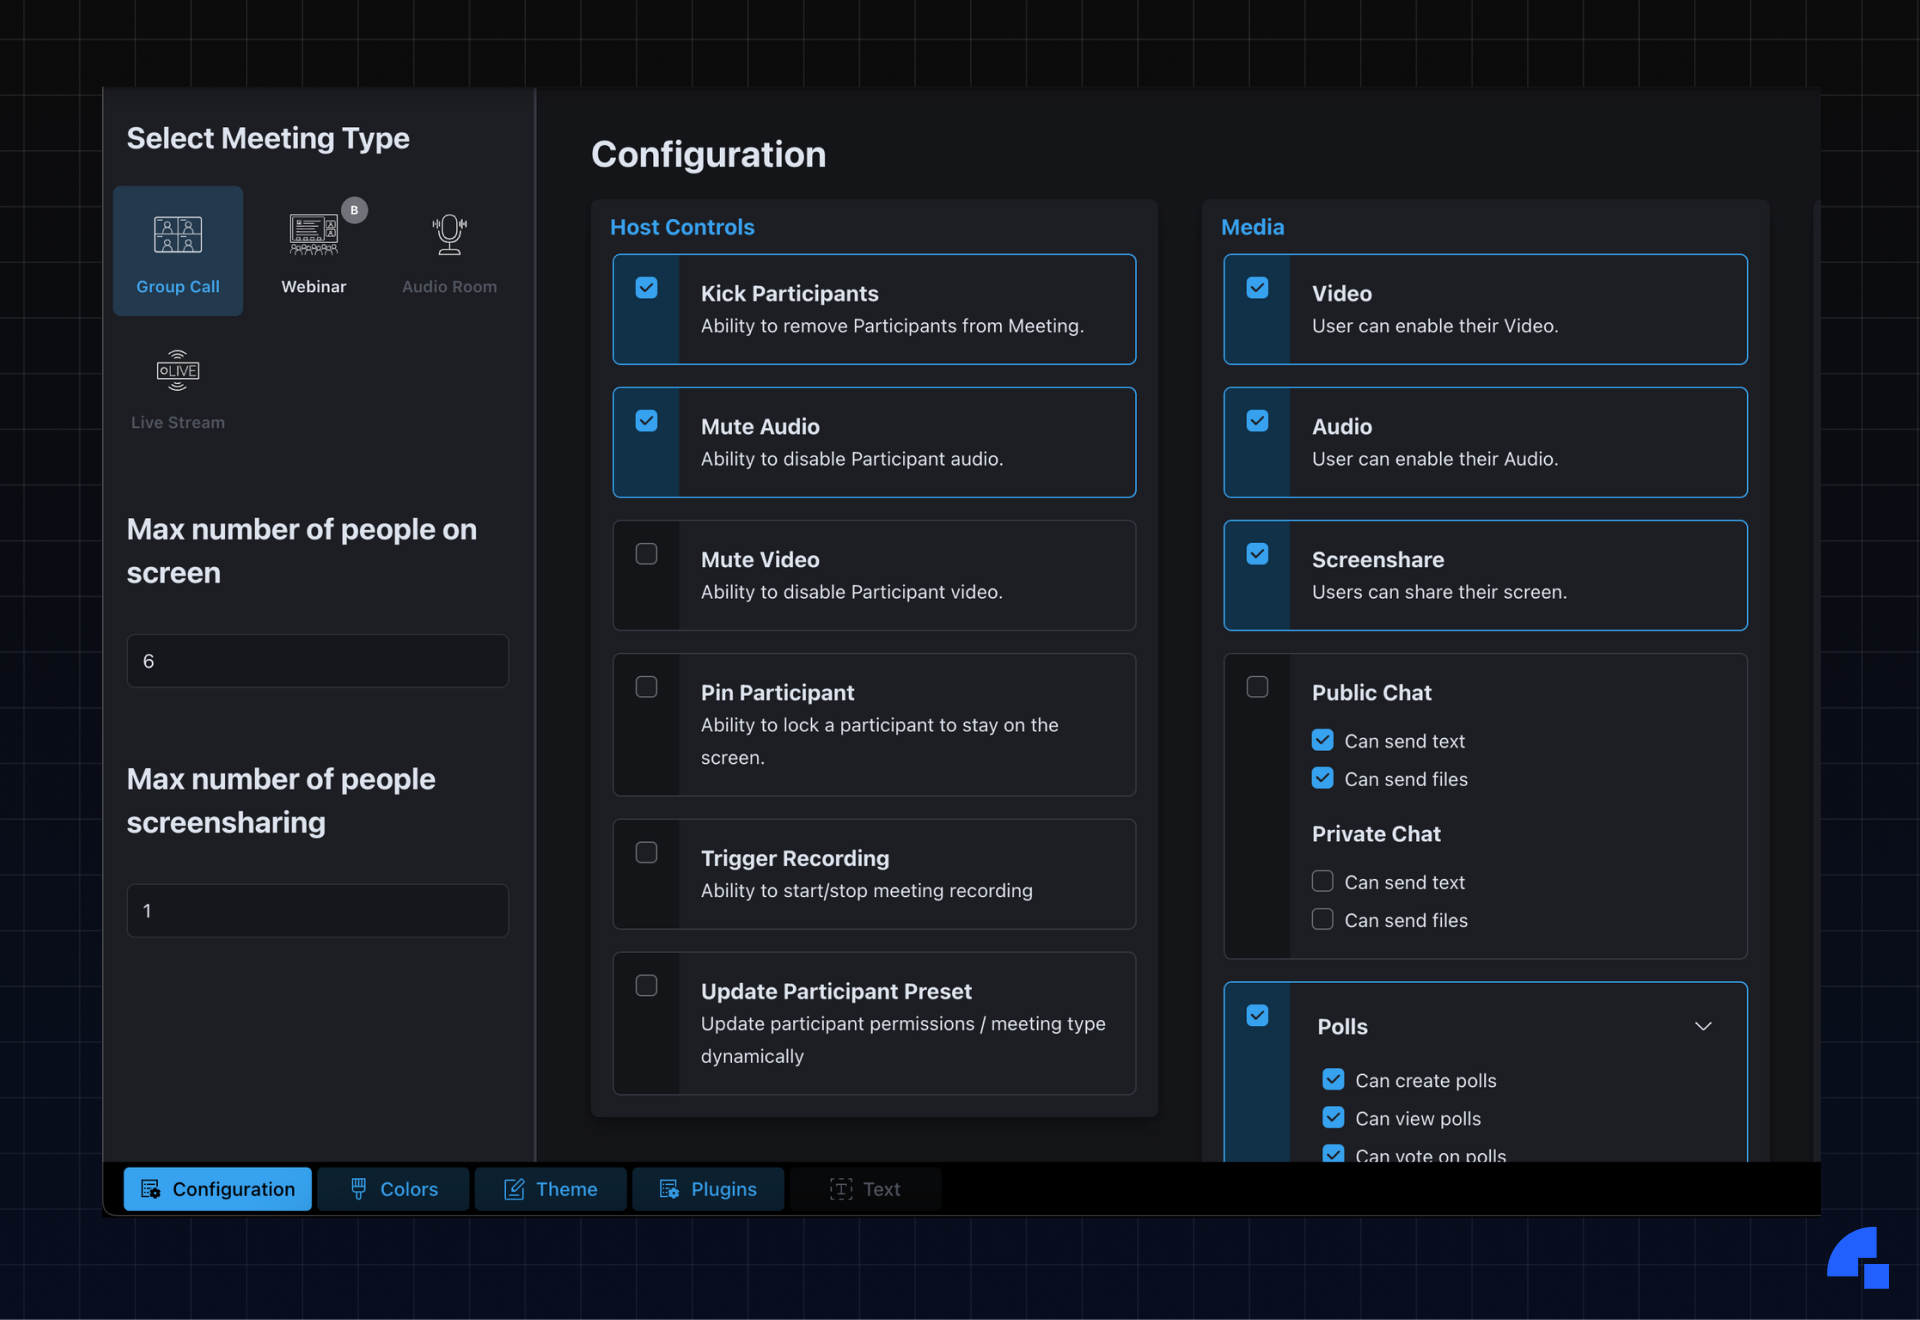
Furthermore, if you want to add different permissions for different categories of your users, use Dyte Presets. A preset is a set of permissions and UI configuration that will be applied to a user.
- Go to the developer portal, create a preset and check all the permissions you want a user category to have.
- Now save this preset and give it a name.
Part II: Generate a Meeting Link
To generate a shareable meeting link, all you need is to have a link that references to your YourMeeting entry, something like:
http://meet.yourcompany.com/<YourMeeting.id>
When this page is requested, you can add a few checks here:
- Is the
currentTimemore than the meeting start time and less than the end time? - Is the user authorized to enter this meeting? You can check
YourMeetingUserstable if it is not a public meeting.
As mentioned earlier Dyte meetings do not have start/stop timestamps and they do not know who is allowed to enter, it is your backend who has to enforce these checks.
If the checks are passed, add participants to the meeting. To add participants to your meeting, simply use the Add Participant API.
In the body of this API call you can specify a presetName field that you created previously.
From the YourMeetingUsers table, if the user role is host you can use the host preset, if not the participant preset.
{
  "clientSpecificId": "string",
  "userDetails": {
    "name": "string",
    "picture": "http://example.com"
  },
  "presetName": "string",
}
The API response contains the user authentication token authToken.
You can now return this authToken and YourMeeting.roomName to the frontend, and to the Dyte SDK to initialize.
For example, React SDK:
useEffect(() => {
    initMeeting({
      roomName: '<room-name>',
      authToken: '<auth-token>',
    });
  }, [roomName, ]);
Part III: Send Notifications via Email/Calendar
If you have ever received an email with a calendar invite, here’s how it works. You can skip this section if you do not want any calendar invite.
The iCalendar File
ICS (iCalendar) is a standardized format to store and exchange calendar information between different applications and services. ICS files store events in a hierarchical structure which includes start and end times, location information, contact details, description of the event, and more. The data can be easily imported into various calendar programs.
All you need to do to send a email with an attached .icsfile. Here's a Python code to generate an .ics file for the meeting you just created:
from icalendar import Calendar, Event
from datetime import datetime
cal = Calendar()
cal.add('prodid', '-//My APP//mxm.dk//')
cal.add('version', '2.0')
event = Event()
event.add('summary', '<meeting-title> and <meeting-link>')
event.add('dtstart', datetime(2023,1,1,8,0,0))
event.add('dtend', datetime(2023,1,1,10,0,0))
event.add('dtstamp', datetime(2023,1,1,0,10,0))
event['uid'] = '20050115T101010/27346262376@mxm.dk'
event.add('priority', 5)
cal.add_component(event)
Send the Email
You can then send this calendar invite to the user using any of the email APIs.
import sendgrid
from sendgrid.helpers.mail import *

sg = sendgrid.SendGridAPIClient(apikey='YOUR_SENDGRID_API_KEY')

from_email = Email("meetings@yourapp.com")
to_email = Email("user@yourapp.com")
subject = "Meeting Invite"
content = Content("text/plain", "Joing YourApp meeting at <meeting-link>")

mail = Mail(from_email, subject, to_email, content)

# add attachment
attachment = Attachment()
attachment.content = base64.encode(cal.to_ical())
attachment.type = "text/calendar"
attachment.filename = "invite.ics"
attachment.disposition = "attachment"
attachment.content_id = "calendar"
mail.add_attachment(attachment)

response = sg.client.mail.send.post(request_body=mail.get()
Hooray, you've learned how to schedule a meeting, add participants with different permissions and settings to the meeting, generate meeting URLs, and send calendar invite. Dyte SDK simplifies all these tasks for you.
Enjoy scheduling and sending meeting invites (no spam please 🤪).