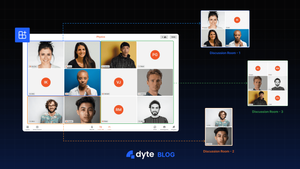
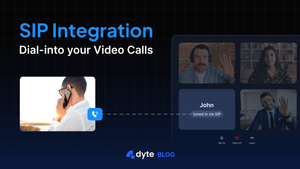
Effective collaboration is more critical than ever in today's increasingly remote and distributed work environments. Large virtual meetings can present challenges, making it difficult for teams to communicate and collaborate efficiently. This is why we have built breakout rooms to facilitate focused discussions, brainstorming sessions, and collaboration — ultimately enhancing team dynamics and productivity.
Why do we need breakout rooms?
Virtual meetings can be overwhelming, particularly when there are numerous participants. Traditional online meeting formats often limit meaningful interaction and hinder productivity. This is where breakout rooms come into play. Meeting participants can be split into smaller groups for targeted discussions and collaboration.
With the rise of remote work and online learning, breakout rooms have become essential for enhancing engagement and building community in virtual settings. They are ideal for workshops, online classrooms, or even if you require a moment to speak privately with a select few participants outside the main meeting.
Key features of Dyte breakout rooms
- Separate recordings: With Dyte, each breakout room is a separate meeting itself which means you also get recording for each session separately
- Dyte makes it easier to control who can create and enter rooms with permission settings
- You can use plugins in each breakout room. For example,
a. The whiteboard plugin can be used as a deliverable for each breakout session
b. DocSync plugin can be used for a focused reading and brainstorming session
Use cases and scenarios
Dyte breakout rooms offer immense potential across various industries and team structures. Whether you're conducting training sessions, hosting virtual meetings, or facilitating project discussions, breakout rooms can be customized to suit your specific needs. They enable targeted discussions, confidential meetings, interactive workshops, and collaborative problem-solving, making them invaluable for teams of all sizes.
How to create Dyte breakout rooms
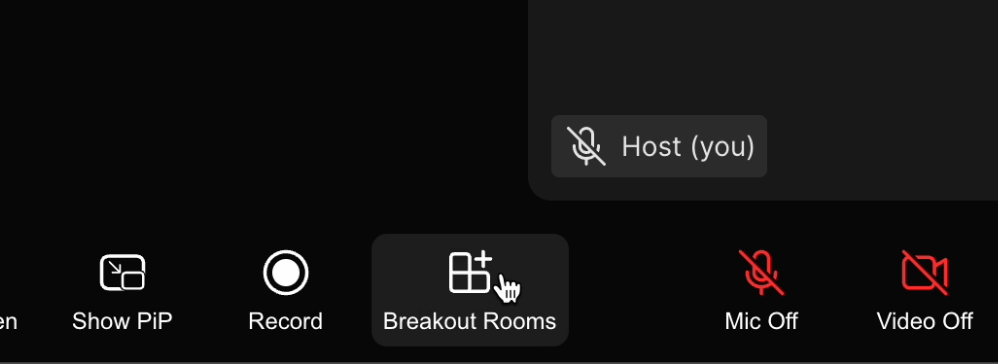
Step 1: In your Dyte Meeting, click on the "Breakout Rooms" button located in the control bar at the bottom.
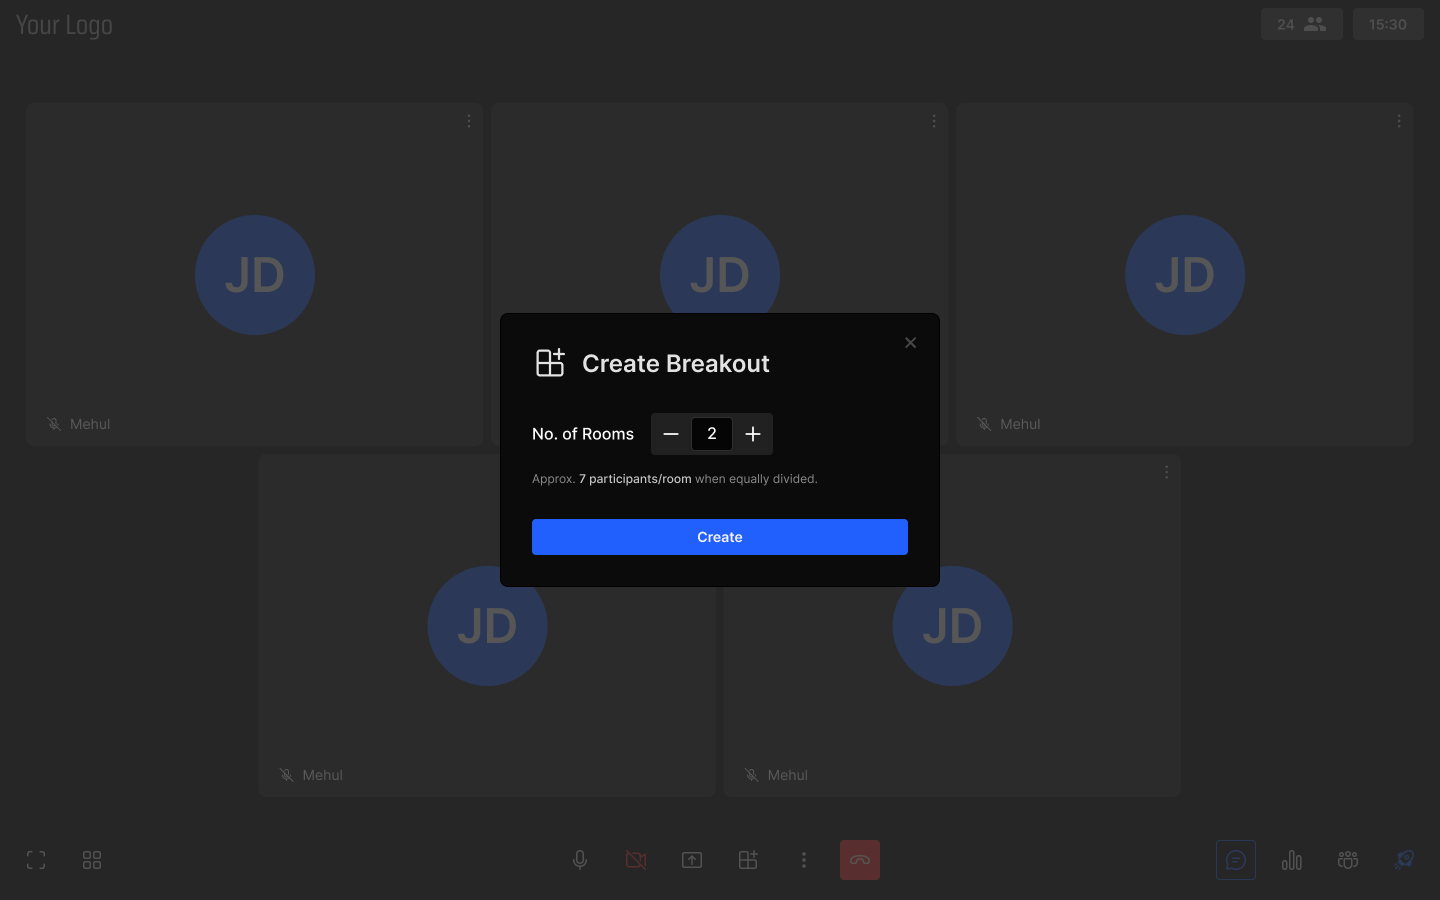
Step 2: Select the number of rooms.
Step 3: Shuffle randomly assigns participants, or you can drag and drop them in their respective rooms.
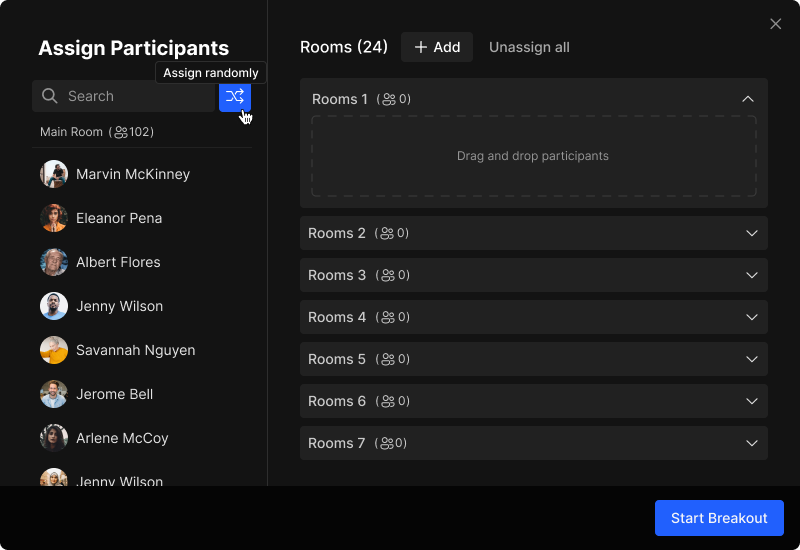
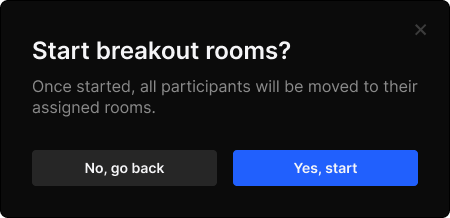
Step 4: Click "Start Breakout," and then "Yes, start". 🚀
How to use Dyte breakout rooms effectively
It is essential to understand how to set up breakout rooms and manage them effectively to leverage their full potential. Here are some practical tips to make the most of this feature:
- Define clear objectives and desired outcomes for each breakout room session.
- Allocate sufficient time for each session and ensure smooth transitions between rooms.
- Provide clear instructions to participants that they are being moved to a breakout room.
- Foster an inclusive environment where all voices are heard, and ideas are encouraged.
Conclusion
Breakout rooms represent just the beginning of a more collaborative future. You can expect further enhancements and integrations to augment Dyte breakout rooms' power as technology evolves. Imagine seamless integration with project management tools or AI-powered facilitation features.
Check out our docs for detailed guides.
If you have any thoughts or feedback, please contact me on Twitter or LinkedIn. Stay tuned for more related blog posts in the future!
If you haven't heard about Dyte yet, head over to dyte.io to learn how we are revolutionizing communication through our SDKs and libraries and how you can get started quickly on your 10,000 free minutes, which renew every month. You can reach us at support@dyte.io or ask our developer community if you have any questions.

