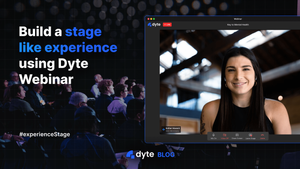
Introducing Dyte Webinar!
Engage with your audiences and grow your business and engagement using Dyte's webinar feature. You can expand your reach by hosting high-quality webinars at scale!
In addition to the group calls that our SDKs have long supported, we are now launching support for webinars as well.
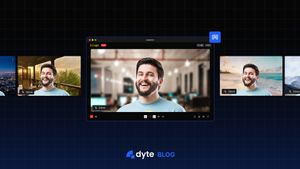
The Dyte Webinar!
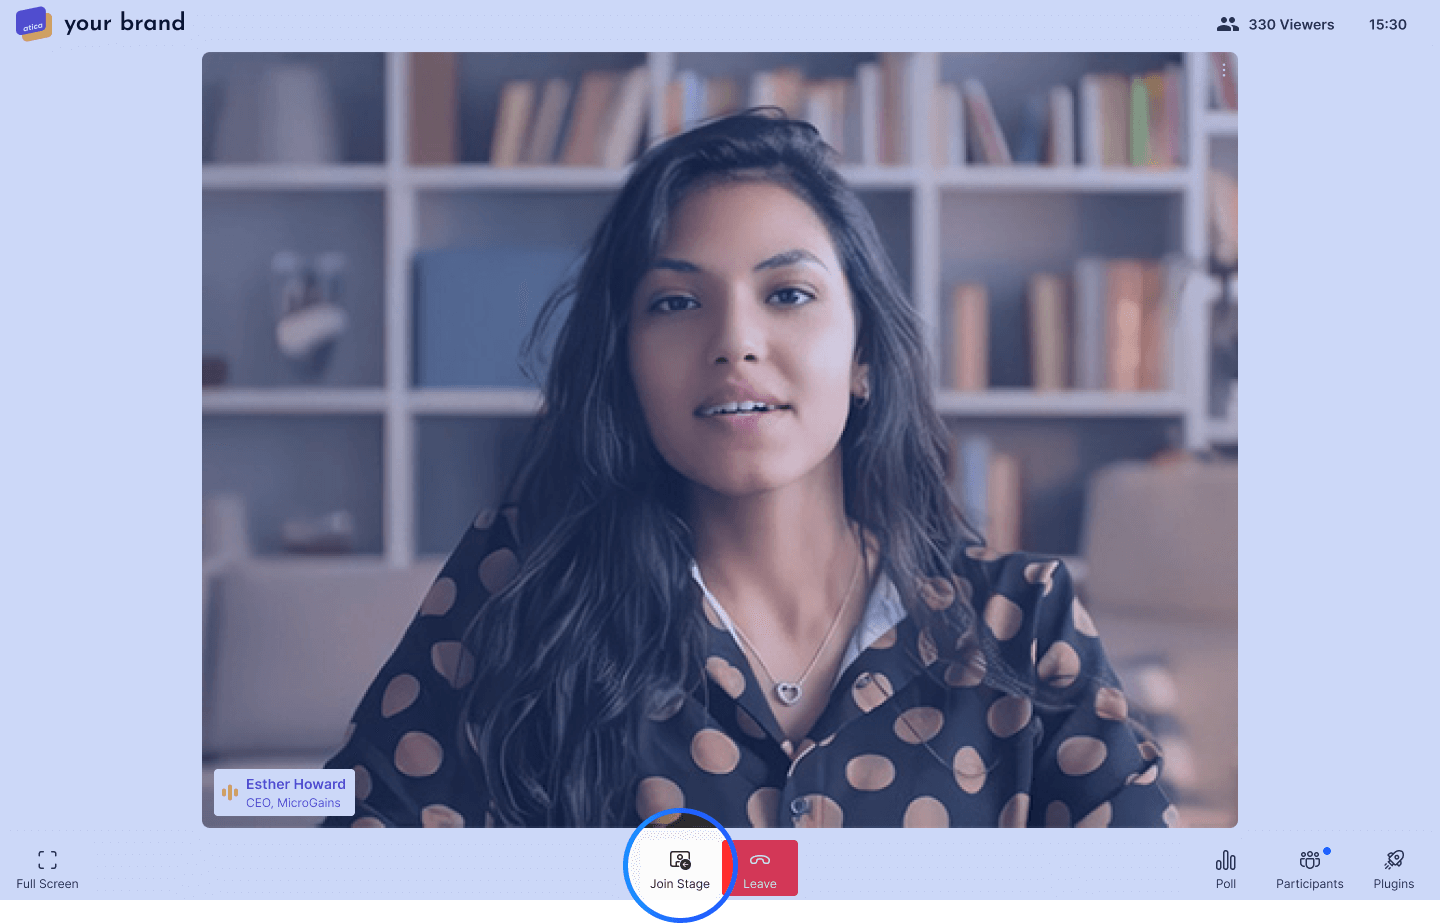
The Dyte Webinar revolves around the concept of a stage. The stage is directly accessible for hosts, while participants can request to join the stage! (And if you know how Dyte works, you know how all of these permissions can be modified according to your needs at the click of a button 😉)
Dyte Webinar features
1. Hosts can join/leave the stage at their convenience, while participants can request to join the stage.

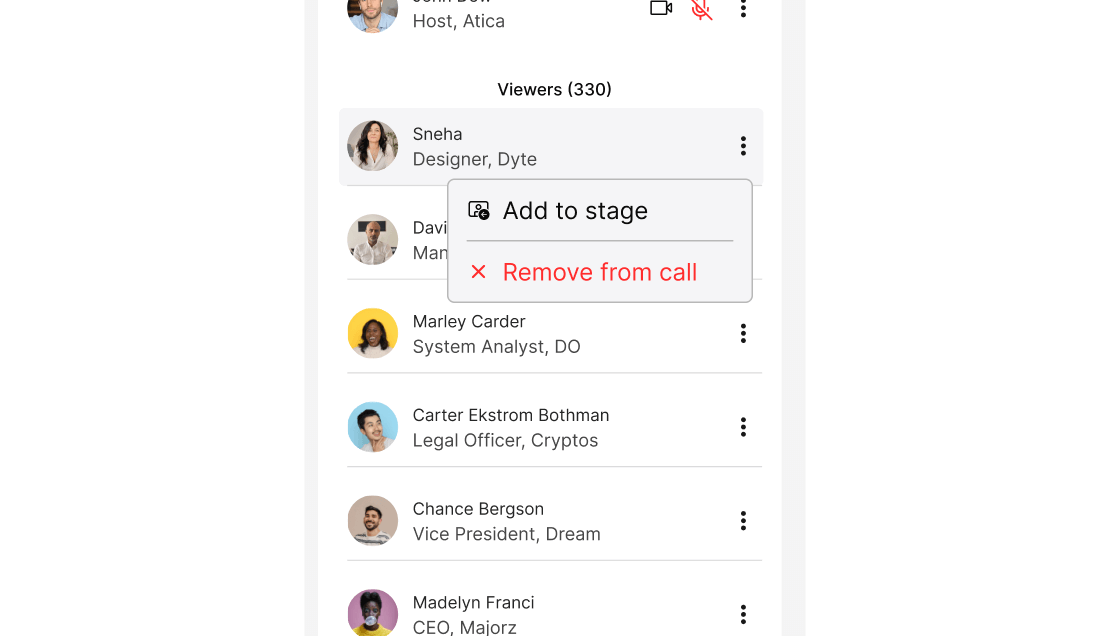
2. Directly ask participants to join the stage.
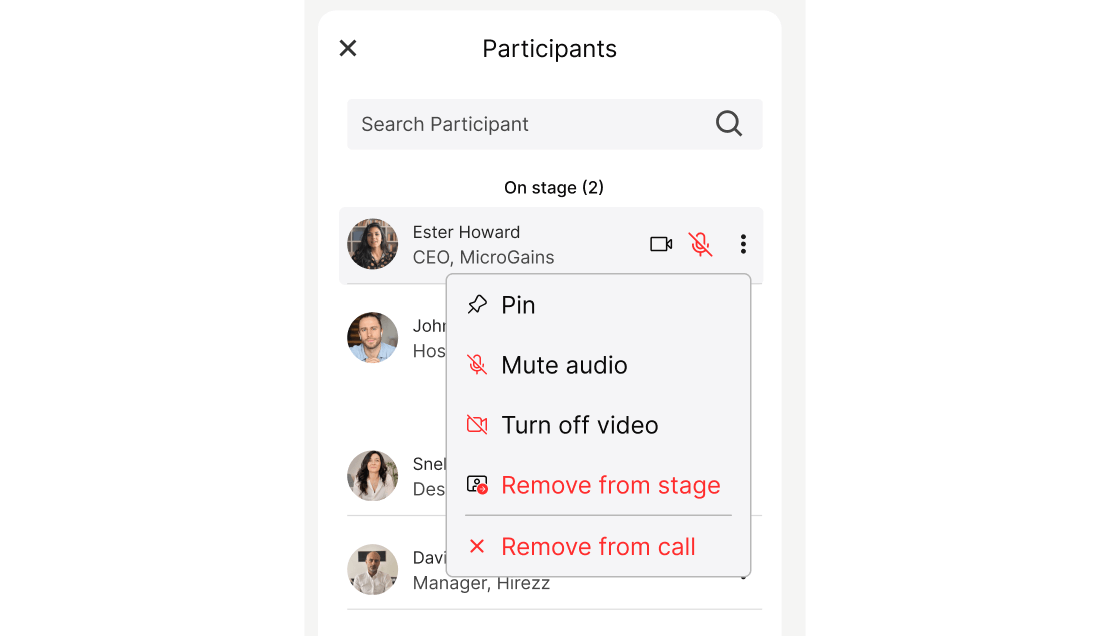
3. Remove participants from the stage.
How webinar is different from a group call?
Though both, group calls and webinars, are excellent tools for facilitating communication between small or large groups, they differ in that group calls facilitate more interaction between all participants. In contrast, webinars allow hosts to reach wider audiences, with most of the interaction being led by participants on the webinar stage.
Group calls enable two-way real-time video and/or audio communication between two or more people. A webinar provides a one-way communication system with the concept of a stage.
A stage consists of all the participants currently visible to the viewers. Hosts can join and leave the stage at their convenience. Also, participants can request to be added to the stage or be directly added to the stage by a host if required.
| Group Meeting | Webinar |
|---|---|
| Open collaboration space | One sided communication flow ( from stage to participants ) |
| Typically used for a small group, where everyone can speak at any time, start from 1 <> 1 | Typically used to convey information to a relatively larger audience at once |
| Anyone can switch their audio/video | Only peers on stage can switch their audio/video |
| Anyone can screenshare | Only peers on stage can screenshare |
| Anyone can access chat | Anyone can access chat |
| No concept of the central stage | The Host can invite other participants ( viewers ) to the stage or viewers can themselves request to join on stage |
| Breakout rooms are possible in group meetings | No concept of breakout rooms here |
| The Analogy to relate to: Fireside chat | The Analogy to relate to: Lecture Hall |
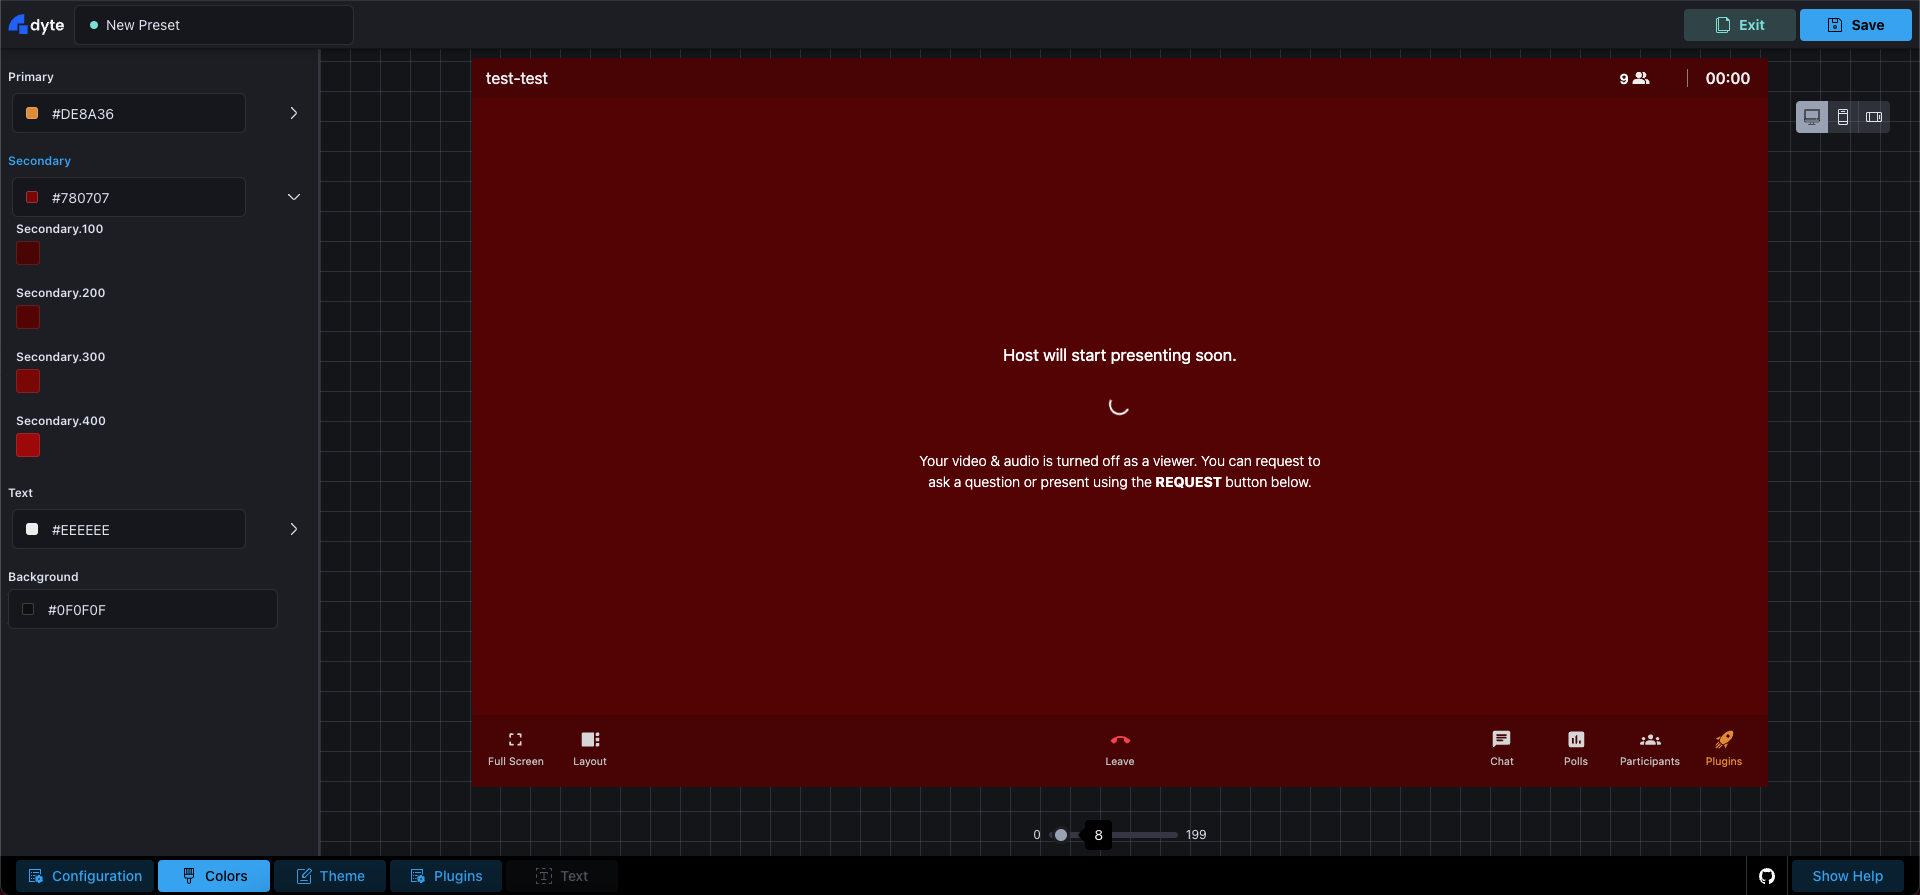
Creating and customizing a webinar with Dyte
Creating a webinar with Dyte is a breeze. Go to Dyte Developer Portal and select Webinar as the meeting type. Add presets for your hosts and participants, and you're all set
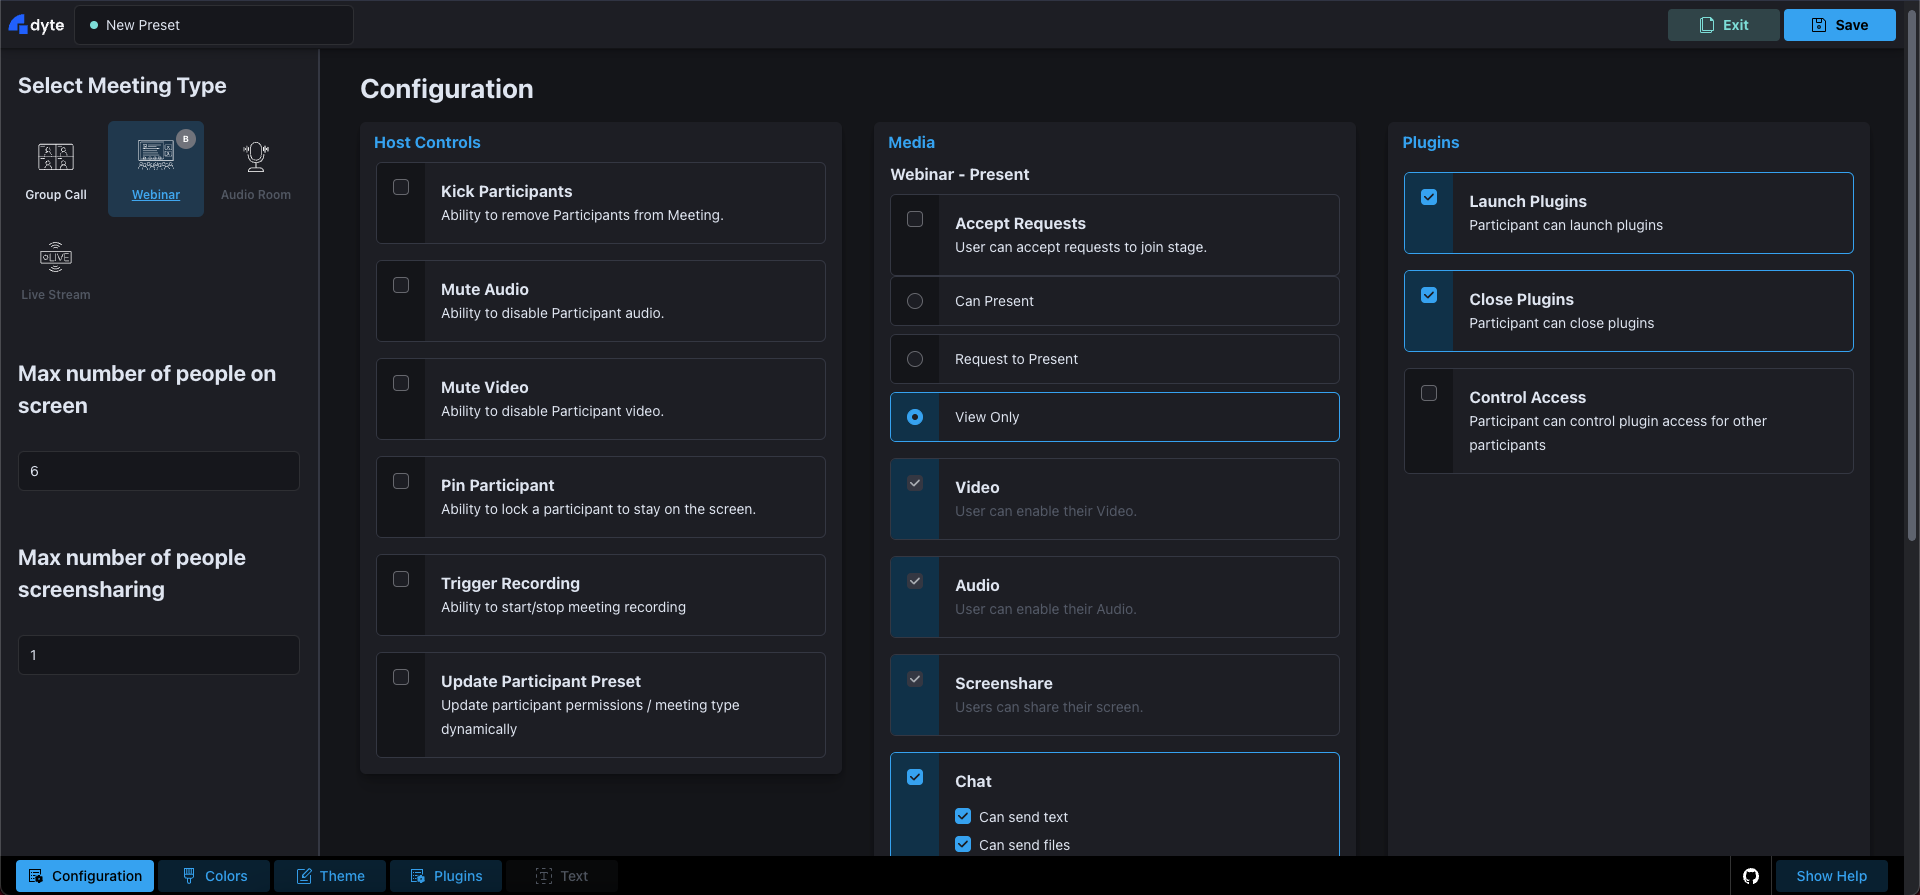
Once your webinar has been created, you can customize how it looks, add logos, and change colors, all from the developer portal itself!
Implementing a webinar using Dyte
Once you have created an organization and a preset of the webinar type, you can easily create a webinar in your web app (Mobile SDK support coming soon!).
Step 1: Create a Meeting
curl --request POST \\
  --url <https://api.cluster.dyte.in/v1/organizations/organizationId/meeting> \\
  --header 'Authorization: YOUR_API_KEY' \\
  --header 'Content-Type: application/json' \\
  --data '{
  "title": "Monday Sprint Planning",
}
Step 2: Add a Participant
Add a participant to this meeting created in step 1 with the same preset we created in the dev portal.
curl --request POST \\
  --url <https://api.cluster.dyte.in/v1/organizations/organizationId/meetings/meetingId/participant> \\
  --header 'Authorization: YOUR_API_KEY' \\
  --header 'Content-Type: application/json' \\
  --data '{
  "clientSpecificId": "string",
  "userDetails": {
    "name": "string",
    "picture": "string"
  },
  "presetName": "string",
  "roleName": "string"
}'
Step 3: Initialize DyteClient
Now that we have a roomName from step 1 and an authToken from step 2, we will have to initialize an instance of DyteClient. We will be using React for this example:
export default function App() {
  const [meeting, initMeeting] = useDyteClient();

  useEffect(() => {
    initMeeting({
      roomName: '<room-name>',
      authToken: '<auth-token>',
      defaults: {
        audio: false,
        video: false,
      },
    });
  }, []);

  return (
    <DyteProvider value={meeting}>
      <MyMeeting />
    </DyteProvider>
  );
}
And there you have it! You have now successfully implemented a webinar using Dyte!
If you're using the Dyte Webinar feature, we would love to hear from you about your experience.
If you haven’t heard about Dyte yet, head over to https://dyte.io to learn how we are revolutionizing live video calling through our SDKs and libraries and how you can get started quickly on your 10,000 free minutes which renew every month. If you have any questions, you can reach us at support@dyte.io or ask our developer community.