Unless you live under a rock, you would have used social media platforms such as TikTok, Instagram, Facebook, or Snapchat. When posting a photo or video on these platforms, you usually have the option to enhance the photo or video using various filters.
You can transform yourself in an image or video with a different hair color or wear a cap even though you didn't take the photo or record a video wearing one.
Social media platforms use Augmented Reality (AR) filters to make all these photo or video enhancements possible. AR filters are digital effects that can be applied to images or videos in real time, using computer vision technology to track the movements and facial features of someone in an image or video.
The AR filters are mainly used for entertainment, branding, and marketing because they offer a fun and engaging way to enhance visual content. These filters can also create immersive experiences, such as virtual try-ons for clothing, and showcase products uniquely and interactively.
In this article, you will learn how to build a video calling app with AR filters using Dyte video SDK, DeepAR, and web components UI kit. Dyte is a developer-friendly platform that offers robust SDKs to build live experiences within an application.
Prerequisites
To follow through with this article, you will need the following software installed on your computer:
- A text editor: I will use Visual Studio Code as a text editor for this article. To install VS Code, navigate to the VS Code download page and download it for your operating system.
Create and set up a Dyte account
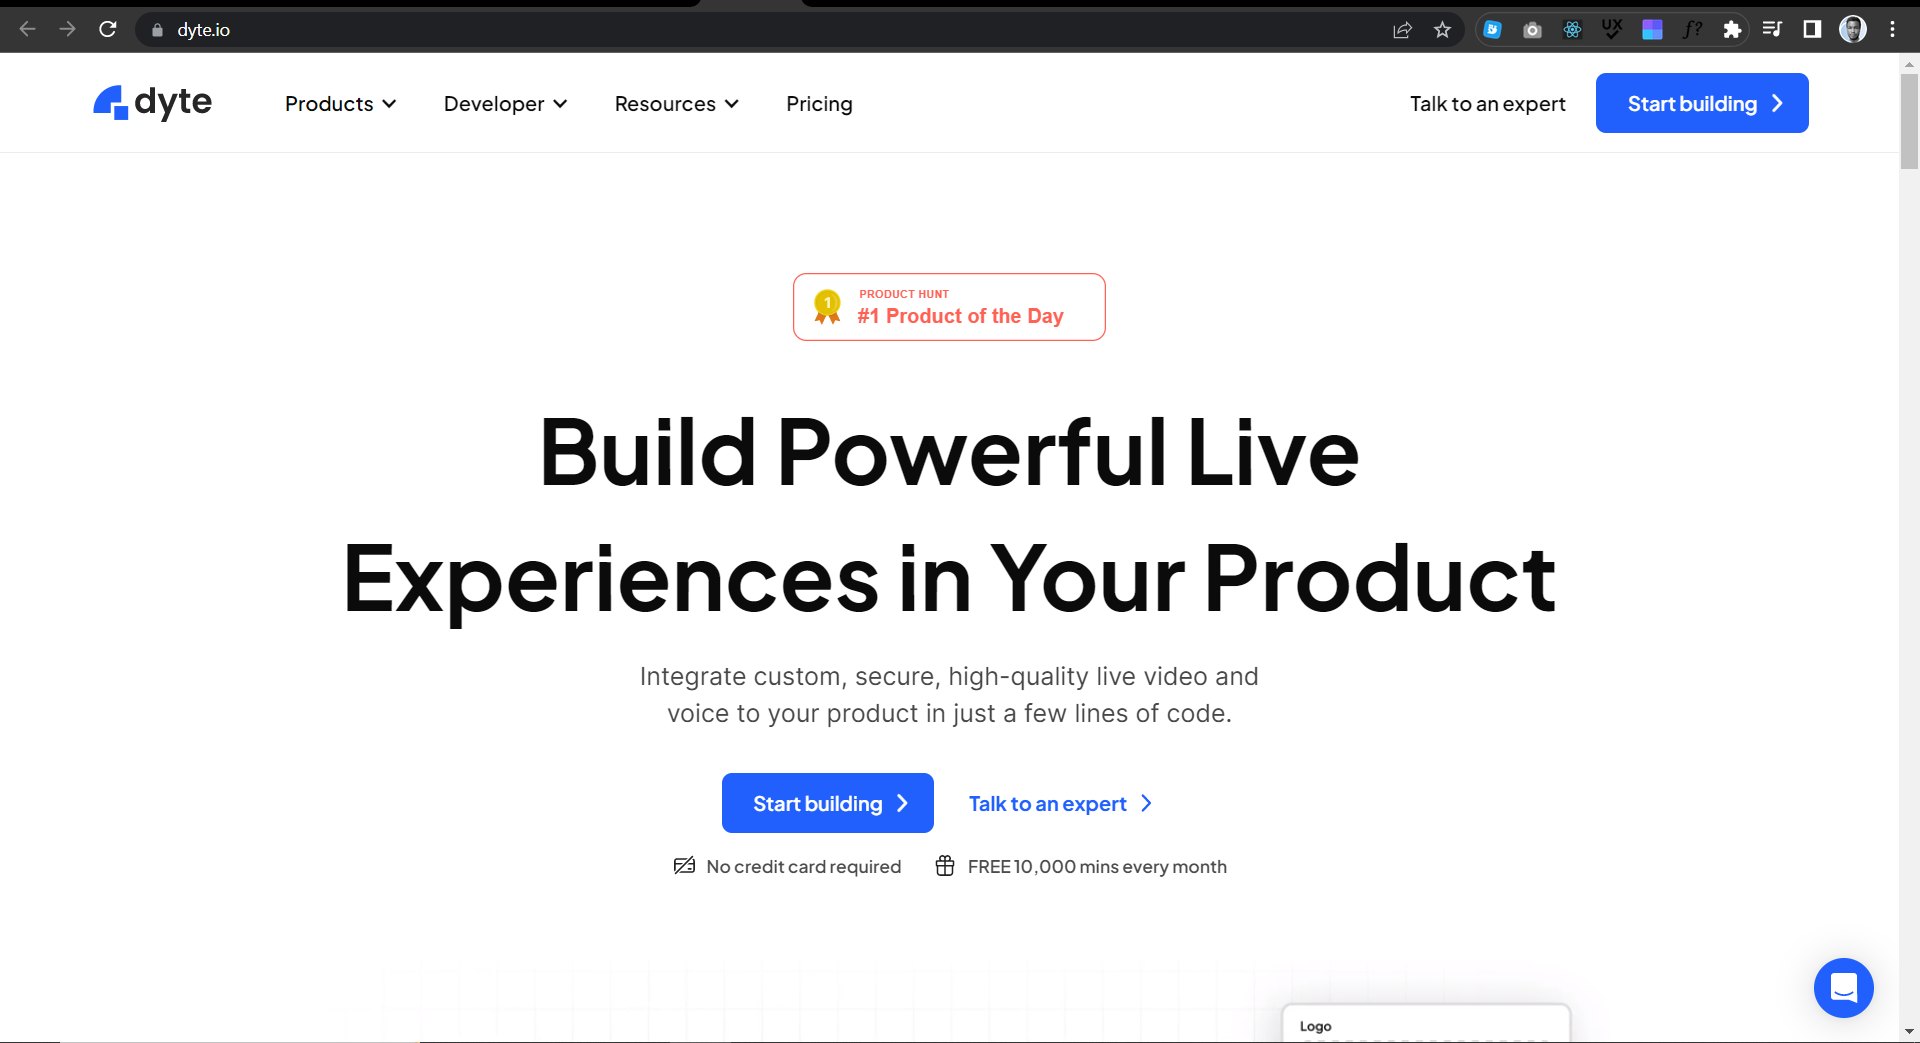
Step 1: Navigate to dyte.io and click the ‘Start building’ button.
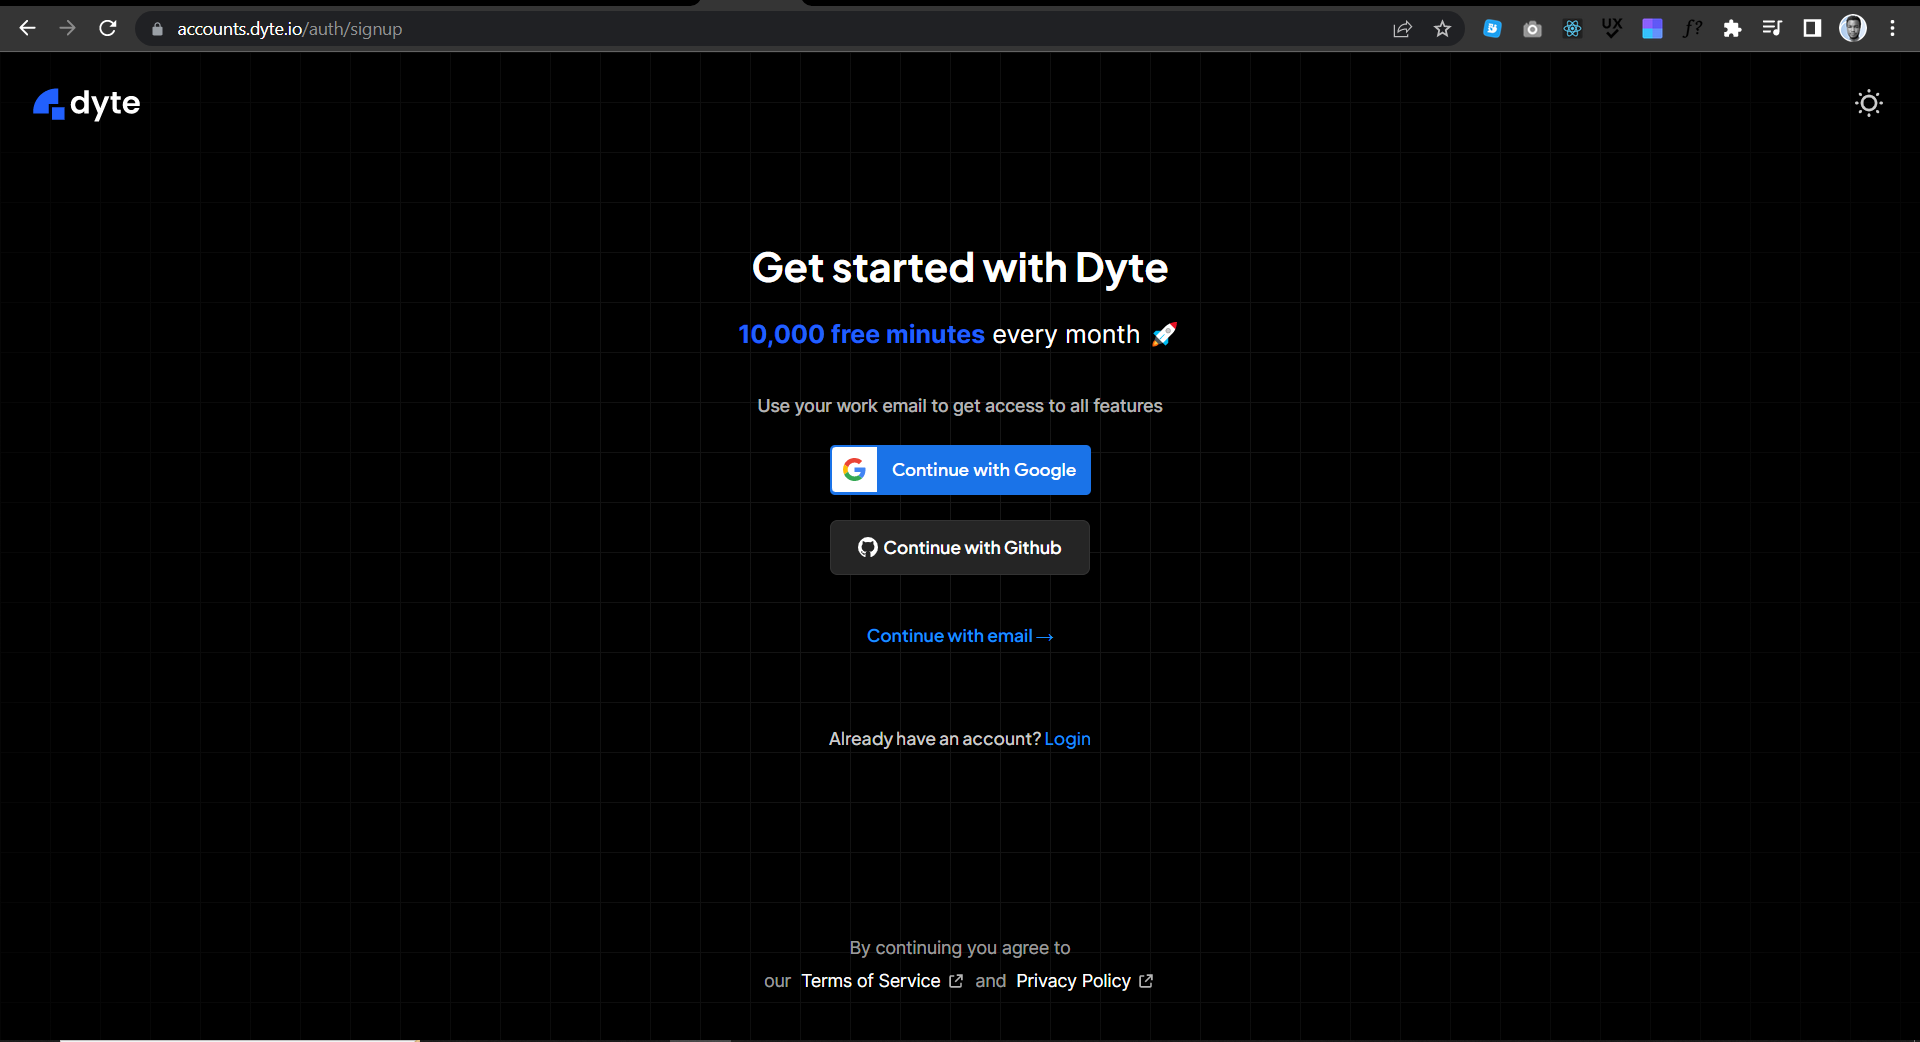
Step 2: Sign up for a free Dyte account on the next page using your Google or GitHub account.
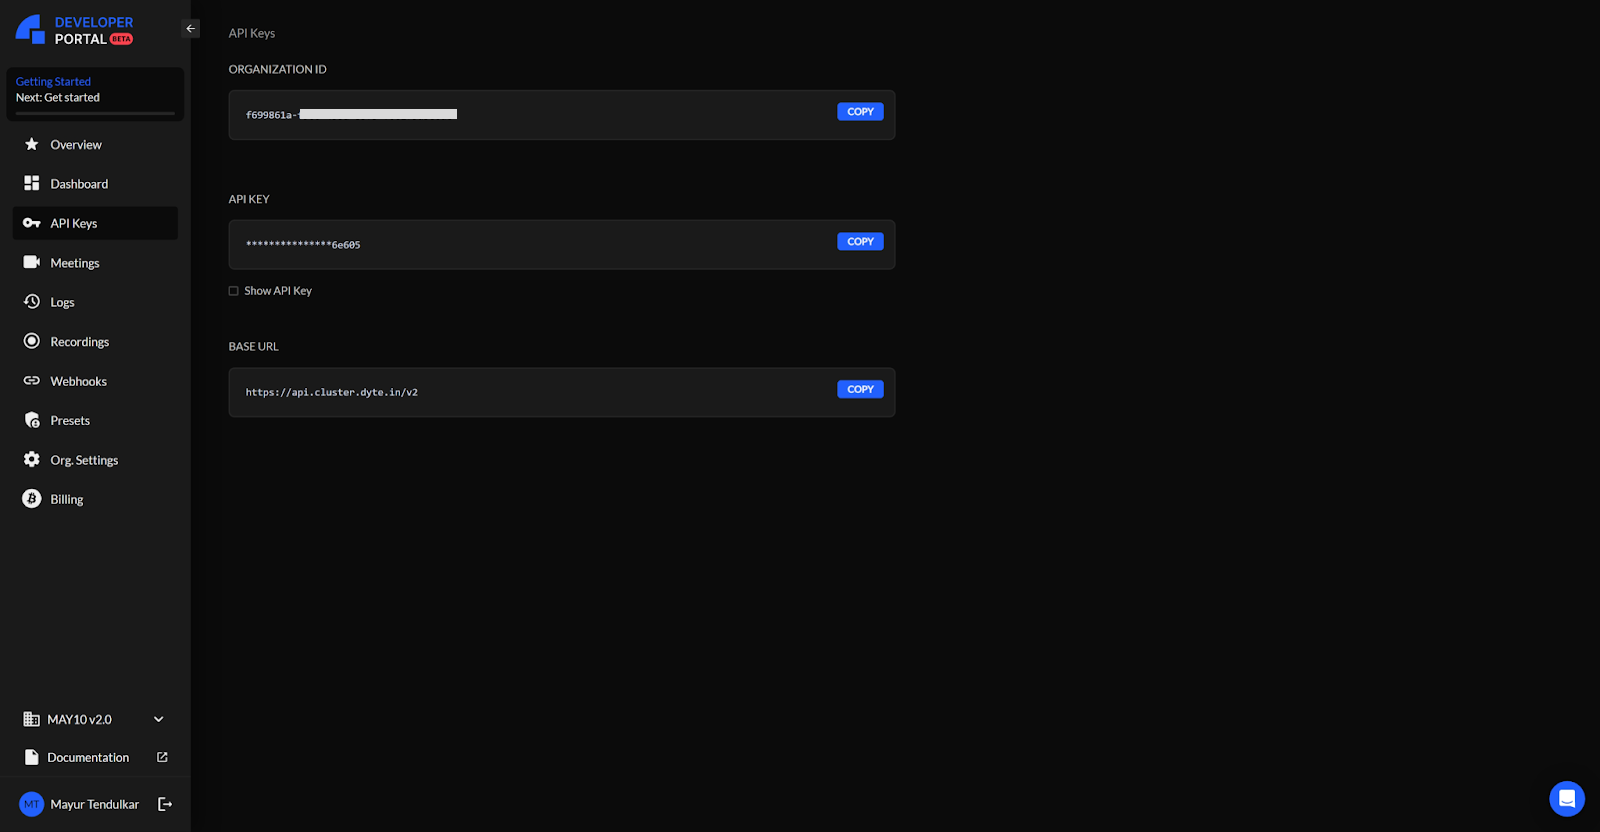
Step 3: After creating a Dyte account, you will be redirected to the ‘API Keys’ page, with an Organization ID and API key provided. Keep your API key secure, and don’t share it with anyone.
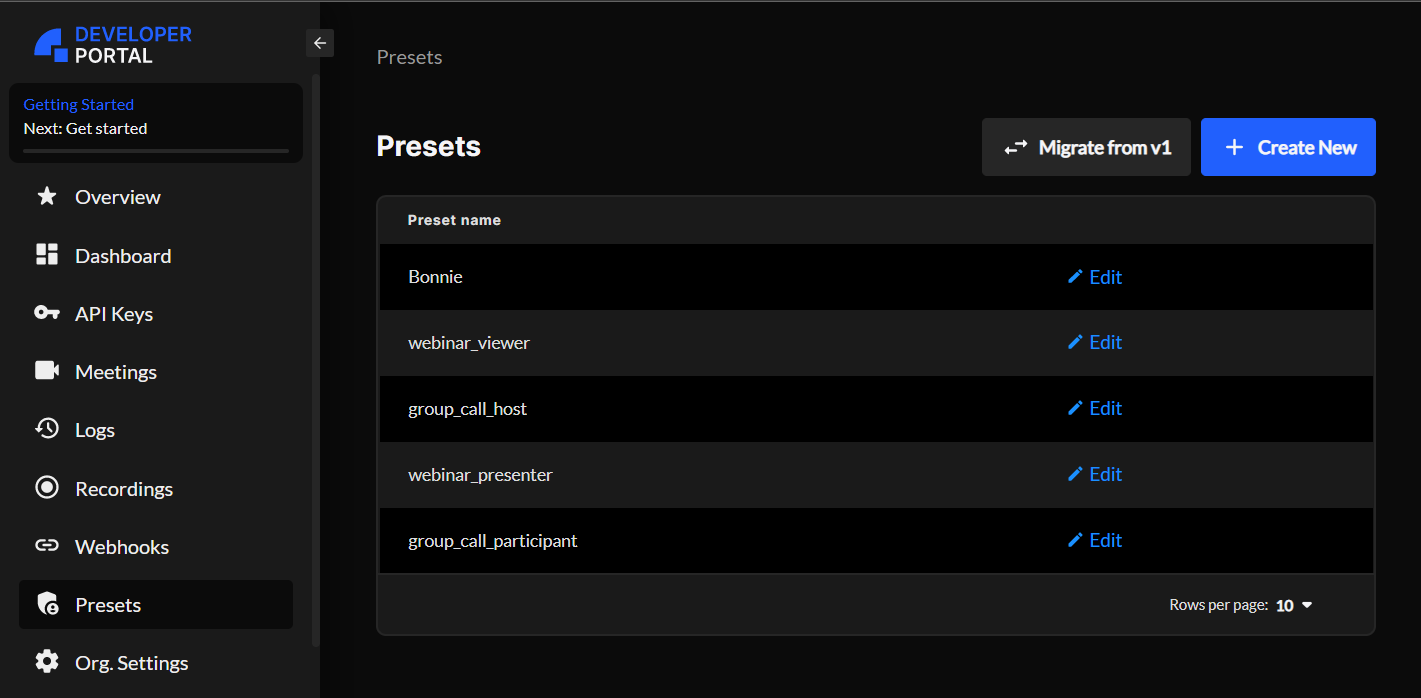
Create Presets
Dyte includes a bunch of pre-configured presets. You can simply use the default preset if you don't wish to create one.
Create a Dyte Meeting
Step 1: Navigate to the Create a Meeting page.
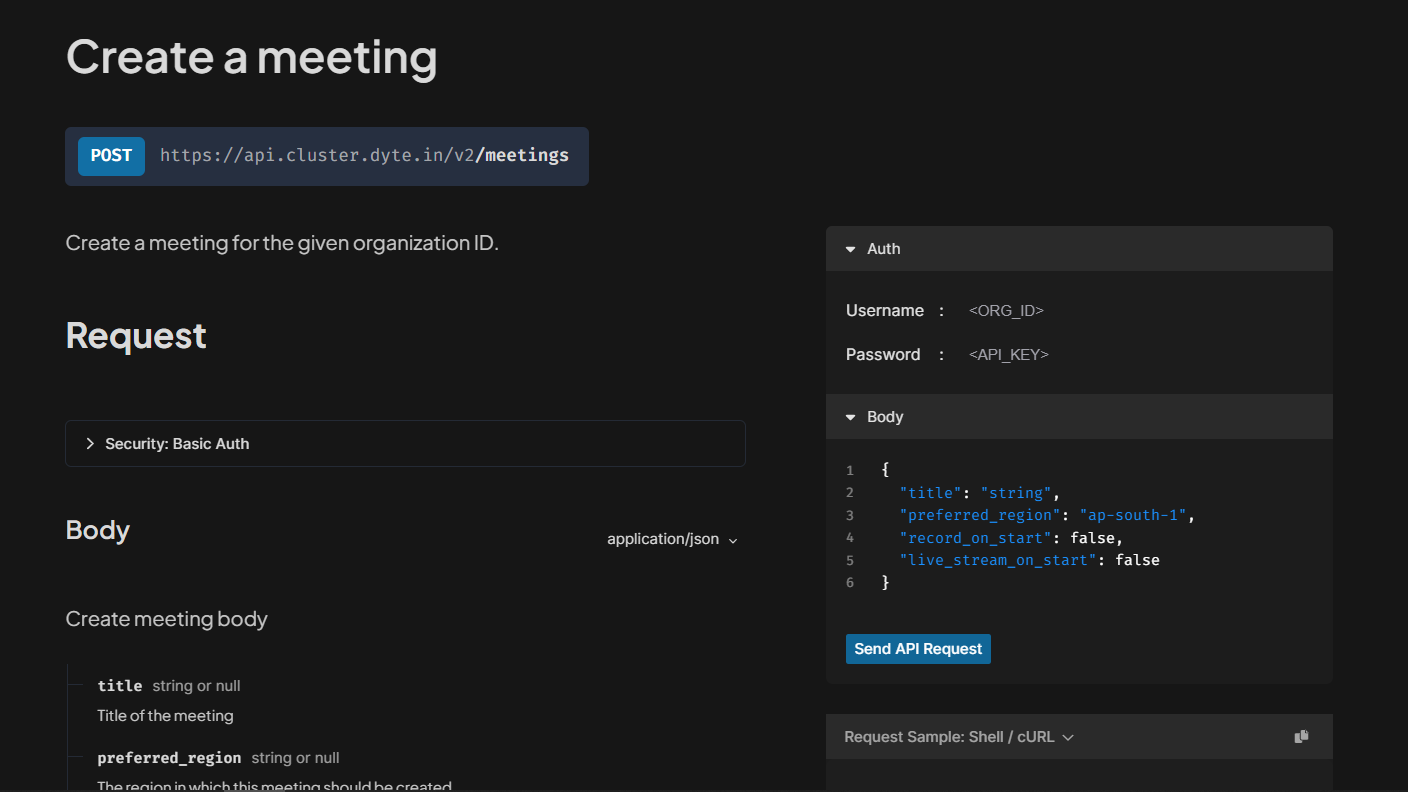
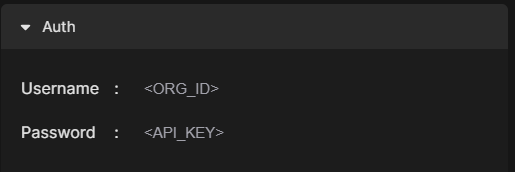
Step 2: On the right side of the page, fill the Username input field with Organization ID and the Password input field with your API Key provided on the API Keys page.
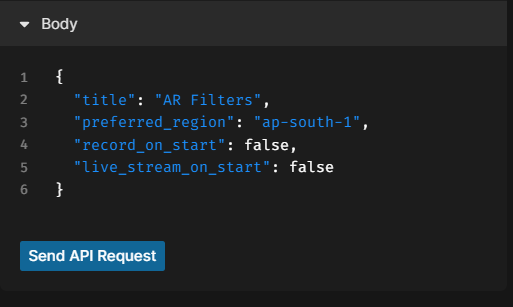
Step 3: In the Body section, give the meeting a title of “AR Filters.” Then click the Send API Request button.
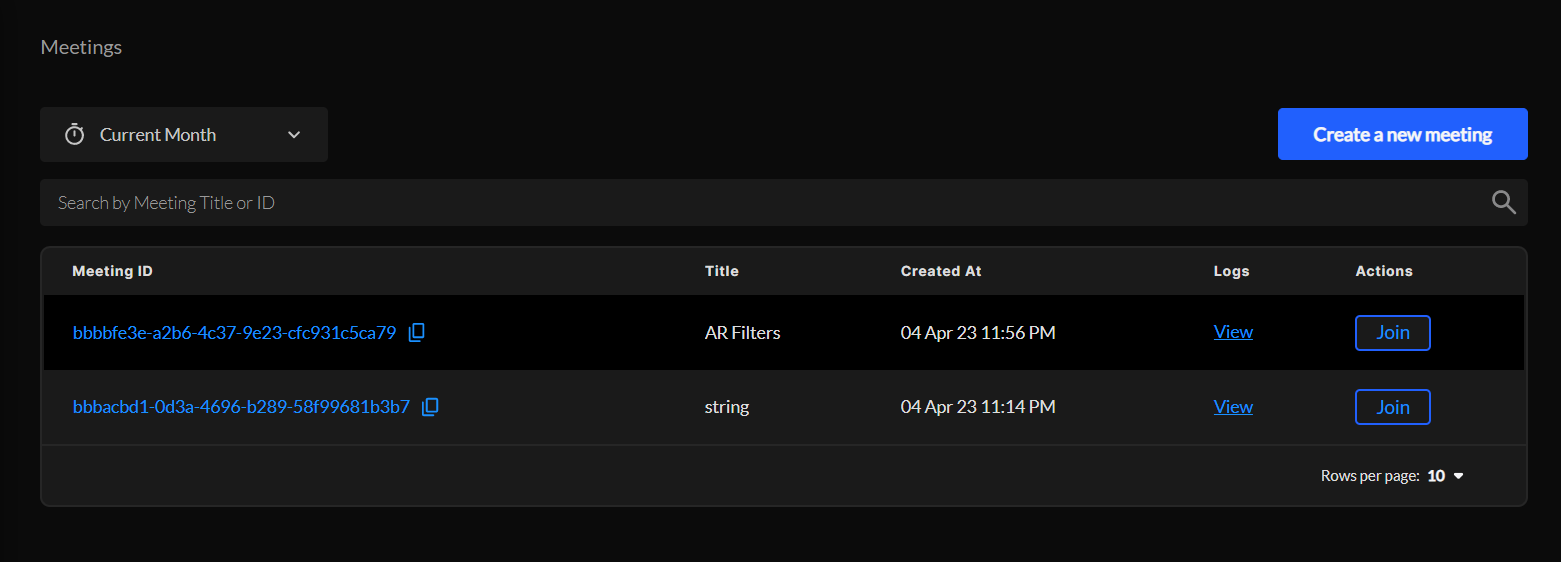
Step 4: Navigate to the Meetings page in the Dyte Developer Portal, and you should see that a meeting titled AR Filters was created.
Add a participant to the meeting
Step 1: Navigate to the Add a Participant page and fill out the Organization ID and API Key (you can get these from the Dyte Developer Portal) input fields as shown in the step above.
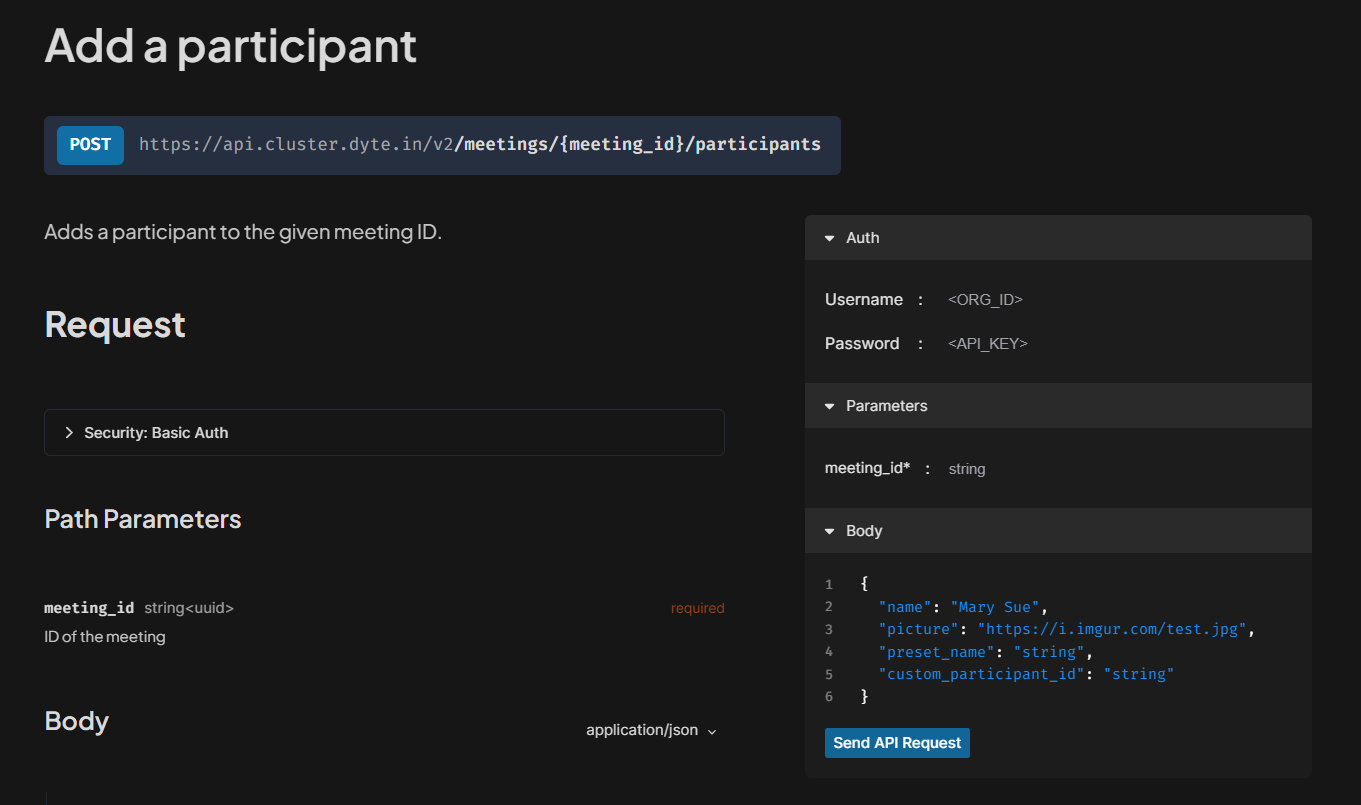
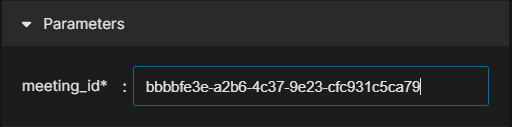
Step 2: In the Parameters section, add the Meeting ID of the AR Filters meeting we created earlier.
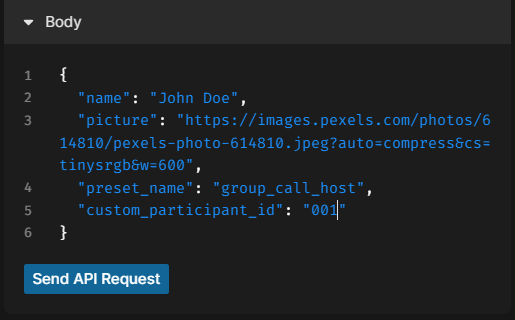
Step 3: In the Body section, fill out the options as shown below. Then click the 'Send API Request' button.
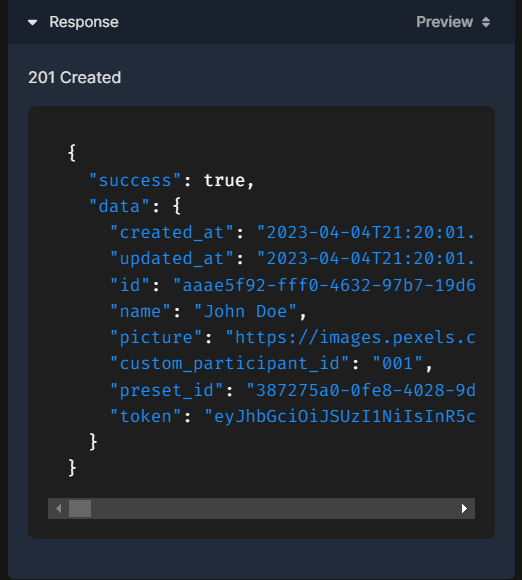
Step 4: Obtain the token. This token is unique for each participant in the meeting, and you would ideally want to fetch it for each participant by calling Dyte’s APIs in your own backend.
Creating your Dyte Meeting
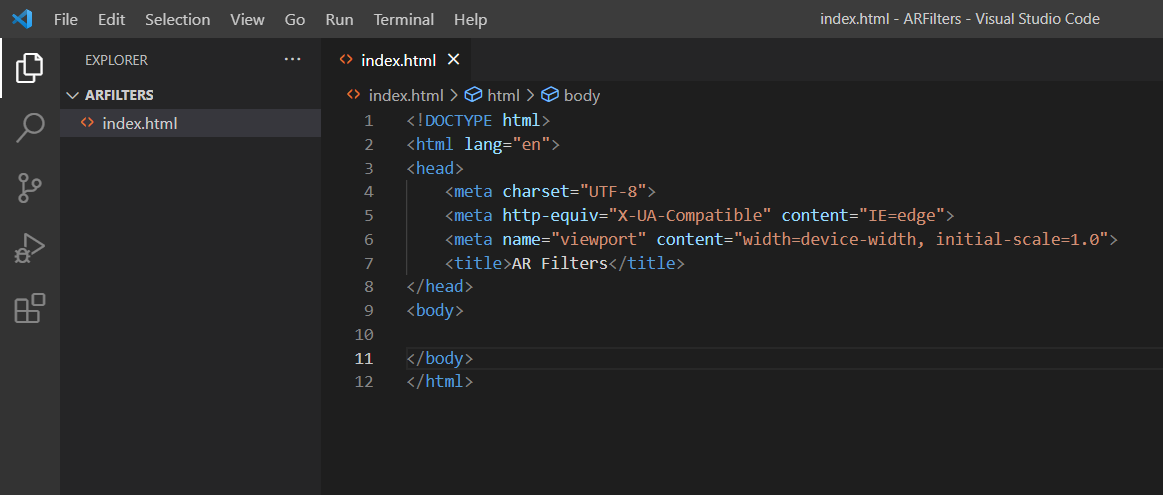
Step 1: Create a folder called 'ARFilters' on your computer. Then open the folder in a text editor and add to it an index.html file.
Step 2: Install the Dyte SDK.
<head>
  <script type="module">
      import { defineCustomElements } from '<https://cdn.jsdelivr.net/npm/@dytesdk/ui-kit@1.51.1/loader/index.es2017.js>';
      defineCustomElements();
  </script>
  <!-- Import Web Core via CDN too -->
  <script src="<https://cdn.dyte.in/core/dyte-1.14.0.js>"></script>
</head>
Step 3: In your index.html build a basic meeting UI with two custom buttons to control the AR filters.
<body>
    <div id="app">
      <dyte-dialog-manager class="dyte"></dyte-dialog-manager>
      <dyte-participants-audio class="dyte"></dyte-participants-audio>
      <dyte-notifications class="dyte"></dyte-notifications>
      <dyte-header class="dyte"></dyte-header>
      <div class="dyte-grid">
        <dyte-grid class="dyte"></dyte-grid>
        <dyte-sidebar class="dyte" default-section="none">
        </dyte-sidebar>
      </div>
      <div class="dyte-controlbar">
        <div class="controlbar-section">
          <dyte-settings-toggle class="dyte"></dyte-settings-toggle>
        </div>
        <div class="controlbar-section">
          <dyte-mic-toggle class="dyte"></dyte-mic-toggle>
          <dyte-camera-toggle class="dyte"></dyte-camera-toggle>
          <dyte-leave-button class="dyte"></dyte-leave-button>
          <dyte-controlbar-button
            label="Add Filter"
            size="lg"
            id="arFilter"
            style="background-color: black; color: white">
          </dyte-controlbar-button>
          <dyte-controlbar-button
            label="Change Filter"
            size="lg"
            id="switchFilter"
            style="background-color: black; color: white">
          </dyte-controlbar-button>
        </div>
        <div class="controlbar-section">
          <dyte-chat-toggle class="dyte"></dyte-chat-toggle>
          <dyte-participants-toggle class="dyte"></dyte-participants-toggle>
          <dyte-polls-toggle class="dyte"></dyte-polls-toggle>
        </div>
      </div>
    </div>
    <script type="module" src="/main.js"></script>
  </body>
We use custom components offered by Dyte to create a default meeting UI.
- Dyte Header: This component loads all the basic meeting details like the title, participant count, clock, and much more.
- Dyte Grid: This component renders all the video streams from all the participants in the meeting.
- Dyte Sidebar: This component renders chat, polls, participants list, and more.
- Dyte Controlbar: This is where we add controls for our meeting. A user can toggle their camera and mic, adjust settings or manage the AR filters from this control bar.
We also insert a script that links to main.js, an external file that will contain all our business logic.
Step 4: Write the business logic
We initialize a basic Dyte Meeting using our authToken and pass the meeting object to all our components.
import icons from './icons.json';

const init = async () => {
  // Initialize Dyte Meeting
  const meeting = await DyteClient.init({
    authToken: import.meta.env.VITE_AUTH_TOKEN,
    defaults: {
      audio: false,
      video: false,
    },
  });

	// Passing the `meeting` prop to all our components
	const els = document.getElementsByClassName('dyte');
  els[0].config = meeting.self.config;
  for (const el of els) {
    el.meeting = meeting;
  }

	// Adding state management for the sidebar component
	document.body.addEventListener('dyteStateUpdate', ({ detail }) => {
	  document.querySelector('dyte-sidebar').style.display = detail.activeSidebar ? 'flex' : 'none';
	  document.querySelector('dyte-sidebar').states = { sidebar: detail.activeSidebar ? detail.sidebar : 'none' };
	});

	// Adding icons to our custom buttons
  const AddFilter = document.getElementById("arFilter");
  const SwitchFilter = document.getElementById("switchFilter");

  AddFilter.icon = icons.addFilter;
  SwitchFilter.icon = icons.switchFilter;
};

init();
Step 5: Adding CSS to our meeting.
Create a style.css; this file will hold all our styles for the meeting.
body, html {
  height: 100vh;
  width: 100vw;
  margin: 0;
  padding: 0;
  display: flex;
  flex-direction: column;
  background: rgb(8, 8, 8);
}

#app {
  display: flex;
  flex-direction: column;
  font-family: Arial, Helvetica, sans-serif;
  flex-grow: 1;
  color: white;
}

.ended-screen {
  align-items: center;
  justify-content: center;
}

.dyte-grid {
  flex-grow: 1;
  display: flex;
  flex-direction: row;
}

dyte-grid {
 flex-grow: 1;
}

dyte-sidebar {
  margin: 10px 20px;
  border-radius: 10px;
}

.dyte-controlbar {
  display: flex;
  flex-direction: row;
  align-items: center;
  justify-content: space-between;
  min-height: 20px;
  margin:10px 0;
  width: 100%;
}

.controlbar-section {
  display: flex;
  flex-direction: row;
  align-items: center;
}
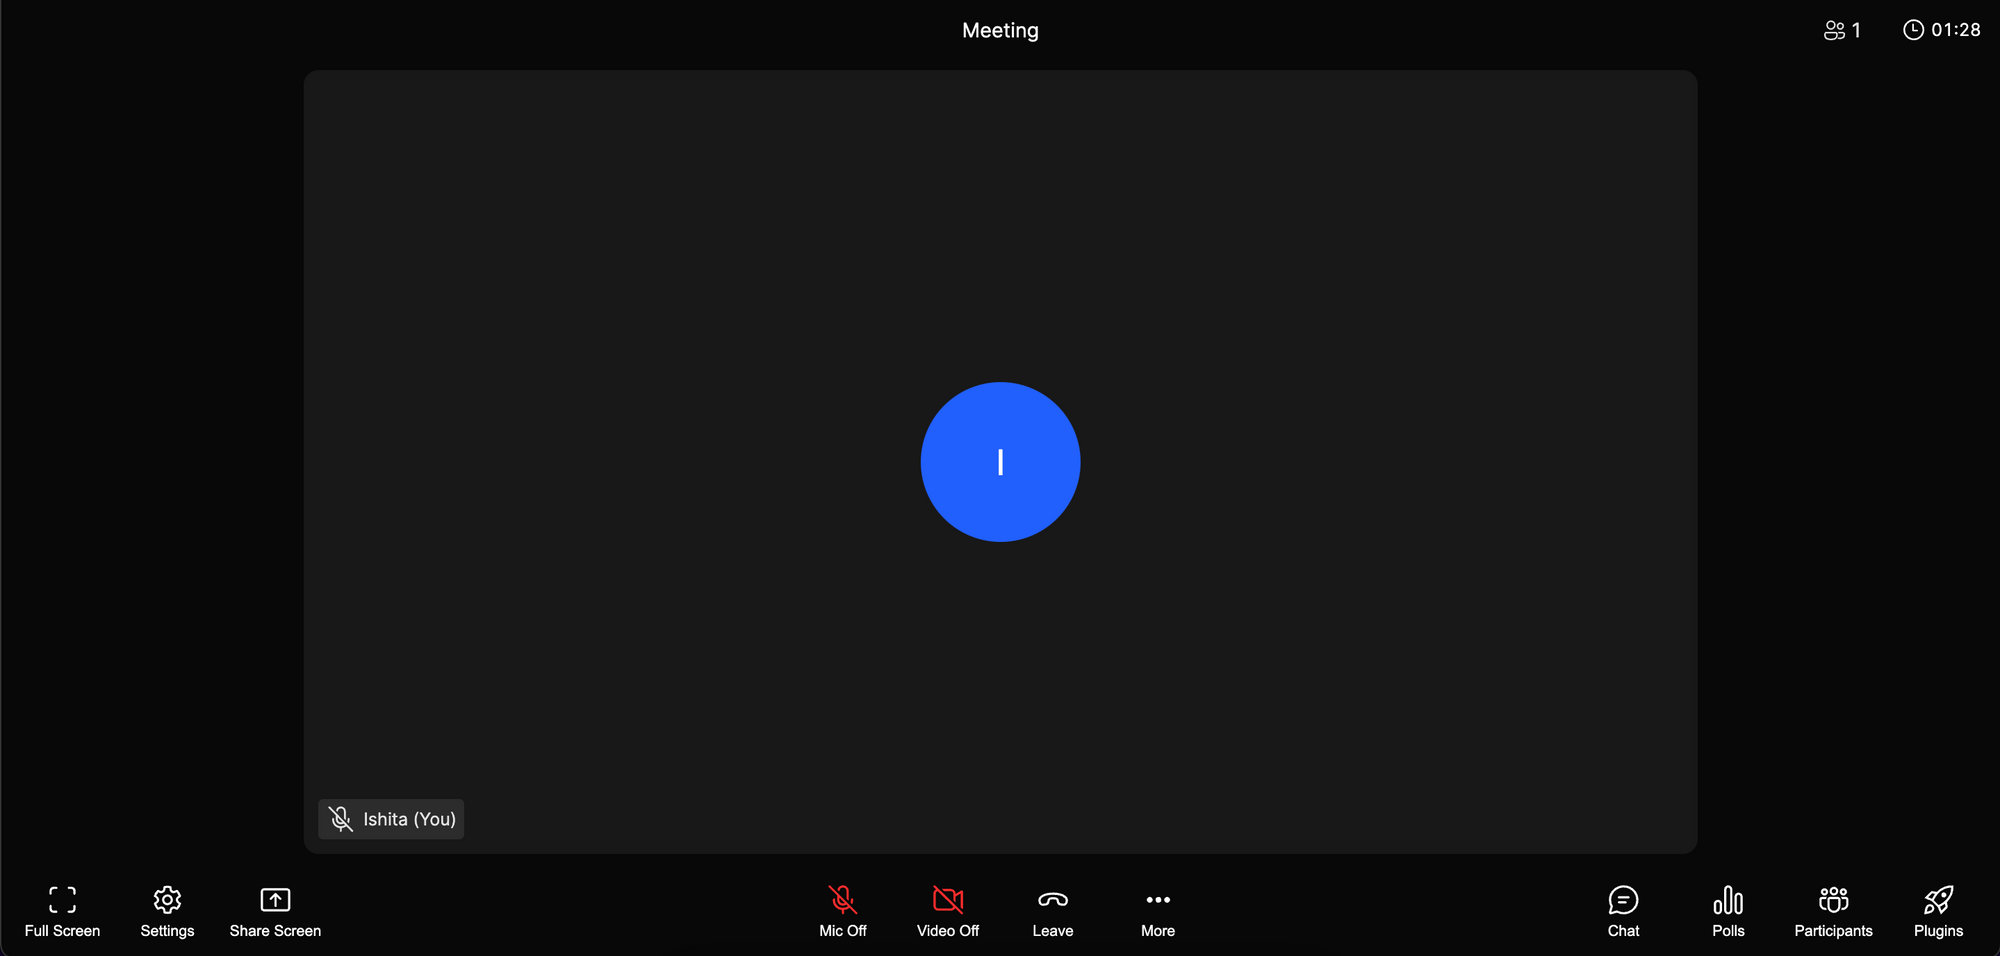
Step 6: Open the HTML file on a browser, and you will be prompted to allow access to your microphone and camera and you should be able to see the meeting interface.
Setting up a DeepAR account
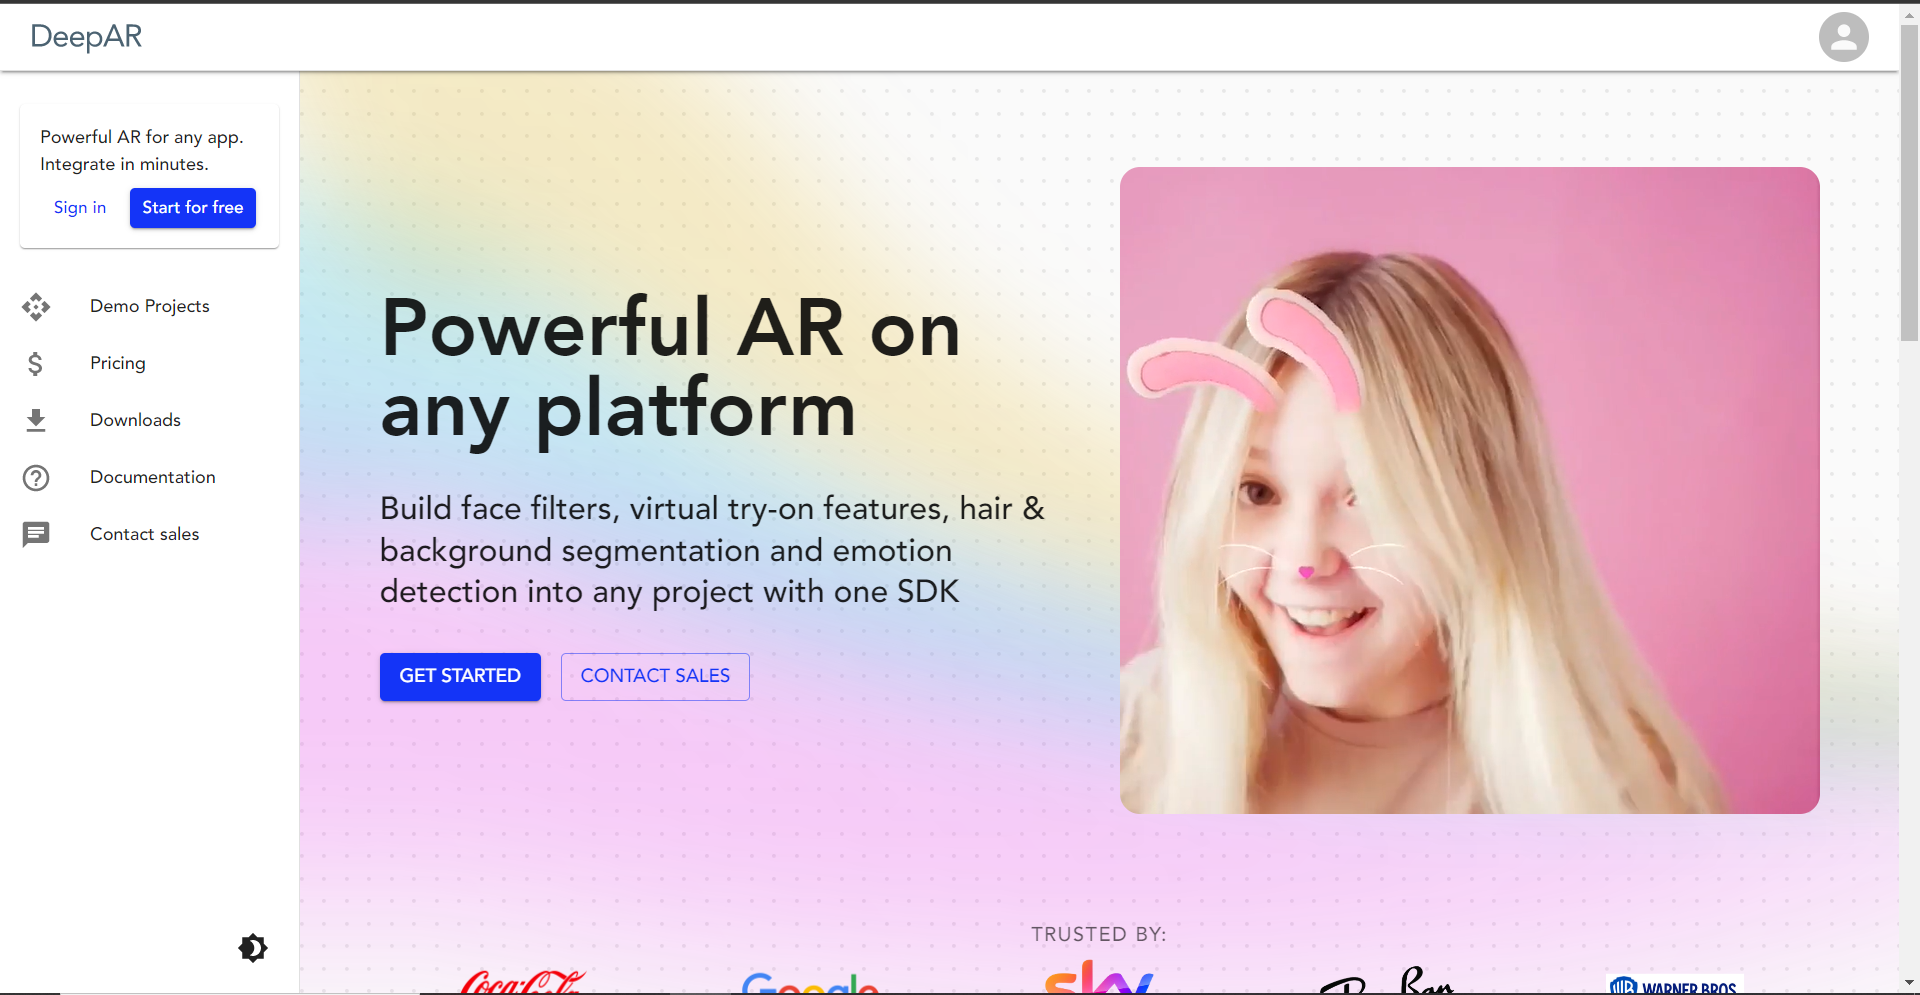
Step 1: Navigate to the DeepAR developer home page and click the ‘Get Started’ button.
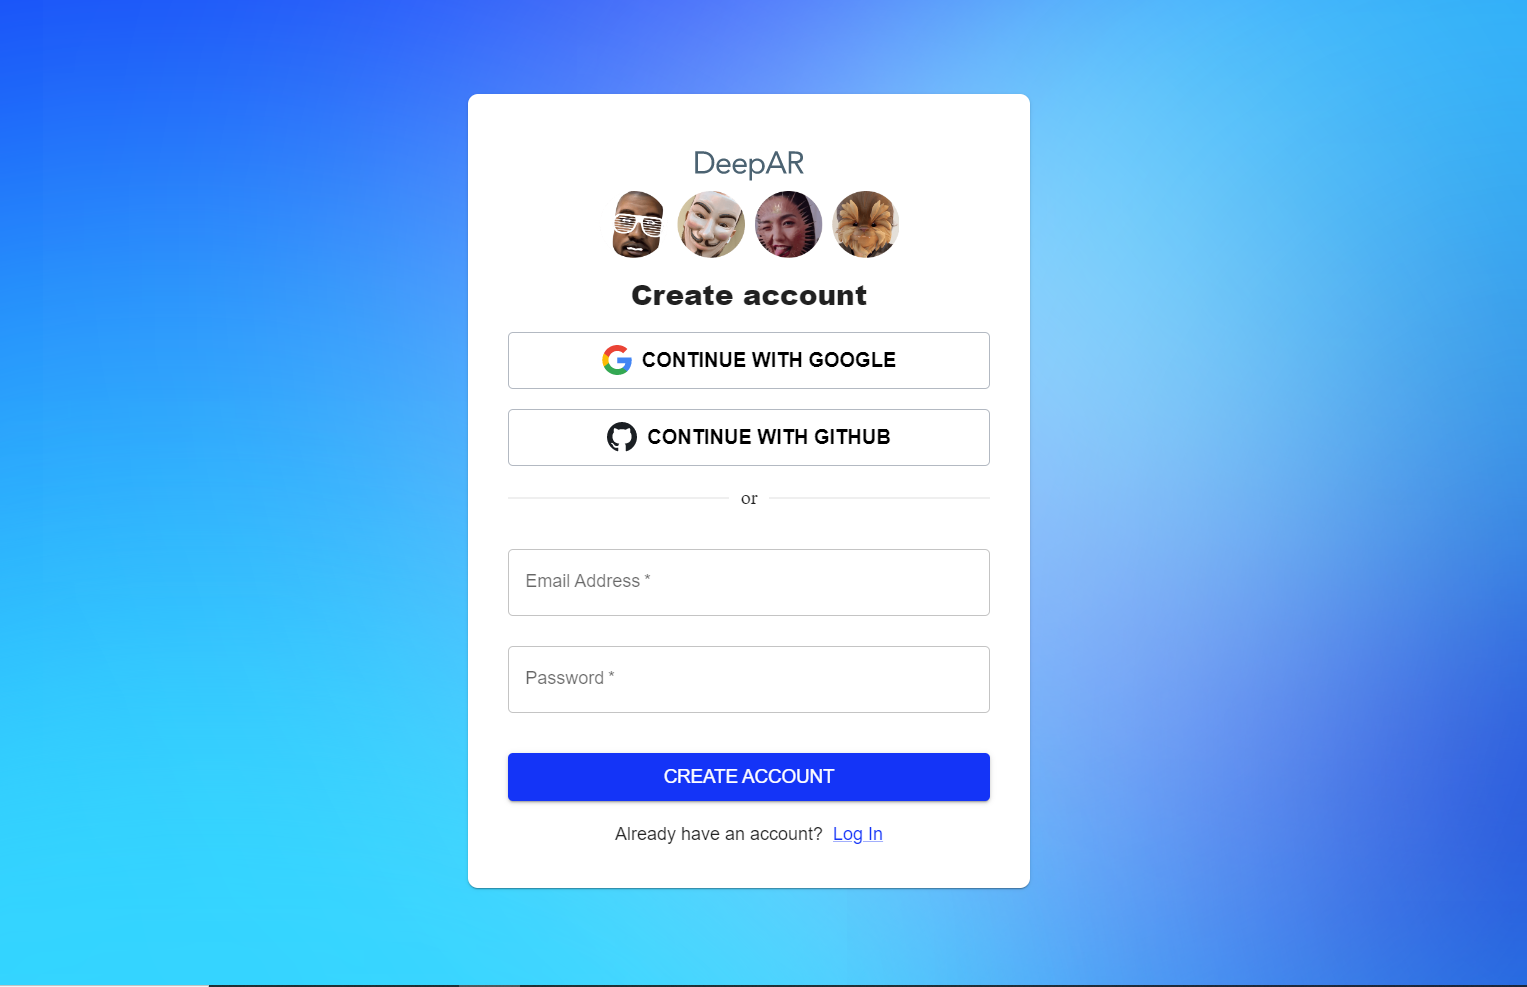
Step 2: Sign up for a free DeepAR account using your Google or GitHub account on the next page.
Create a DeepAR project
Step 1: After you’ve signed up and logged in to your DeepAR account, you will be redirected to the projects page.
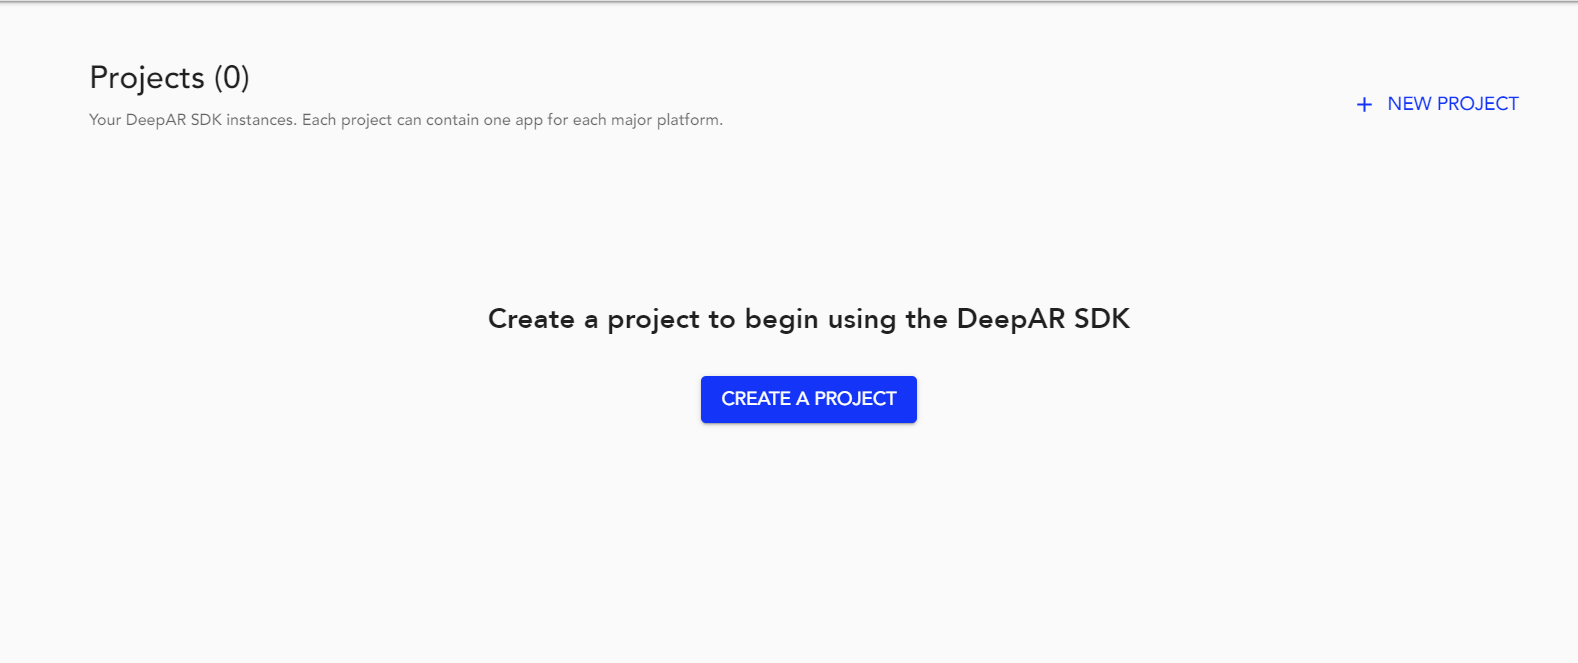
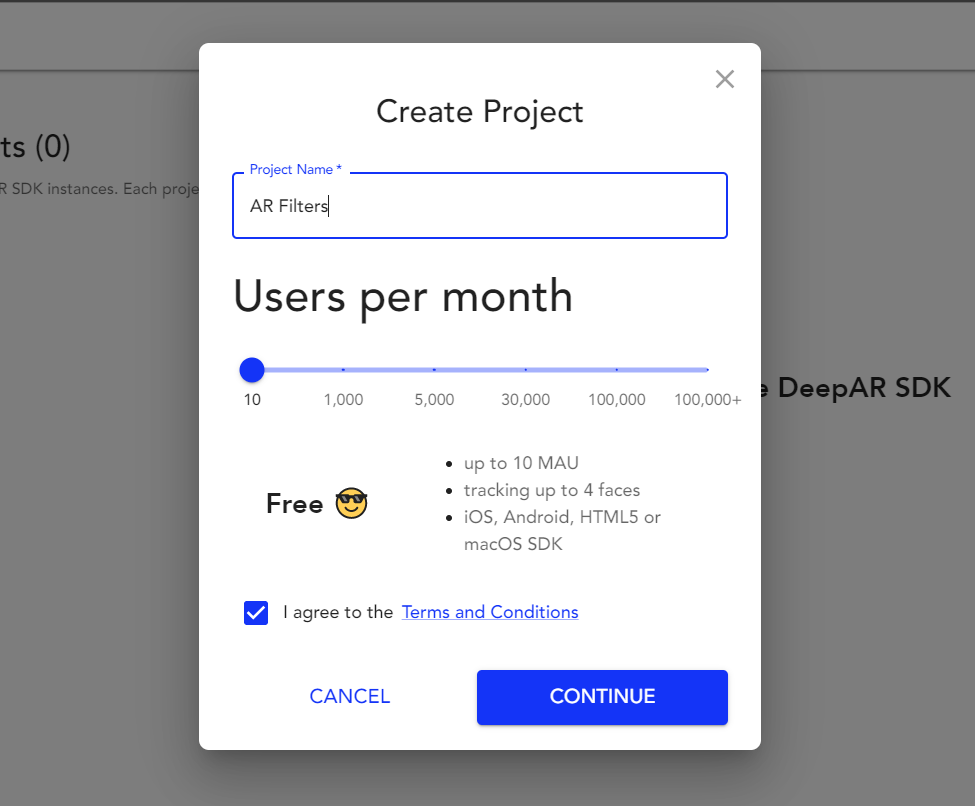
Step 2: Click the ‘Create A Project’ button. Name the project AR Filters, agree to the terms and conditions, then click the continue button.
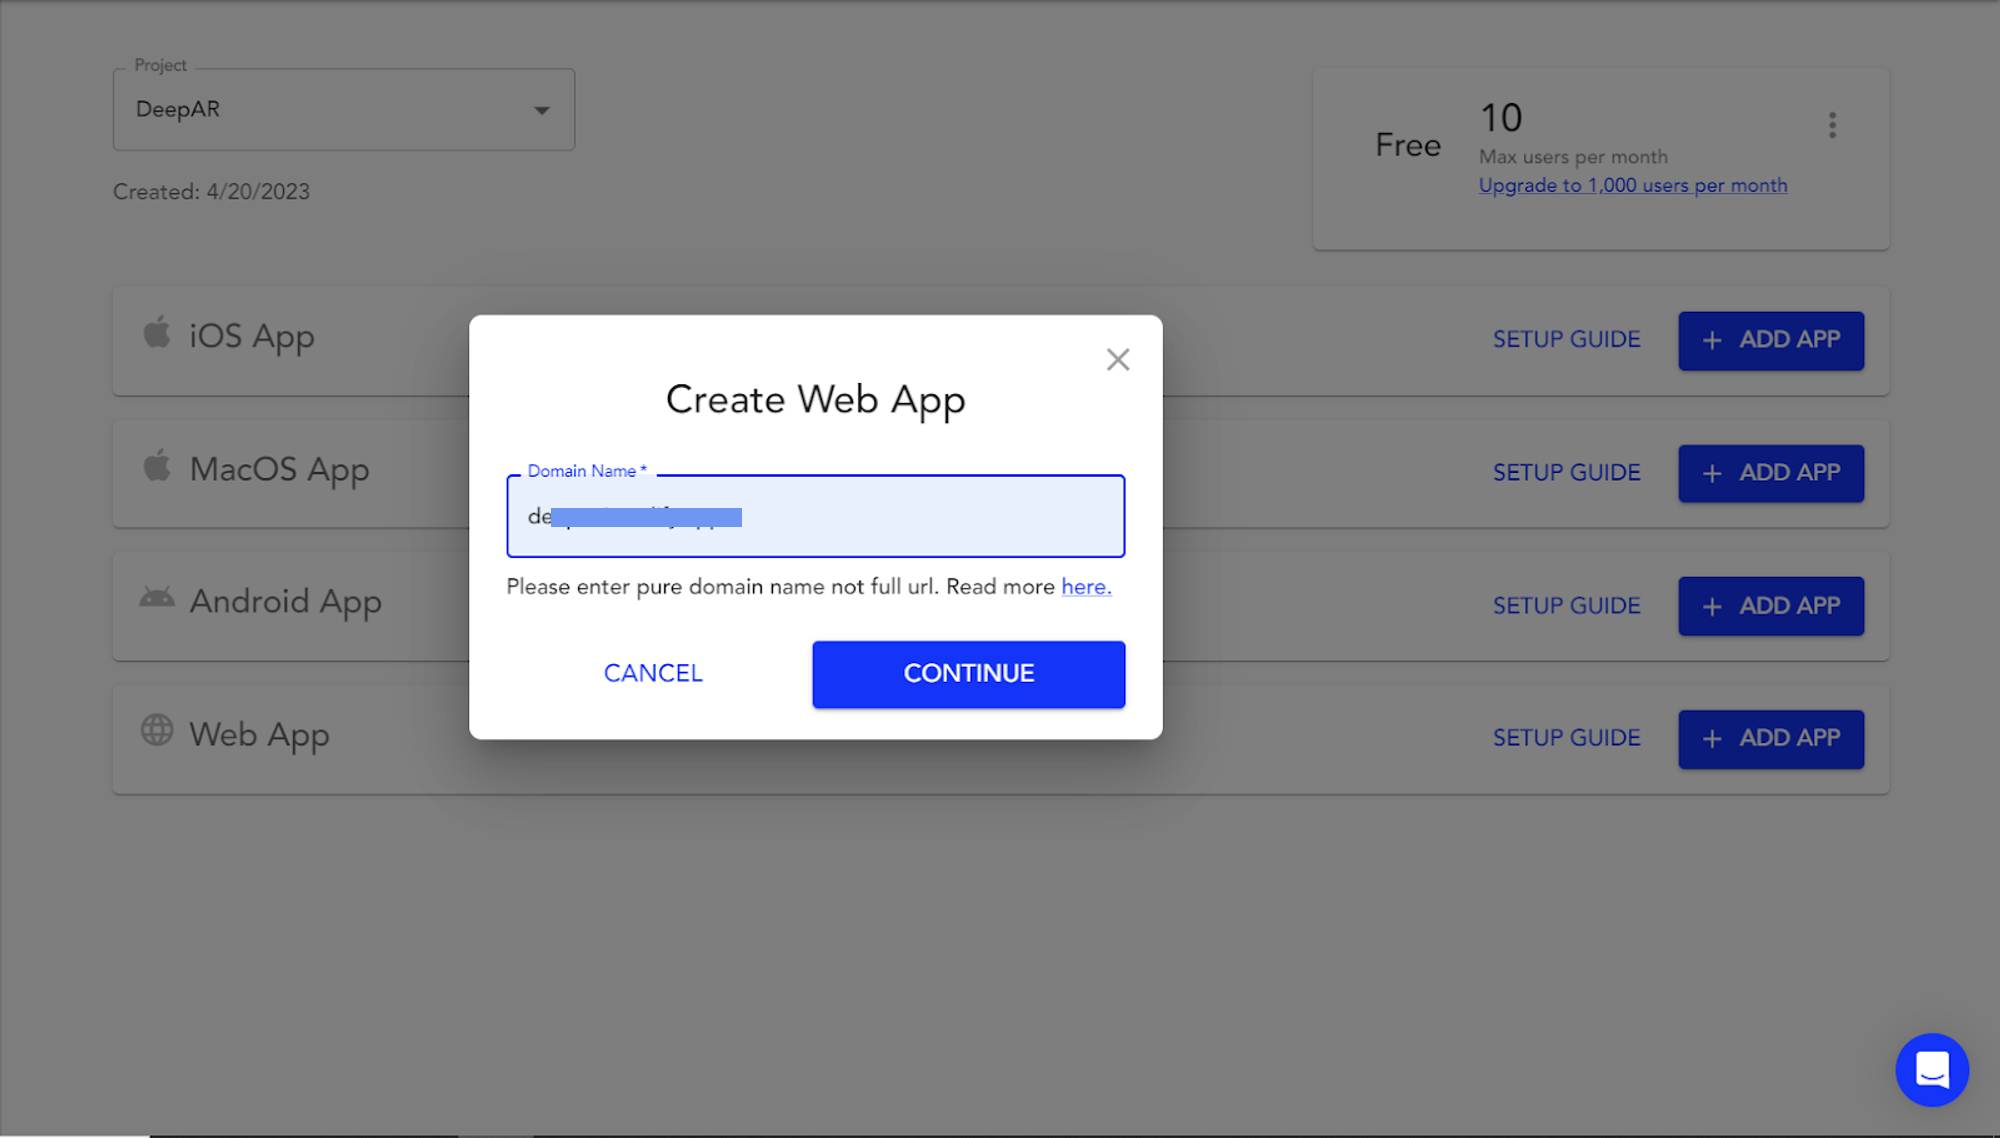
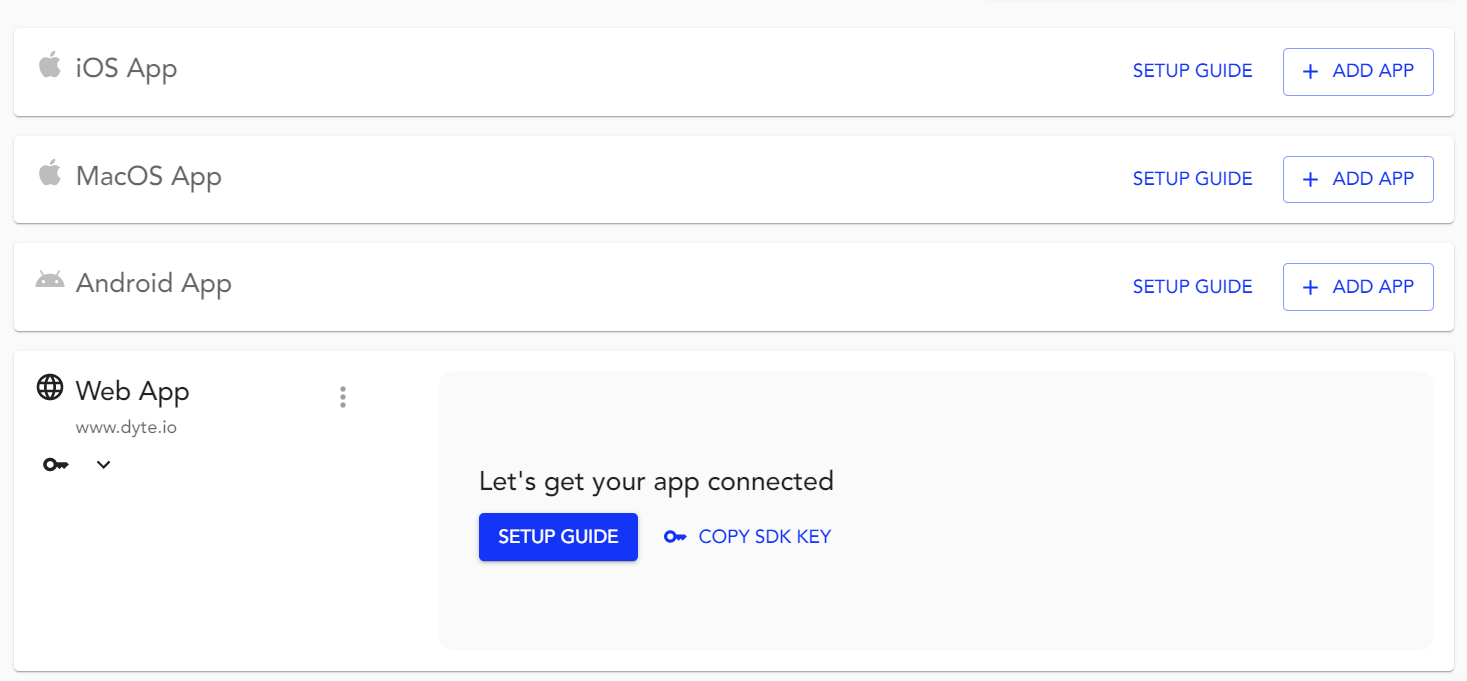
Step 3: After creating the project, you will be redirected to add an app. In this case, go to the Web App section and select Add App option. You will be prompted to add a domain name. Add your domain name and click the continue button.
Step 4: You will receive DeepAR App Key after creating the web app. The key will initialize the DeepAR filter as a license key.
Adding AR Filters to your video calling app
Now that you have obtained your License key and have a basic Dyte Meeting up and running. It is time to add fun AR filters to your meeting.
Step 1: Install DeepAR
You can import DeepAR into your project using CDN.
<script src="<https://cdn.jsdelivr.net/npm/deepar/js/deepar.js>"></script>
Step 2: Initialize the DeepAR module
Add some filters to our project repositories and provide a path to those filters.
// Initialize DeepAR
  const filters = [
    "./effects/lion",
    "./effects/flowers",
    "./effects/dalmatian",
    "./effects/background_segmentation",
    "./effects/background_blur",
    "./effects/aviators",
  ];
Next, we create a canvas element and initialize the DeepAR module.
const deepARCanvas = document.createElement("canvas");
  deepARCanvas.width = 680;
  deepARCanvas.height = 480;
  const deepAR = await deepar.initialize({
    licenseKey: import.meta.env.VITE_DEEP_AR_TOKEN,
    canvas: deepARCanvas,
    effect: filters[0],
    additionalOptions: {
      cameraConfig: {
        disableDefaultCamera: true,
      },
    },
  });
Step 3: Add AR filters to your Dyte video call
Here, we are creating two functions, one to toggle the AR filter on/off and the other to switch between filters.
We add middleware to Dyte using its AddVideoMiddleware API, which takes in a middleware function.
To switch between filters, we use DeepAR’s switchEffect method.
let count = 0;
let filterIndex = 0;

const AddFilter = document.getElementById("arFilter");
const SwitchFilter = document.getElementById("switchFilter");

AddFilter.icon = icons.addFilter;
SwitchFilter.icon = icons.switchFilter;

AddFilter.addEventListener("click", toggleAR);
SwitchFilter.addEventListener("click", filterChangeHandler);

function toggleAR() {
  count++;

  if (count % 2 == 0) {
    AddFilter.label = 'Add Filter'
    meeting.self.removeVideoMiddleware(AddTheme);
  } else {
    AddFilter.label = 'Remove Filter'
    meeting.self.addVideoMiddleware(AddTheme);
  }
}

async function filterChangeHandler() {
  filterIndex = (filterIndex + 1) % filters.length;
  await deepAR.switchEffect(filters[filterIndex]);
}
Now, let’s create our video middleware function using DeepAR.
async function AddTheme() {
  let lastProcessedImage = null;
  const intermediatoryCanvas = document.createElement("canvas");
  intermediatoryCanvas.width = 640;
  intermediatoryCanvas.height = 480;
  const intermediatoryCanvasCtx = intermediatoryCanvas.getContext("2d");

  return async (canvas, ctx) => {
    intermediatoryCanvasCtx.drawImage(canvas, 0, 0);
    if (lastProcessedImage) {
      ctx.drawImage(
        lastProcessedImage, 0, 0,
        lastProcessedImage.width,
        lastProcessedImage.height, 0, 0,
        canvas.width, canvas.height
      );
    }
    await deepAR.processImage(intermediatoryCanvas);
    const image = new Image();
    image.id = "picture";
    image.src = await deepAR.takeScreenshot();
    lastProcessedImage = image;
  };
}
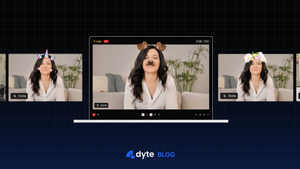
With that done, we have built a video calling app with AR filters using Dyte video SDK and DeepAR! Get your AR filters on to look something like this.
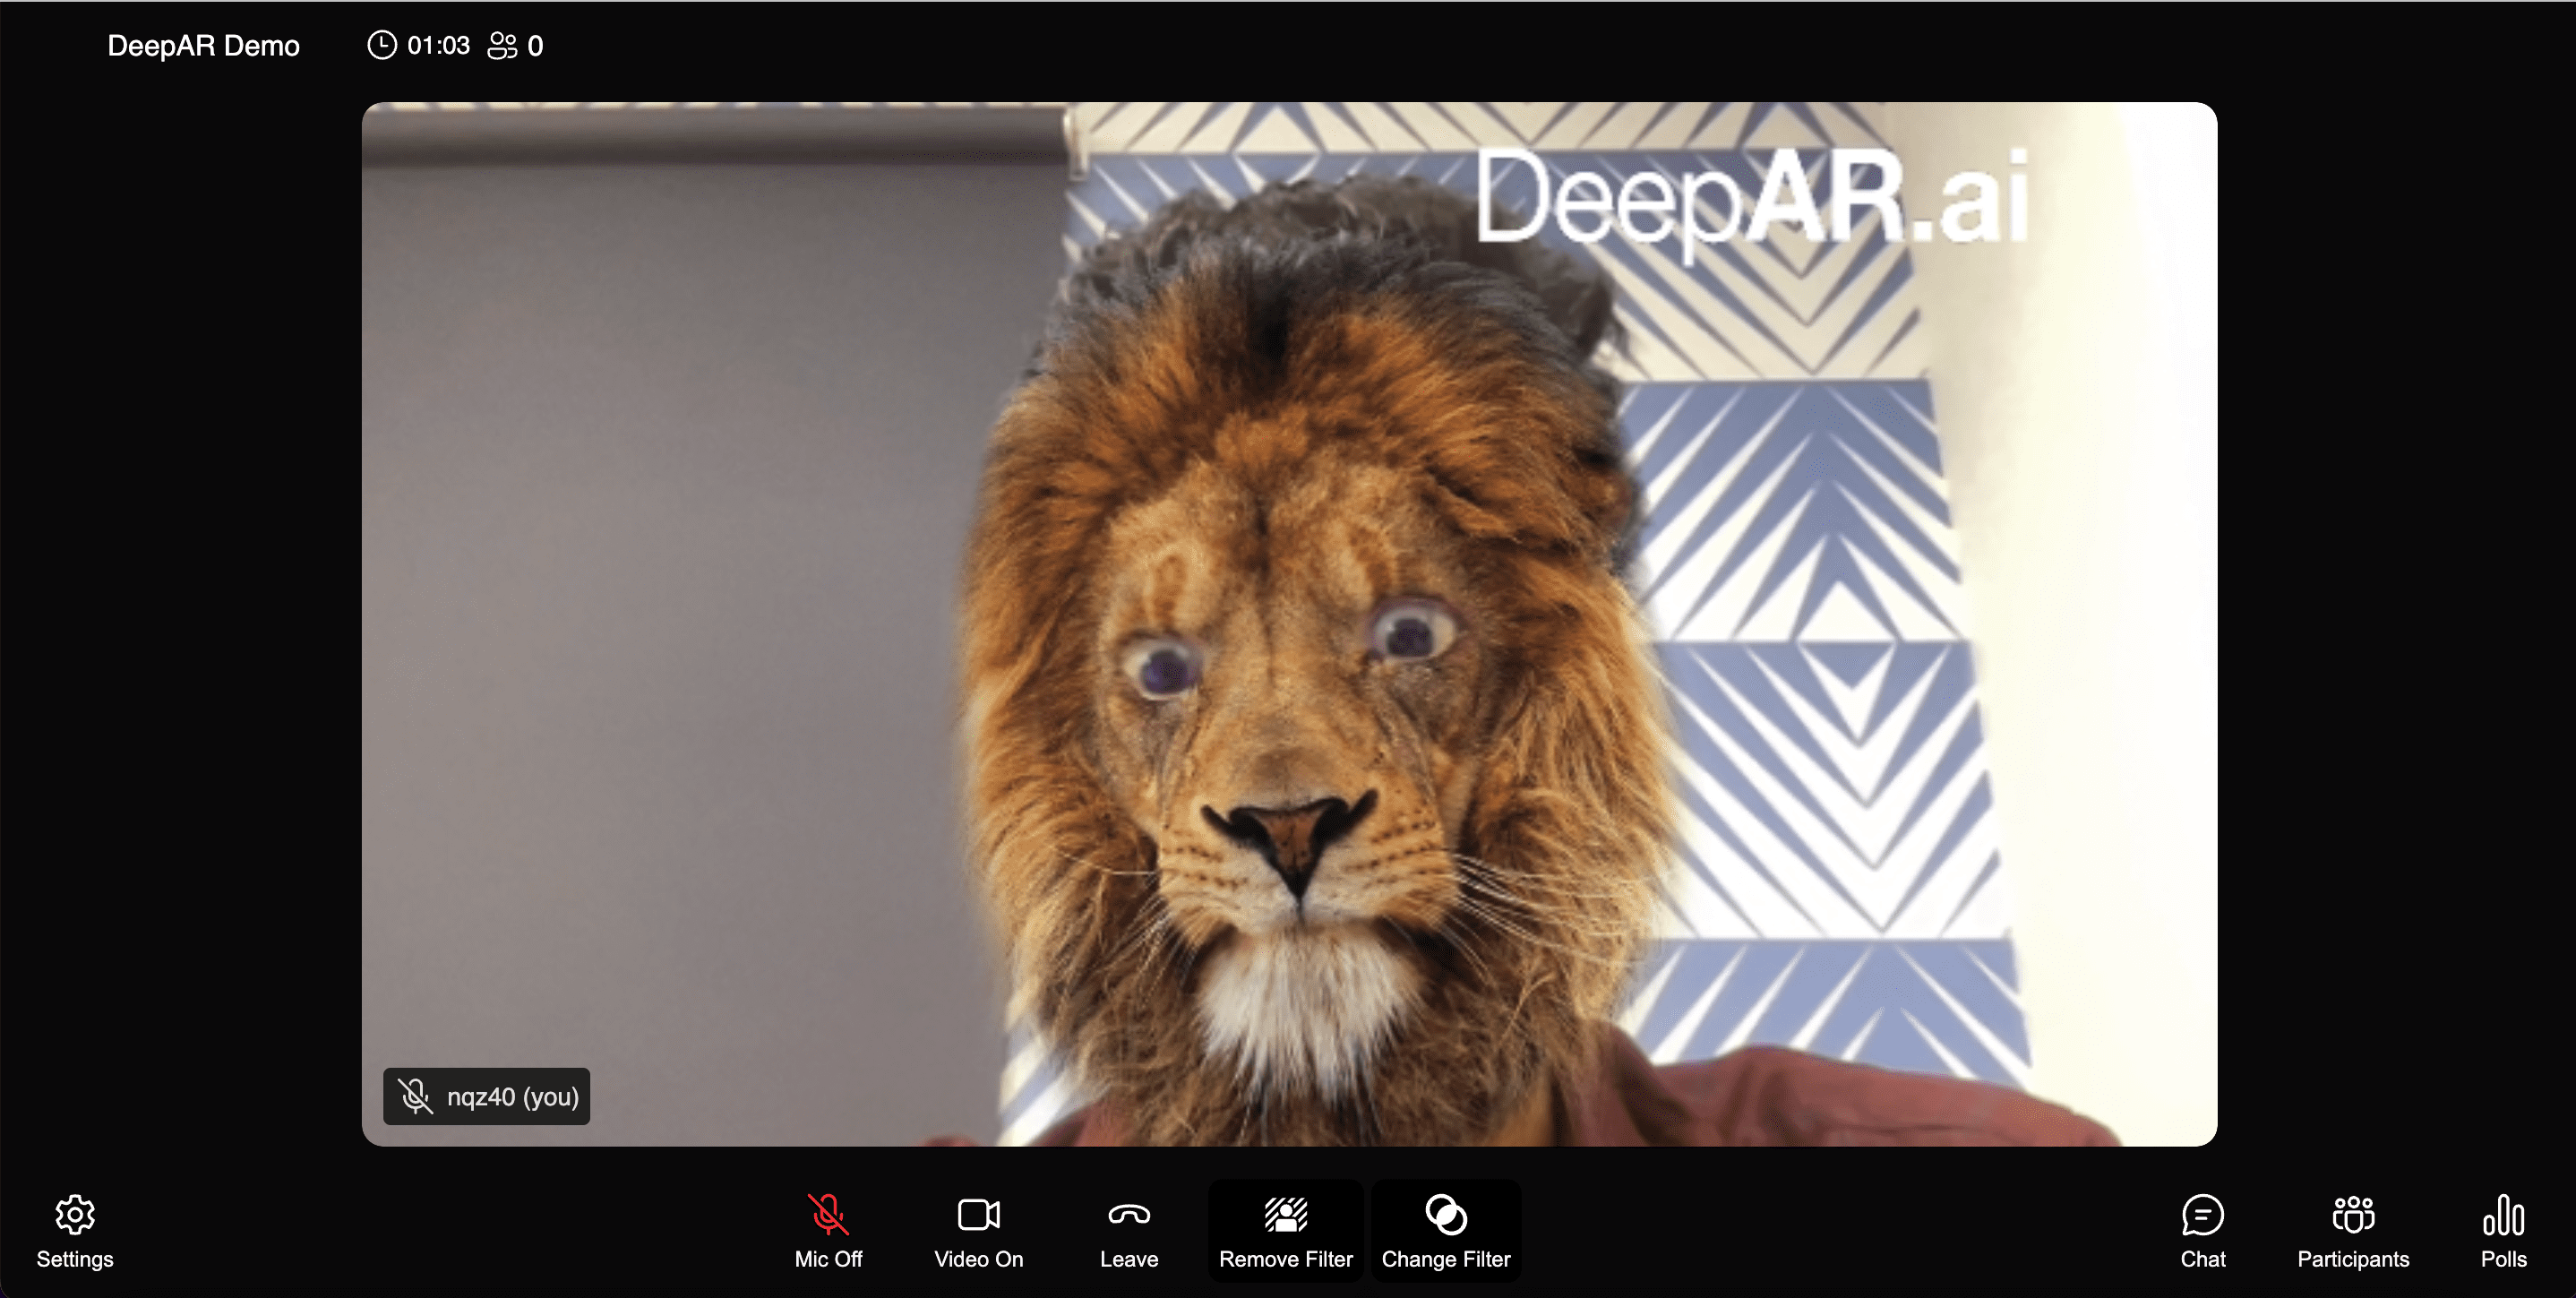
You can try out the live demo of the sample application here, and the entire source code for the project is available here.
Conclusion
In conclusion, we have walked you through how to build a video calling app with AR filters using the Dyte video and DeepAR SDKs. With Dyte’s customizable UI Kit, you can easily manage controls, add or remove buttons, create custom controls, and do much more with just a few lines of code.
If you haven't heard about Dyte yet, head over to dyte.io to learn how we are revolutionizing communication through our SDKs and libraries and how you can get started quickly on your 10,000 free minutes, which renew every month. You can reach us at support@dyte.io or ask our developer community if you have any questions.