Customers today expect a near-instantaneous resolution to their queries, and businesses that still rely on the age-old system of raising support tickets are in for a rude awakening.
Adding an option for customers to start a live video conference call through chatbots or support pages positively impacts their experience with the brand. And as they say: A satisfied customer comes back for more.
But does embedding live video conferencing to your website seem like a tall order? It's not with Dyte. Our video conferencing SDK allows you to embed custom live video in minutes. Read the blog to learn how to integrate live video conferencing SDK or APIs into your app in under 5 minutes.
Why Add Video Conferencing to Your Website?
In a landscape where customer engagement rules, traditional communication methods like phone calls and face-to-face meetings are giving way to the immersive power of real time and video conferencing solutions.
Whether you're aiming to connect with customers, employees, or partners, leveraging real time video calls on your website, desktop, mobile or web apps is a game changer.
Here are three compelling reasons to integrate live video experience into your online platform:
1. Improve Website Visitor Engagement
With live video calls, you get the chance to educate, support, and engage your audience about your products, provide support, or nurture your potential leads. Embedding an Interactive custom, video chat experience is also proven to build a deeper trust and loyalty in the audience.
2. Boost Sales Conversions
Integrating a video chat or calls to your website can also help you improve your leads and sales conversions. Here's why, video calls or chats provide a personal touch that quickly builds rapport with potential customers. Leading to faster lead conversions.
In addition, video calls can be recorded and used as marketing materials such as case studies, webinars, and internal training to optimise your sales conversion rate.
3. Host Webinars and Other Digital Events
One of the most popular ways to host digital events is webinars and live streaming video Q&A sessions. It gives a very effective way to position your brand as a thought leader by delivering valuable key insights about your industry and educating the audience about the solution and value your product provides.
How do video conferencing SDK and APIs work for a website?
We've established that embedding live video calling on the website is a powerful tool to boost sales and improve customer service.
But how to embed video calling APIs and SDKs?
There are three possible ways to add it to your website:
1. Creating Your Own Video Solutions From Scratch
This method entails building all the necessary infrastructure from the ground up. It gives you the highest control over customizations and features.
However, it's also the most expensive and time-consuming since you have to keep into account nuances of call quality, network performance, scaling, uptime, and much more.
2. Integrating Ready-to-Use Video Solutions
You can take advantage of existing video conferencing solutions such like Dyte, which provides video calling solutions that can be easily integrated into your website.
These are most cost-effective for fast paced platforms with limited development tools and want to go live with a simple and secure plug and play component.
3. Integrate White-Labeled Video Conferencing APIs
The third option for website video and audio conferencing solutions is the white-label API integration of video conferencing SDK like Dyte.
Dyte offers the fastest, easiest, and most secure way to add the best video calling experience to your website. It provides the same level of control and security as creating your own video calling solution but without needing upfront investment or ongoing maintenance and quality control tools to monitor network performance for the right video and audio quality. Also, manage user notification settings, and other live video chat features too. This makes it an ideal solution for businesses of any scale that want to integrate video calls with just a few lines of code. You can get started with 10K free credits so start building your custom video conferencing experience now.
How to Embed Video Conferencing in Your Website With Dyte Rest API?
You can have video conferencing on your web applications or website with Dyte Rest API with just a few lines of code. The process is simple and requires no hard technical skills or knowledge of programming languages.
Let's see how easy it is to get video call integration into your website, desktop, mobile, or web app with Dyte's live video chat API, calling API and conferencing SDKs:
1. Create an Account on Dyte
The first step is to create an account on Dyte. You will need to provide basic information about your organization in order to get started.
2. Complete the Onboarding for your Organization to Get the Video Conferencing API keys
Now, you need to complete the onboarding process for your organization. This will involve providing additional information about your company and its use of Dyte services.
Once you have completed the onboarding process, the interface will generate a unique set of API keys that you can use to integrate video calls on your website.
3. Create a Meeting for the Given Organization
You can now create a meeting for your given organization. You can customize the name, time limits, and other features of the meeting according to your specific needs.
a. Get API Key
As soon as you create a Dyte account on the Developer Portal, you can access the API key. This key needs to be passed in HTTP requests for authorization purposes.
Example: e9fd03191372a3b3b2bb
b. Get Organization ID
Along with the API Key, you'll also require Organization ID to call certain APIs. You can get the Organization ID from the Developer Portal.
Example: 910a53bf-5f8c-4a91-b106-9bf29e222g3c
c. Send an API Request to Obtain the roomName and meetingID in the Response
Finally, you can use the Organization ID and API key to send an API request to obtain the roomName & meetingID in the response. This is a unique identifier for each group video chat or video conference that you create, which will be used to connect clients and other participants of the group video call.
4. Add a Participant
Use Authorization API, meetingID, and OrganizationID to send an API request to add a participant. You will receive authToken in response which you can use to execute the meeting.
5. Integrate roomName and authToken to Create the Meeting URL
To initiate the meeting, you need to insert the roomName and authToken into the provided URL format. This will generate a URL that can be shared with participants and used to start the group video calling or conferencing session.
The URL should be in the following format:
https://app.dyte.in/<roomName>?authToken=<authToken>
Now your video calling functionality has been set up, you need to embed the same to your website with Dyte for video conferencing API integration!
6. Install Web Core SDK
Install Web Core SDK, it will provide the necessary tools and resources to embed video calling on your website with the Dyte conferencing API integration.
npm
Install the SDK using npm.
npm install @dytesdk/web-core
yarn
Install the SDK using yarn.
yarn add @dytesdk/web-core
CDN
Add the following script tag in the head of your HTML file. <script src="https://cdn.dyte.in/core/dyte.js"/>
7. Install the UI Kit
The UI Kit provides ready-to-use components that can be easily integrated into your application to elevate your video calling features. Based on the setup of your project, you can use UI Kit for the video calling feature in two ways.
CDN
Once UI Kit components and web-core have been set up, add the following script tags to the <head /> tag.
<head>
  <script type="module">
    import { defineCustomElements } from 'https://cdn.jsdelivr.net/npm/@dytesdk/ui-kit/loader/index.es2017.js';
    defineCustomElements();
  </script>
  <!-- Import Web Core via CDN too -->
  <script src="https://cdn.dyte.in/core/dyte.js"></script>
</head>
Utility exports from CDN can also be imported:
<head>
  <script type="module">
    import {
      provideDyteDesignSystem,
      extendConfig,
    } from 'https://cdn.jsdelivr.net/npm/@dytesdk/ui-kit@1.15.1/dist/index.js';
  </script>
</head>
npm
npm install @dytesdk/ui-kit @dytesdk/web-core
yarn
yarn add @dytesdk/ui-kit @dytesdk/web-core
8. Quickstart with the UI Kit
You can quickly get started with UI Kit by writing only a few lines of code. In order to get started, you would need to link the provided hooks with the
<DyteProvider />
<body>
  <dyte-meeting id="my-meeting"></dyte-meeting>

  <script>
    const init = async () => {
      const meeting = await DyteClient.init({
        authToken: '',
        roomName: '',
        defaults: {
          audio: true,
          video: true,
        },
      });

      document.getElementById('my-meeting').meeting = meeting;
    };

    init();
  </script>
</body>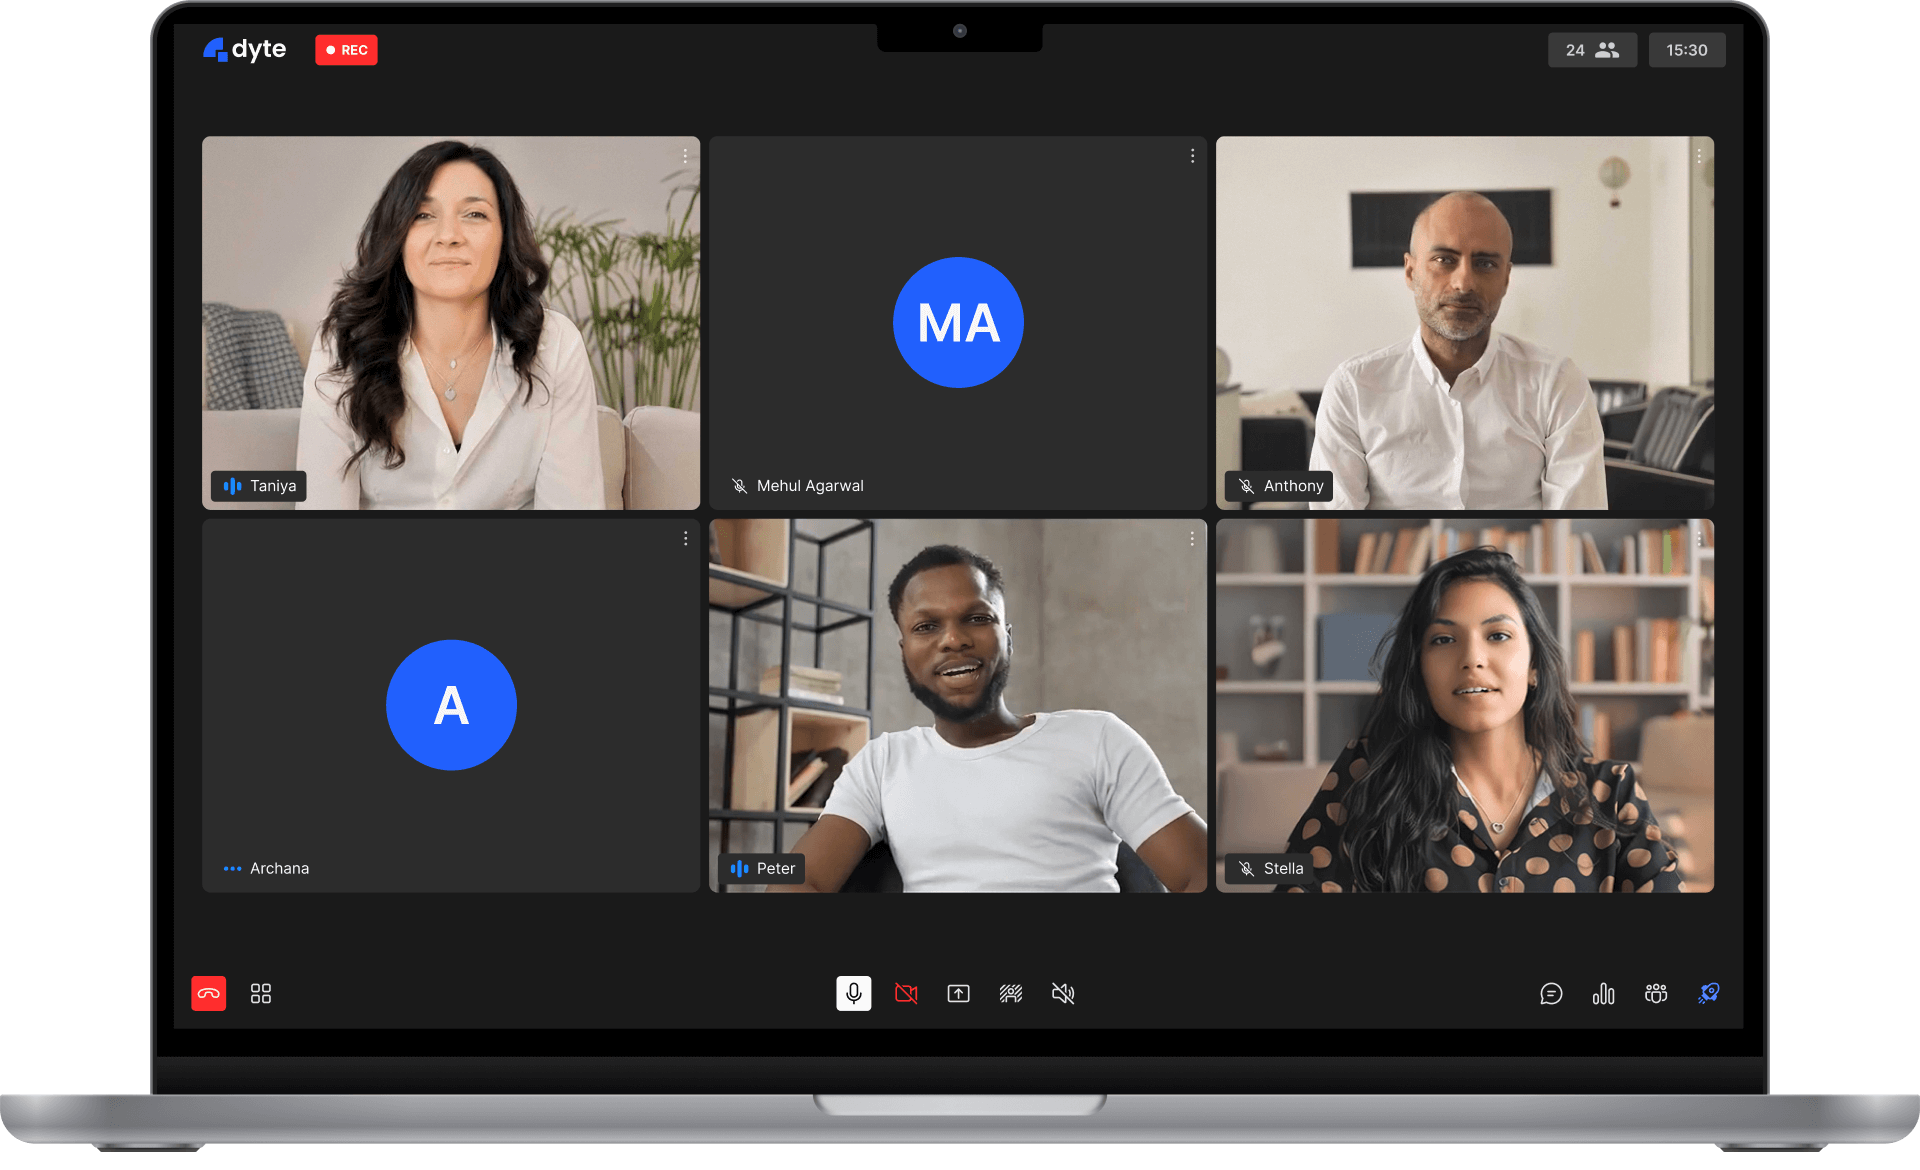
Add Live Video to Your Website With Dyte
Adding video conferencing to your website is an easy way to improve customer satisfaction and engagement. We hope that reading this blog helped you understand how to add a video conferencing API provider or call to your website and why you should consider doing so.
Contact us today to get your custom video experience project up and running swiftly.
FAQs
1. What Is Video Conferencing?
Video conferencing is a live, two-way audio and video communication between two or more people. It allows participants to see, hear, and speak to each other in real-time using webcams, microphones, and speakers.
2. How Does Video Conferencing Work?
Video conferencing works by compressing and encoding real time video into live audio and video signals, which are then transmitted over the internet to the receiving end. The receiving end decodes the video quality and signal and plays it back in real-time.
3. Why Use Video Conferencing?
Video conferencing is a great way to conduct business meetings, presentations, and training sessions without the need to travel. It can also be recorded and used as marketing materials or for training purposes.
4. What Are The Benefits Of Video Conferencing?
Video conferencing offers many benefits over traditional in-person meetings, including increased flexibility, improved efficiency, and reduced costs. For businesses, this means that meetings can be conducted with employees who are working remotely, clients who are in different time zones, or team members who are traveling.
5. How Do I Add Video Conferencing to My Website?
Adding video conferencing to a website requires you to choose a video conferencing platform like Dyte. You'll need to create an account and generate a code to embed onto your website. Once you have the code, simply add it to your website's HTML code and you're all set!

