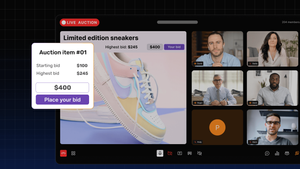
Introduction
With the emergence of remote work and virtual events, video communication has become an integral part of our daily lives. As a result, video systems have seen substantial growth. Video platforms are helpful for remote teams, online learning, interview processes, and virtual events because they enable synchronous and non-synchronous communication with video, audio, and chat features.
This article will demonstrate how to use React and Dyte to create an async interview platform. As we dive deeper, you will be guided through the steps involved in building the UI elements and how to leverage Dyte’s video SDK.
You'll have the information and resources necessary to build your async platform through Dyte by the end of this article. But first, let’s look at why Async interviews are better than normal synchronous interviews.
Why an async interview?
Asynchronous interviews offer convenience, fairness, and improved efficiency in the hiring process, making them a valuable tool for both candidates and employers alike. Some of the benefits you get with the async interviews
- Flexibility - Asynchronous interviews allow both interviewers and candidates to participate at their own convenience, eliminating the need for scheduling conflicts.
- Time-saving - Asynchronous platforms streamline the process by allowing candidates to record their responses to interview questions at their own pace, saving time for both parties involved.
- Fairness - Asynchronous interviews provide a level playing field for all candidates.
- Reduced pressure - Some candidates may feel more comfortable and perform better when not under the immediate pressure of a live interview.
- Scalability - Asynchronous interview platforms are highly scalable, making them ideal for organizations with high-volume hiring needs.
Now that we know the importance of Async interviews, let’s look at the prerequisites to build this platform.
Prerequisites
- Basic knowledge of React is required, as we will be using it to build the frontend of the application.
- Node.js is also required to run the application, so make sure you have it installed on your computer.
- Lastly, you will need an API key and organization ID from developer portal to be able to authenticate yourself when you call Dyte's REST APIs.
Let’s understand the application flow to build an async interview app.
Application flow of async interview platform
- Users will have to enter their information on the landing page.
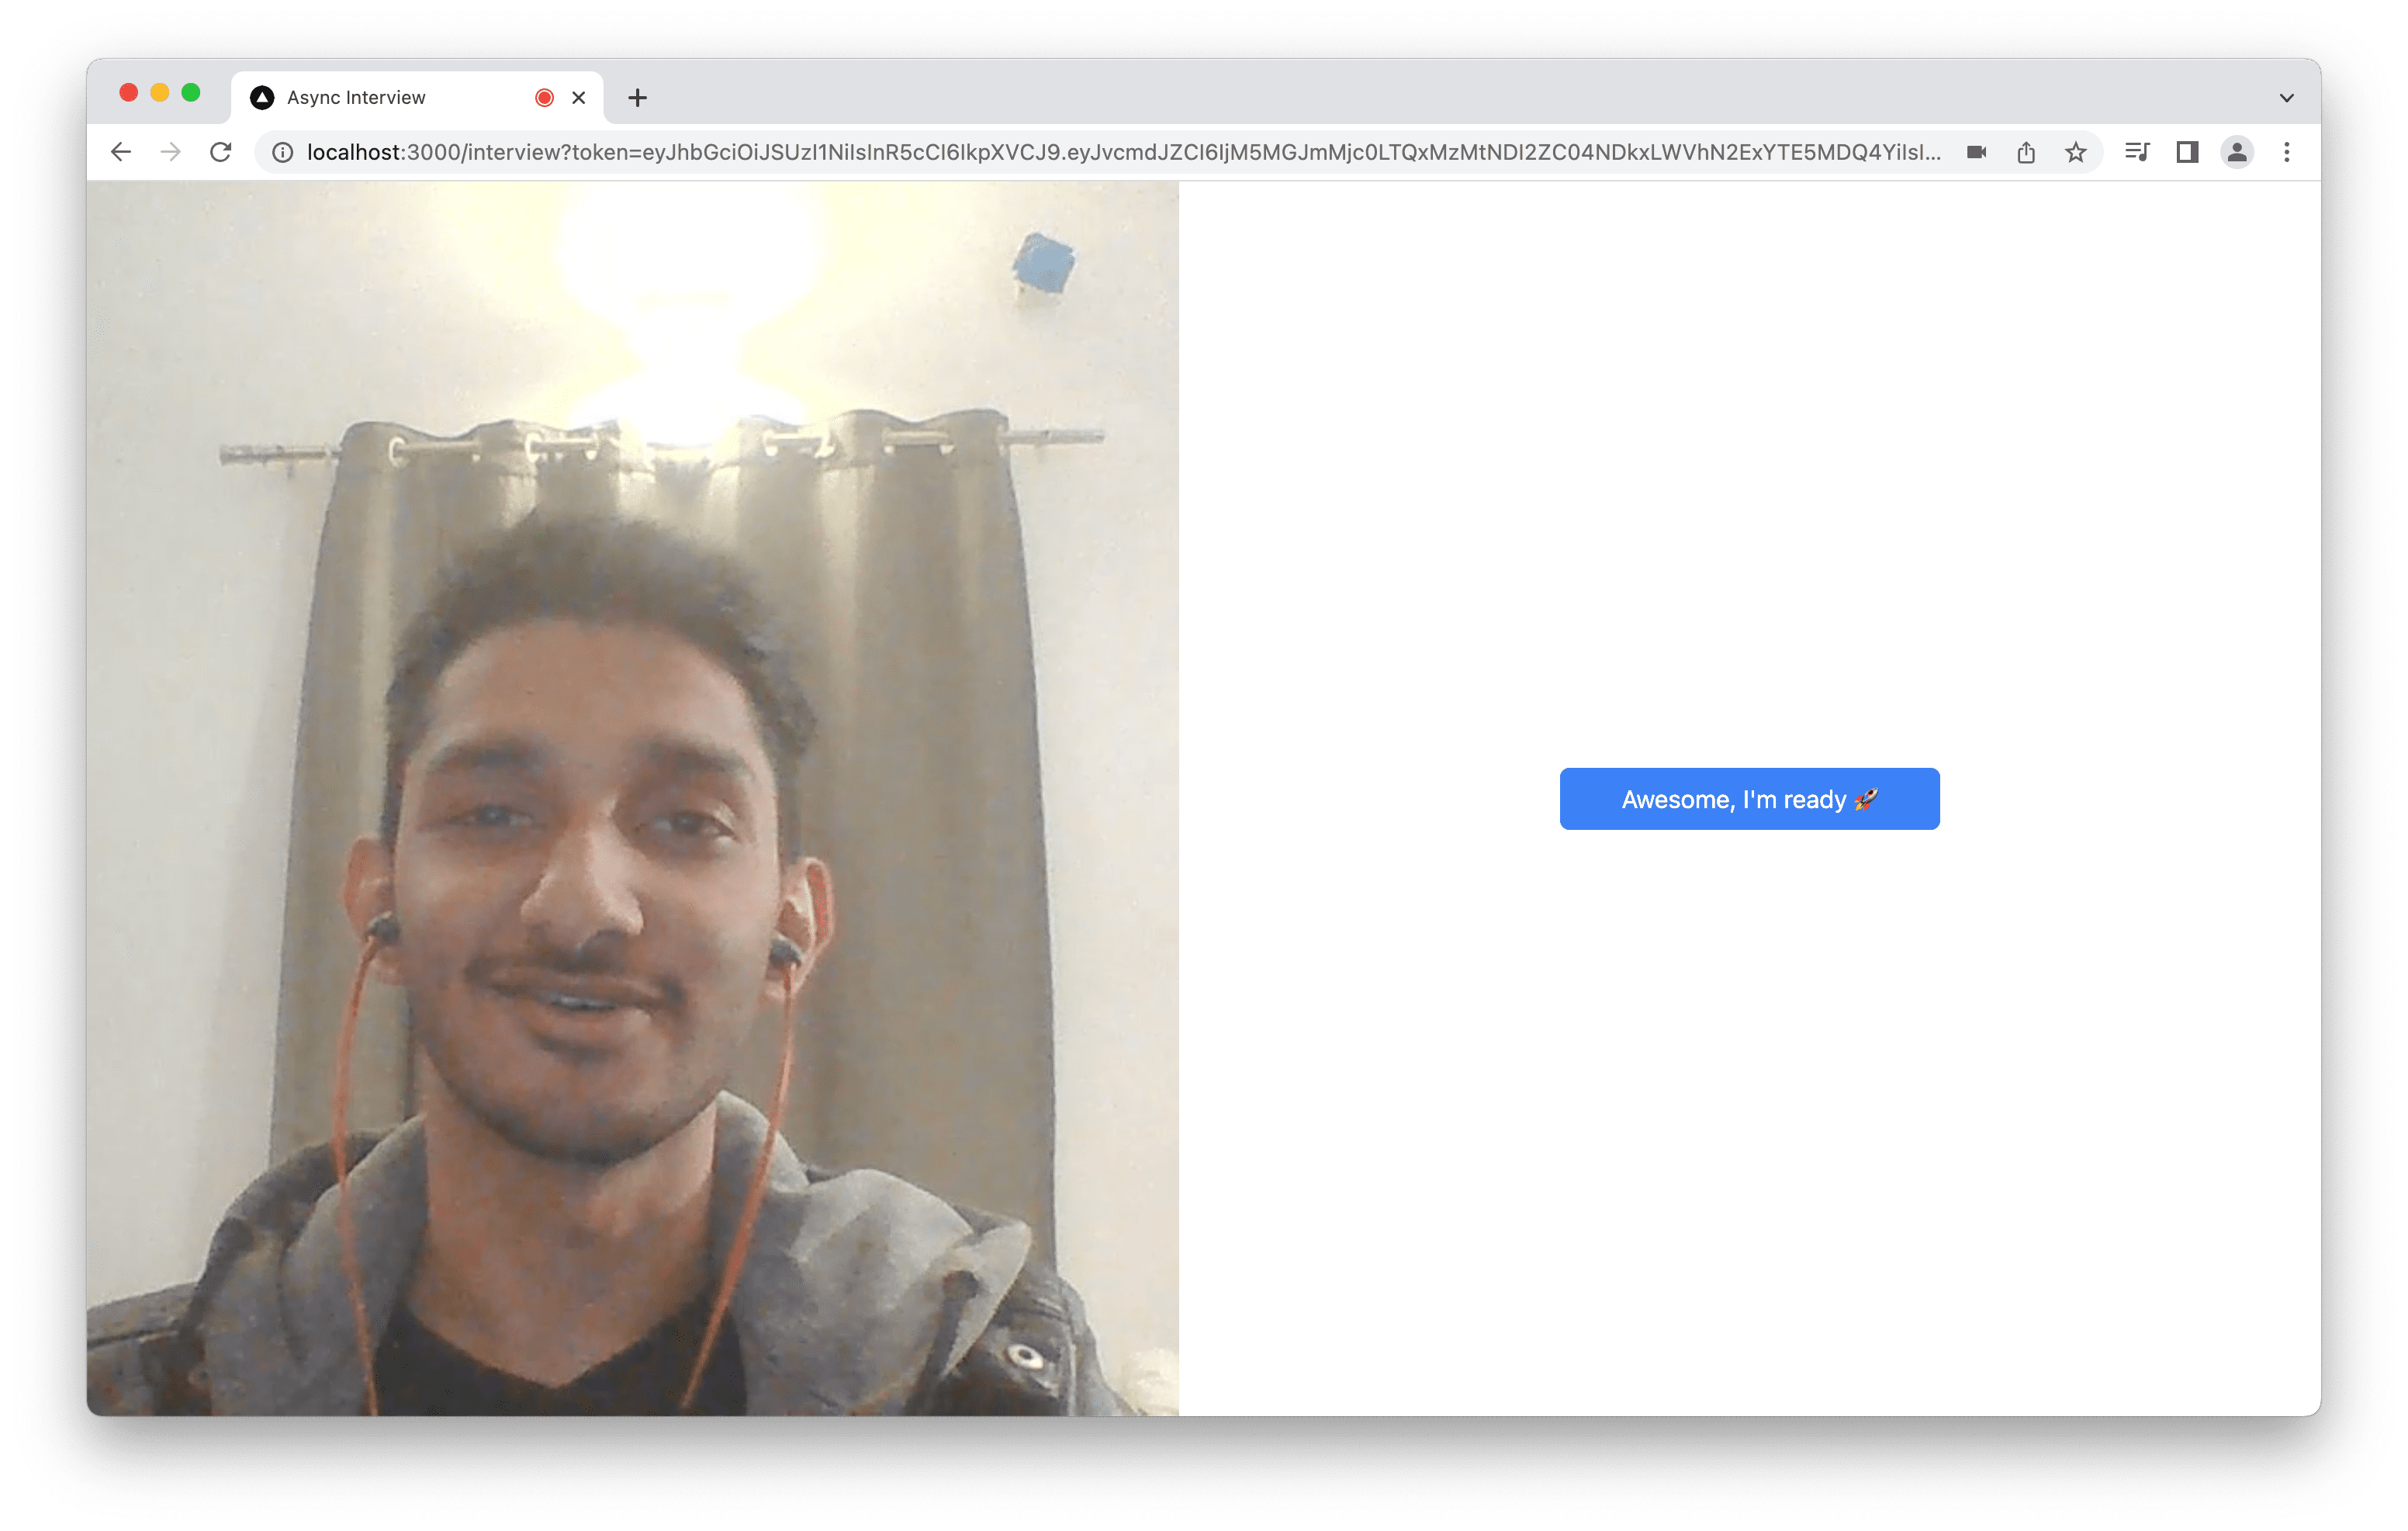
- After submitting the form, they will be redirected to the interview page, where they can play the intro video.
- Once users click on
I'm ready, they will be redirected to the first question screen. - After they have listened to the video based question, users can click on Start Recording and start capturing their answer.
- Once users submit the answer, they can click “Next” for the next question and finally “Finish” on the last question, and users’ all responses will be recorded.
Now, getting to the key implementation details:
- The user will use the default
group_call_hostpreset because this comes default for every organization that is created in Dyte. Any other preset which has the ability to Start and Stop recordings also works. - When the user clicks the “Start Recording My Answer” button, we will call the
meeting.recording.start()API in the frontend to start the recording. And when user clicks Next or Finish, we will callmeeting.recording.stop()to stop the recording once the user has answered a specific question. Do note that each question answered by the participant will be a separate recorded file. - We will take a look at how you can access the recorded files at the end of this post.
Project Setup
We’re going to use Next.js for our project as we can write frontend and backend code in a single codebase easily with it.
Creating the backend route
First, we’ll just create a simple backend API route at /api/meeting which will create a meeting as well as add the participant to that meeting with the default group_call_host preset. This API returns the participant details with the token that we will use to join to meeting in the frontend.
Check out the code for creating the backend route
import { NextApiRequest, NextApiResponse } from 'next';

const API_KEY = process.env.DYTE_API_KEY;
const ORG_ID = process.env.DYTE_ORG_ID;

const BASIC_TOKEN = Buffer.from(ORG_ID + ':' + API_KEY).toString('base64');

export default async function handler(
  req: NextApiRequest,
  res: NextApiResponse
) {
  if (req.method !== 'POST') {
    return res
      .status(405)
      .json({ success: false, message: 'Method Not Allowed' });
  }

  const { name, email } = req.body;

  const meetingResponse = await fetch(
    '<https://api.cluster.dyte.in/v2/meetings>',
    {
      method: 'POST',
      headers: {
        'Content-Type': 'application/json',
        Authorization: 'Basic ' + BASIC_TOKEN,
      },
      body: JSON.stringify({ title: 'Interview with ' + name }),
    }
  );

  const meetingData = await meetingResponse.json();

  if (!meetingResponse.ok) {
    return res.status(meetingResponse.status).json(meetingData);
  }

  const { id } = meetingData.data;

  const participantResponse = await fetch(
    `https://api.cluster.dyte.in/v2/meetings/${id}/participants`,
    {
      method: 'POST',
      headers: {
        'Content-Type': 'application/json',
        Authorization: 'Basic ' + BASIC_TOKEN,
      },
      body: JSON.stringify({
        name,
        preset_name: 'group_call_host',
        custom_participant_id: email,
      }),
    }
  );

  res.status(participantResponse.status).json(await participantResponse.json());
}
Creating the landing page

This will have a simple form that accepts the user’s name and email address, and this data is then passed to the /api/meeting API, and we use the retrieved token to redirect the user to the interview page: /interview?token=<user-token>.
Here is the source for this page which is written in React:
import Head from 'next/head';
import { useRouter } from 'next/router';
import { FormEvent, useCallback, useReducer, useState } from 'react';

interface Form {
  name: string;
  email: string;
}

export default function Home() {
  const [submitting, setSubmitting] = useState(false);
  const [form, setForm] = useReducer(
    (state: Form, payload: Partial<Form>) => {
      return { ...state, ...payload };
    },
    { name: '', email: '' }
  );

  const router = useRouter();

  const handleSubmit = useCallback(
    async (e: FormEvent) => {
      e.preventDefault();

      if (form.email.trim() === '' || form.name.trim() === '') {
        return;
      }

      setSubmitting(true);

      try {
        const res = await fetch('/api/meeting', {
          method: 'POST',
          headers: {
            'Content-Type': 'application/json',
          },
          body: JSON.stringify(form),
        });

        const data = await res.json();

        if (!res.ok) {
          alert(
            'There was an error when starting the interview, check console for error'
          );
          console.log(res.status, data);
          return;
        }

        const { token } = data.data;

        router.push({
          pathname: '/interview',
          query: {
            token,
          },
        });
      } finally {
        setSubmitting(false);
      }
    },
    [form, router]
  );

  return (
    <div className="flex h-full w-full flex-col items-center justify-center p-6">
      <Head>
        <title>Async Interview Sample - Dyte</title>
      </Head>
      <div className="flex w-full max-w-screen-md flex-col items-center justify-center gap-3 text-center">
        <h1 className="text-3xl font-bold text-blue-600">
          Async Video Interview
        </h1>

        <form
          className="mt-4 flex w-full max-w-sm flex-col gap-3"
          onSubmit={handleSubmit}
        >
          <input
            type="text"
            placeholder="Name"
            value={form.name}
            onInput={(e) => setForm({ name: e.currentTarget.value })}
            required
          />

          <input
            type="email"
            placeholder="Email"
            value={form.email}
            onInput={(e) => setForm({ email: e.currentTarget.value })}
            required
          />

          <button
            className="h-10 rounded-md bg-blue-600 font-semibold text-white"
            disabled={submitting}
          >
            {submitting ? 'Starting...' : 'Start'}
          </button>
        </form>
      </div>
    </div>
  );
}
Interview page
First, let's write frontend code that actually makes the user join the meeting.
The code would look like this:
export default function InterviewPage() {
  const [meeting, initMeeting] = useDyteClient();

  useEffect(() => {
    const search = new URLSearchParams(window.location.search);

    const authToken = search.get('token');

    if (!authToken) {
      return alert('authToken was not passed');
    }

    initMeeting({
      authToken,
    }).then((m) => m?.joinRoom());
  }, []);

  return (
    <DyteProvider value={meeting} fallback={<div>Loading...</div>}>
      <Interview />
    </DyteProvider>
  );
}
This is a common boilerplate code you have to write when integrating Dyte in your React app.
Let’s break it down:
- We get the auth token from the URL query, and we pass it to the
initMeeting()method, and once the meeting object is initialized, we will automatically join the user to the meeting viameeting.joinRoom(). However, if you wish to show an interstitial setup page before the user joins the meeting, you can omit this and show a custom setup screen or use our includedDyteSetupScreencomponent. - We pass the
meetingobject to the<DyteProvider />with afallbackUI until the meeting object is initialized. - Then we render the
<Interview />component which renders the actual interview UI.
Now this is where the actual frontend implementation of this project lies, in the Interview component. All the previous steps are the common steps you would have to do when integrating Dyte’s SDKs.
You can take a look at the source code as you read to understand better.
We have stored the introduction and questions in the questions array, with the first one being the introduction which is at the 0 index. The basic logic is that we will start from 0, showing the intro, and then showing the 3 questions and getting responses from the users each time. The stage state will have the current state of the questions answered.
import {
DyteAudioVisualizer,
DyteAvatar,
DyteParticipantTile,
DyteSpinner,
} from '@dytesdk/react-ui-kit';
import {
DyteProvider,
useDyteClient,
useDyteMeeting,
useDyteSelector,
} from '@dytesdk/react-web-core';
import Head from 'next/head';
import { useEffect, useRef, useState } from 'react';
const questions = [
'https://res.cloudinary.com/doy3ks7ls/video/upload/v1680075287/Intro_xb5ftf.mp4',
'https://res.cloudinary.com/doy3ks7ls/video/upload/v1680075215/Question_1_rwml32.mp4',
'https://res.cloudinary.com/doy3ks7ls/video/upload/v1680075219/Question_2_yeddjq.mp4',
'https://res.cloudinary.com/doy3ks7ls/video/upload/v1680075219/Question_3_kqgbgw.mp4',
];
function Interview() {
const $video = useRef<HTMLVideoElement>(null);
const roomJoined = useDyteSelector((m) => m.self.roomJoined);
const [stage, setStage] = useState(0);
const { meeting } = useDyteMeeting();
const recordingState = useDyteSelector((m) => m.recording.recordingState);
if (!roomJoined) {
return <div>Loading...</div>;
}
return (
<div className="flex h-full w-full">
{stage < questions.length && (
<aside className="relative flex-1">
<video
className="h-full w-full object-cover"
src={questions[stage]}
ref={$video}
controls
autoPlay
/>
</aside>
)}
<main className="flex flex-1 flex-col items-center justify-center gap-12 p-4">
{stage > 0 && stage < questions.length && (
<>
<p className="text-lg font-bold">
Question {stage} of {questions.length - 1}
</p>
<DyteParticipantTile
participant={meeting.self}
className="relative aspect-[4/3] h-auto w-full max-w-[540px]"
>
<DyteAudioVisualizer
participant={meeting.self}
size="lg"
className="absolute right-3 top-3"
/>
<DyteAvatar participant={meeting.self} />
</DyteParticipantTile>
</>
)}
{stage > 0 &&
stage < questions.length &&
recordingState === 'STARTING' && (
<p className="info">
<DyteSpinner />
Starting the recording...
</p>
)}
{stage > 0 &&
stage < questions.length &&
recordingState === 'STOPPING' && (
<p className="info">
<DyteSpinner />
Stopping the recording...
</p>
)}
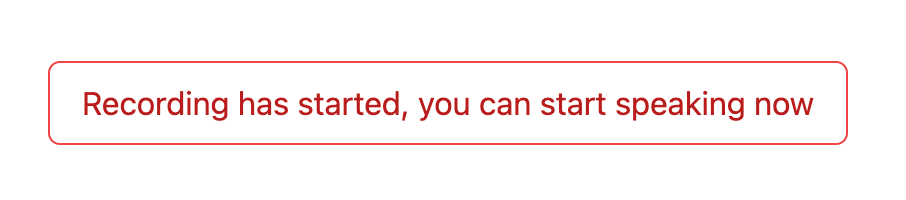
{stage > 0 &&
stage < questions.length &&
recordingState === 'RECORDING' && (
<p className="info border-red-500 text-red-700">
Recording has started, you can start speaking now
</p>
)}
<div className="flex flex-wrap items-center gap-2">
{stage > 0 &&
stage < questions.length &&
recordingState === 'IDLE' && (
<button
className="btn bg-red-500"
onClick={() => {
$video.current?.pause();
meeting.recording.start();
}}
>
Start Recording My Answer
</button>
)}
{stage === 0 && (
<button
className="btn"
onClick={() => {
setStage(1);
}}
>
Awesome, I'm ready 🚀
</button>
)}
{stage > 0 && stage < questions.length - 1 && (
<button
className="btn"
onClick={async () => {
if (recordingState === 'RECORDING') {
await meeting.recording.stop();
setStage((stage) => stage + 1);
}
}}
disabled={recordingState !== 'RECORDING'}
>
Next
</button>
)}
{stage === questions.length - 1 && (
<button
className="btn"
onClick={() => {
if (recordingState === 'RECORDING') {
meeting.recording.stop();
}
setStage(questions.length);
}}
>
Finish
</button>
)}
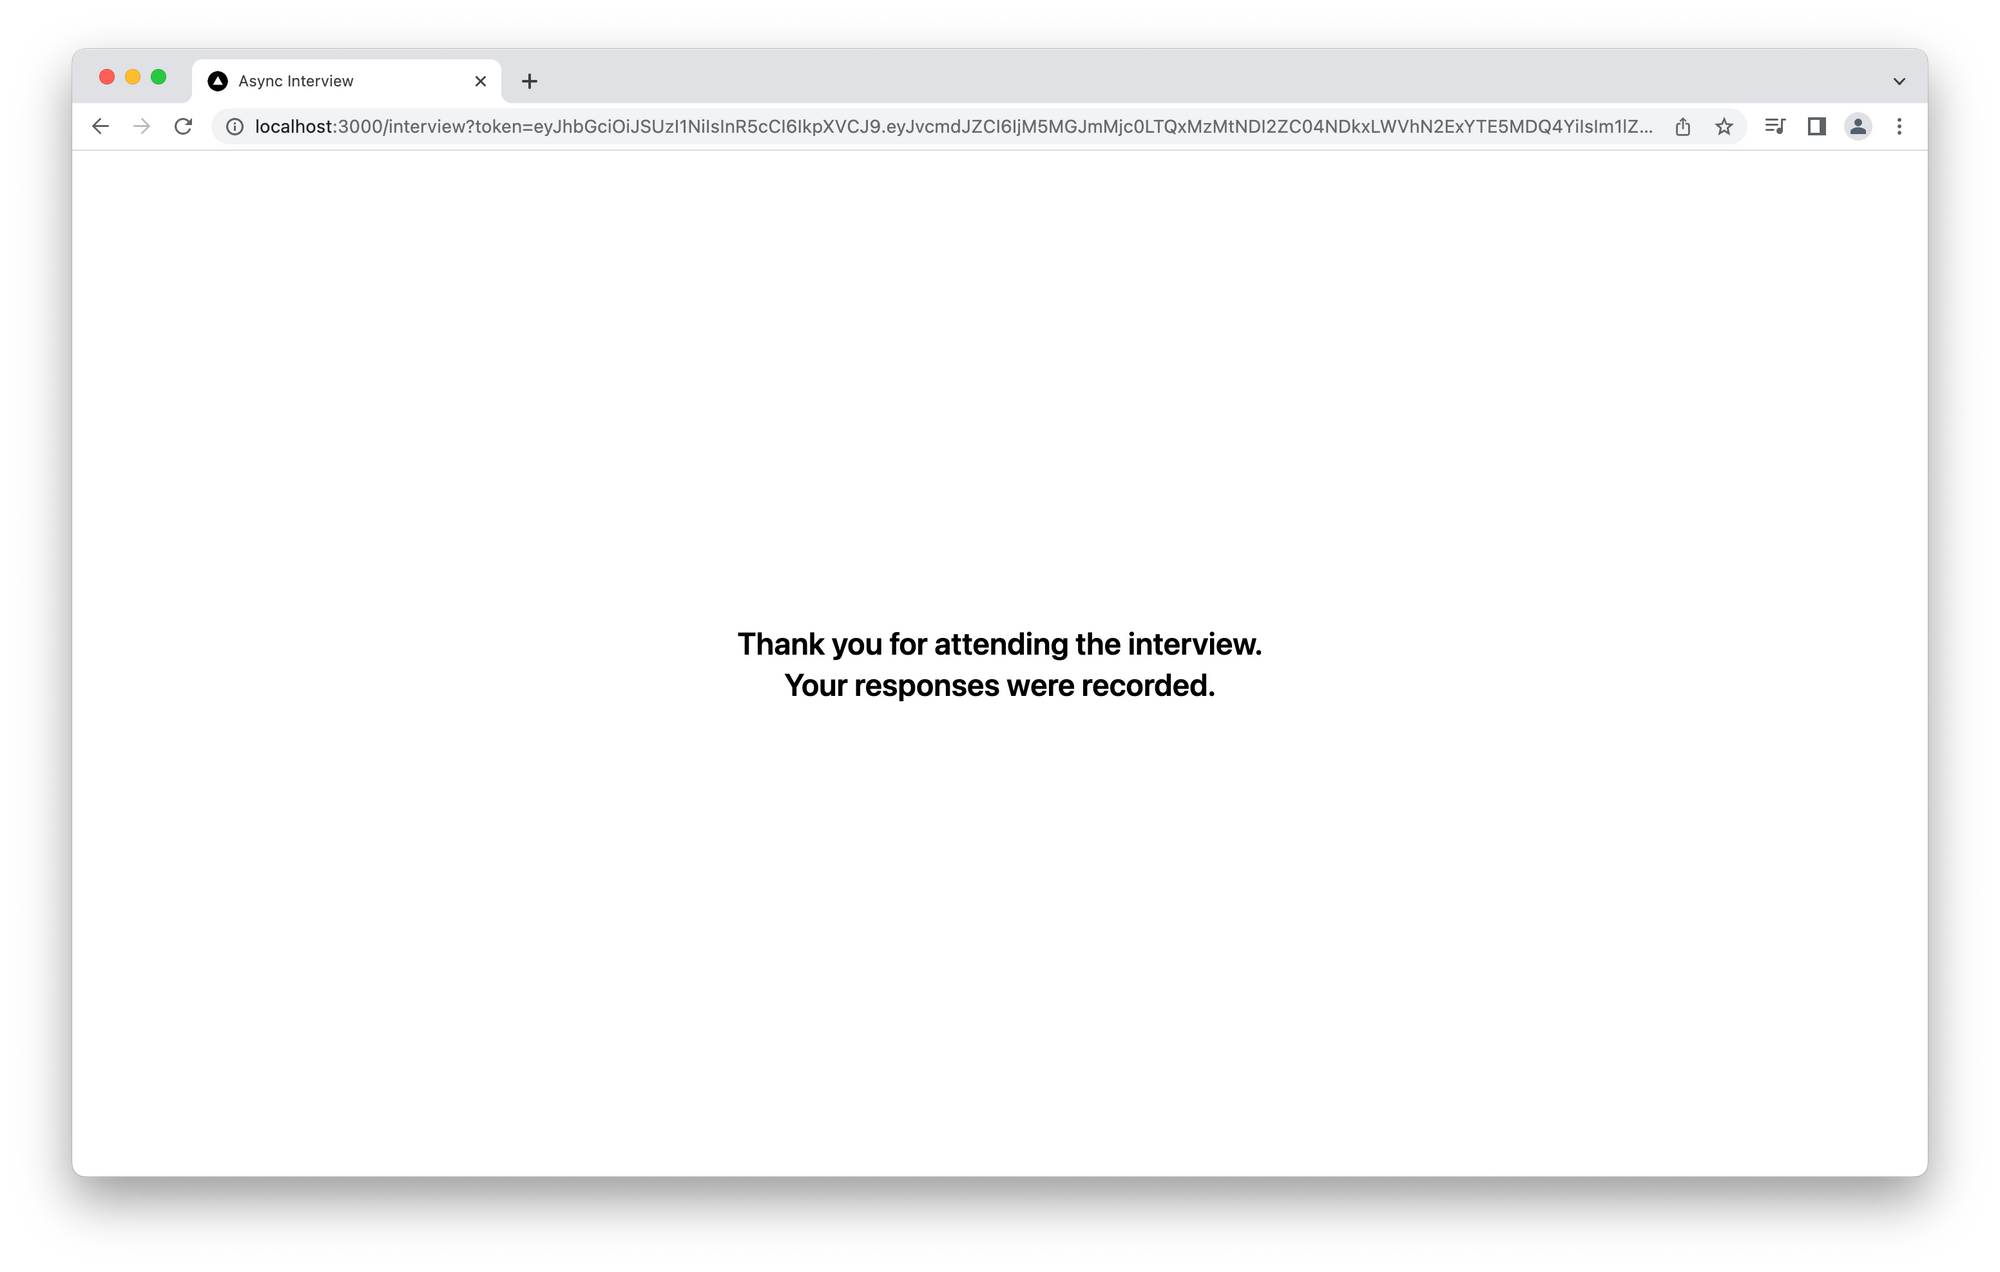
{stage === questions.length && (
<div>
<p className="max-w-md text-center text-2xl font-semibold">
Thank you for attending the interview. Your responses were
recorded.
</p>
</div>
)}
</div>
</main>
</div>
);
}
Also, we will get the current recording state with the useDyteSelector() like so:
const recordingState = useDyteSelector((m) => m.recording.recordingState);
This is used to show a recording indicator to indicate to the user that they are being recorded and they can start speaking, and also as a check when running start or stop recording APIs so they don’t fail.
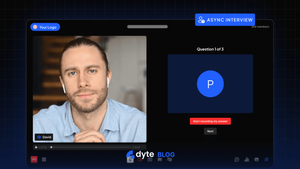
Whenever a user clicks “Start Recording My Answer”, we will call meeting.recording.start() API which will start the recording and this indicator is shown:
And once the user finished answering and is willing to move to the next question and click Next or Finish, it will call the meeting.recording.stop() to stop the recording and increment the stage state.
And finally when you’re at the final stage, i.e; you have answered all questions, the user will be shown the final screen with the message:
You can access all recordings of a particular meetingId with the API: https://docs.dyte.io/api#/operations/get_all_recordings.
That is it, we’ve created an Async Interview Platform with Dyte! The live demo of this application is available here. And here’s the source code for the project.
Want to build something similar? Build the future on live video with Dyte’s customizable SDKs, low-code UI builder, and easy to consume documentation. You never know you might create the next big thing 🚀.